
When To Use Cpl Filter?
The Complete Guide to Using a Circular Polarizing (CPL) Filter in Photography
Every photographer, amateur or professional, strives to capture pictures that are vibrant, sharp, and visually striking. The circular polarizing (CPL) filter is a powerful tool for adding that missing element of depth, richness, and subtle enhancement that can turn good photographs into exceptional ones. However, knowing when and how to use a CPL filter can make all the difference. In this article, we’ll explore the most impactful scenarios for using a CPL filter, how it works, and practical tips to maximize its benefits.
What Is a CPL Filter?
Before diving into its usage, let’s briefly understand what a CPL filter is. A circular polarizing filter is a transparent add-on lens that you attach to the front of your camera lens. It works by controlling reflections and suppressing unwanted polarized light. This enhances saturation, minimizes glare, and helps you achieve effects that are not achievable in post-processing.
The beauty of the CPL filter lies in its ability to reduce the effects of scattered light, which makes it a must-have for various photography settings.
When to Use a CPL Filter
While CPL filters are versatile, there are specific situations where their effects are especially impactful. Let’s examine these scenarios in detail and outline how they can help improve your photography.
1. Enhancing the Sky
Use Case: Landscape and outdoor photography.
- In bright daylight, a CPL filter can darken the blue hues of the sky for a more dramatic effect. It helps emphasize the contrast between clouds and the sky, making compositions appear rich and vibrant. This is particularly useful for wide-angle shots where the sky occupies a significant portion of the frame.
2. Reducing Reflections
Use Case: Photographing water, glass, or shiny surfaces.
- Have you ever tried photographing a lake, but all you see is the reflection of the sky instead of the water’s vibrant colors? Or taken a shot of a shop window, only to see more of yourself and less of the display? A CPL filter eliminates such reflections from non-metallic surfaces, letting you capture what lies beneath the water or behind the glass.
3. Improving Foliage Colors
Use Case: Nature and macro photography.
- A CPL filter minimizes glare from wet leaves or surfaces, making greenery look more vibrant. By cutting through the light scattering off surfaces, it enhances the hues and textures in forested or highly vegetative areas.
4. Managing Harsh Light
Use Case: Shooting in midday sunlight.
- Direct sunlight often results in harsh shadows and blown-out highlights. While a CPL filter doesn’t double as a neutral density (ND) filter to block light intensity, it does help cut through the ambient glare for better tonal balance and improved color contrast.
5. Urban Photography
Use Case: Reducing reflections on glass buildings or car windows.
- In urban zones filled with reflective surfaces, from sleek skyscrapers to shiny cars, CPL filters are extremely effective. They remove unnecessary distractions in your compositions while adding another layer of clarity to your shot.
6. Waterfall and Stream Photography
Use Case: Capturing water flow without surface glare.
- A CPL filter helps reduce the glare and reflective light from the water’s surface, vastly improving the clarity of streams and waterfalls. This is particularly useful when you want the water to look more vivid and textured.
7. Improving Skin Tones
Use Case: Portrait photography (especially outdoors).
- Reflections caused by shiny skin or glasses can detract from the quality of portrait photos. A CPL filter mitigates these light issues and enhances the subject’s overall appearance, especially in outdoor lighting conditions.
When NOT to Use a CPL Filter
Though a CPL filter is incredibly versatile, there are certain situations where using it might not be ideal:
1. Low-Light Photography:
- CPL filters reduce the amount of light entering the camera lens. If you're shooting in low-light or dim conditions, such as during blue hour or at night, using a CPL filter will require you to increase your ISO or decrease your shutter speed, which might compromise image quality.
2. Wide-Angle Lenses:
- Employing a CPL filter with ultra-wide-angle lenses can lead to uneven polarization across the frame. This manifests as uneven darkening in the sky, creating an unnatural look.
3. Intense Color Editing Plans:
- If you’re planning to extensively manipulate the colors of your images during post-processing, a CPL filter’s effects might conflict with your edits, resulting in overly saturated or distorted hues.
4. Fast-Moving Subjects:
- With CPL filters slightly reducing the available light, it might be harder to maintain sharpness when shooting fast-moving subjects like in sports or wildlife photography.
How to Use a CPL Filter Effectively
Using a CPL filter isn’t just about fitting it onto your lens. Here are some practical tips to maximize its potential:
1. Rotate the Filter
- CPL filters are designed to rotate. By turning the front ring of the filter, you can control the degree of polarization. Look through your camera’s viewfinder or screen while rotating the filter to find the optimum position for your desired effect.
2. Find the Right Angle
- The CPL filter is most effective when the light source is at a 90-degree angle to your subject. For instance, if the sun is directly overhead or behind you, the filter’s impact will be minimal. However, it works wonders when the sunlight is coming from your left or right.
3. Check for Vignetting
- When using wide-angle lenses, a CPL filter may add vignetting (dark edges) to your photos. This happens because of the angle of polarization and the filter's shadow on the lens. Using a slim CPL filter can help minimize this effect.
4. Monitor Exposure
- CPL filters usually reduce the light reaching your sensor by about 1 to 2 stops. Pay attention to your camera settings to ensure the right exposure balance between aperture, shutter speed, and ISO.
5. Cleanliness Matters
- A CPL filter exposes the lens to the external environment, making it more susceptible to dust and smudges. Frequently clean the filter with a microfiber cloth to avoid spotting in your images.
Choosing the Right CPL Filter
Investing in a good-quality CPL filter can save you headaches in the long run. Look for:
Multi-Coated Filters: These reduce lens flare and ghosting.
Quality Glass: Opt for filters made with optical-grade glass for minimal image degradation.
Thread Size Compatibility: Ensure the CPL filter matches the thread size of your lens.
The Post-Processing Advantage
While many of the effects of a CPL filter can be enhanced even further in post-processing, it is difficult to fully replicate what a CPL filter achieves directly in-camera. For example:
- Removing reflections via software is challenging, requiring manual masking techniques that may still look artificial.
- Color enhancement and glare reduction done in-camera ensure that your files have better quality from the start, preserving dynamic range.
Final Thoughts
The circular polarizing filter is an invaluable addition to your photography toolkit, bringing out the best in otherwise ordinary scenes. Whether you’re a landscape photographer trying to perfect that postcard-worthy shot, a portrait artist fine-tuning skin tones, or someone dabbling in urban exploration, a CPL filter delivers results far beyond what post-processing can achieve.
Knowing when and how to use a CPL filter ensures that your photography reaches its full creative potential. By mastering this small yet impactful tool, you’ll open up a whole new realm of photographic possibilities. So, the next time you encounter glare or wish to bring out vibrancy in the colors around you, don’t hesitate to twist on your CPL filter and let its magic unfold.


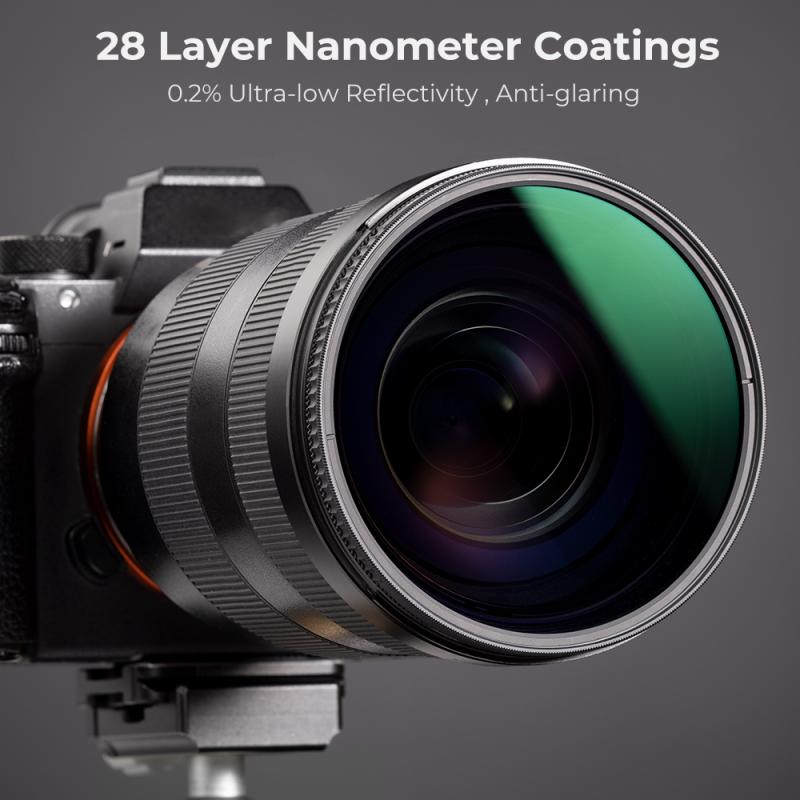
 with 28 Layer Anti-reflection Green Coating, Waterproof and Scratchproof")


")


