
How To Use Your Phone As A Microphone?
If you need a microphone in a pinch, your phone can do the job surprisingly well. The tiny mic in a modern phone is usually better than the built-in microphone on many laptops, especially for voice calls, recordings, online classes, podcasts, and quick voiceovers.
The catch is that “use your phone as a microphone” can mean a few different things:
- using it as a mic for Zoom, Discord, Teams, or Google Meet on a computer
- recording audio on the phone and sending the file later
- using it as a live microphone through speakers
- connecting it to a camera for video recording
- using it as a wireless mic for streaming or content creation
The best method depends on what you’re trying to do. A phone can work well, but it is not always plug-and-play.
The easiest option: record on the phone itself
If you only need to capture clean voice audio, the simplest method is to record directly on your phone and use the audio file afterward.
On iPhone, the built-in Voice Memos app is good enough for interviews, lectures, notes, and basic voiceover work. On Android, most phones have a Recorder or Voice Recorder app, and Google’s Recorder app is excellent if your device supports it.
For better results:
- keep the phone about 6 to 10 inches from your mouth
- point the bottom edge of the phone toward your voice, since that’s where the main mic usually is
- avoid holding it in your hand if possible, because hand noise gets picked up easily
- put it on a soft surface, small tripod, or stand
- record a 10-second test before doing the full take
- switch off fans, air conditioners, and loud appliances nearby
This method is often better than trying to force the phone to act as a live computer mic. There’s no wireless delay, no driver issue, no app fighting with your video-call software. If you’re making a video, you can sync the phone audio later with a clap at the start.
I’ve used this method for quick voiceovers and interviews many times, and the biggest mistake people make is placing the phone flat on a desk too far away. It records the room more than the person. Bring it closer and the difference is immediate.
Using your phone as a microphone for a Windows PC
For live use on a Windows computer, you’ll usually need an app that turns your phone into an audio input device.
Popular options include apps such as WO Mic, DroidCam, AudioRelay, Iriun, or similar phone-to-PC microphone tools. The exact setup varies, but the basic process is usually the same:
- Install the microphone app on your phone.
- Install the companion client or driver on your Windows PC.
- Connect the phone and computer using USB, Wi-Fi, or Bluetooth.
- Open the PC client and choose your phone as the microphone source.
- In your app, such as Zoom or Discord, select the virtual microphone created by that software.
USB is usually the most reliable connection. Wi-Fi is more convenient, but it can introduce delay or dropouts if your network is busy. Bluetooth often sounds worse and can add noticeable latency, so I’d avoid it unless you have no other choice.
If you’re using this for meetings, test it before the call. Windows may still default to the laptop mic even after the phone mic app is connected. Go into the sound settings and check the input meter while talking into the phone.
A useful trick: leave your laptop mic enabled as a backup until you know the phone setup is stable. Nothing is more annoying than joining a meeting and realizing your “better mic” isn’t sending audio at all.
Using your phone as a microphone on a Mac
Mac users have fewer universal options than Windows users, but it’s still possible.
Some apps support using your phone as an external mic through Wi-Fi or USB, especially if they provide a desktop companion app for macOS. The setup is similar: install the app on both devices, connect them, then select the app’s audio device inside your meeting or recording software.
If you have an iPhone and a Mac, Apple’s Continuity features can make some things easier, especially for camera use, but using the iPhone specifically as a system-wide microphone is not always as straightforward as using it as a webcam. Some apps recognize the iPhone mic when the iPhone is being used as a camera, while others don’t behave consistently.
For reliable audio on a Mac, recording directly on the phone and importing the file often gives better results than fighting with live input routing. If you need live audio for calls, use an app that clearly supports macOS and test it before relying on it.
Using your phone as a mic for Zoom, Discord, Teams, or Google Meet
Once your phone is connected to your computer through a mic app, the important step is choosing it inside the program you’re using.
In Zoom, open audio settings and choose the phone mic or virtual mic from the microphone menu.
In Discord, go to Voice & Video settings and select the correct input device. Also check input sensitivity. Discord can aggressively cut off quieter voices if automatic detection is set poorly.
In Microsoft Teams or Google Meet, open the meeting audio settings and pick the phone-based microphone before joining, or change it during the call.
If people say you sound choppy, robotic, or delayed, the problem is usually the connection method rather than the phone mic itself. Try USB instead of Wi-Fi. If you’re already on USB, try closing other apps that may be using the microphone.
One practical issue: if the phone is also receiving notifications, those sounds or vibrations can ruin your audio. Turn on Do Not Disturb before using the phone as a mic.
Using your phone as a live microphone through speakers
This is possible, but it is where expectations need to be realistic.
You can use a “microphone to speaker” or “live mic” app that sends your phone’s mic input to a Bluetooth speaker, wired speaker, or PA system. This can work for casual use, like making an announcement in a small room.
But phones are not ideal live stage microphones. You may run into:
- audio delay
- feedback squeal
- low volume
- echo
- poor Bluetooth quality
- sudden dropouts
- awkward handling noise
If you connect the phone to a speaker over Bluetooth, delay is common. You speak, and your voice comes out slightly later. For announcements it may be tolerable. For singing, presenting, or anything rhythmic, it feels terrible.
If you try this, keep the speaker in front of the phone, not behind it, and don’t point the phone directly at the speaker. That reduces feedback. Keep the volume moderate. If you need this for an event, borrow or buy a basic wired microphone instead. Even a cheap dynamic mic into a small speaker is usually more dependable.
Using your phone as a microphone for video recording
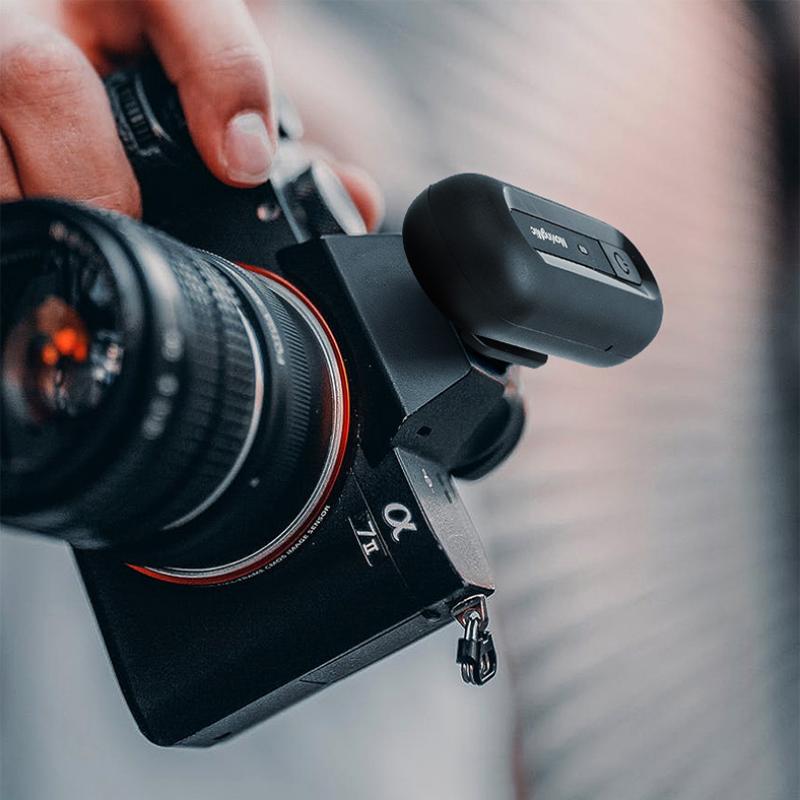
A phone can be a good external audio recorder for a camera, especially if the camera’s built-in mic sounds thin or distant.
The simplest setup is:
- Start recording video on your camera.
- Start recording audio on your phone.
- Clap once clearly near the camera and phone.
- Record your video.
- Sync the clap spike in your editing software later.
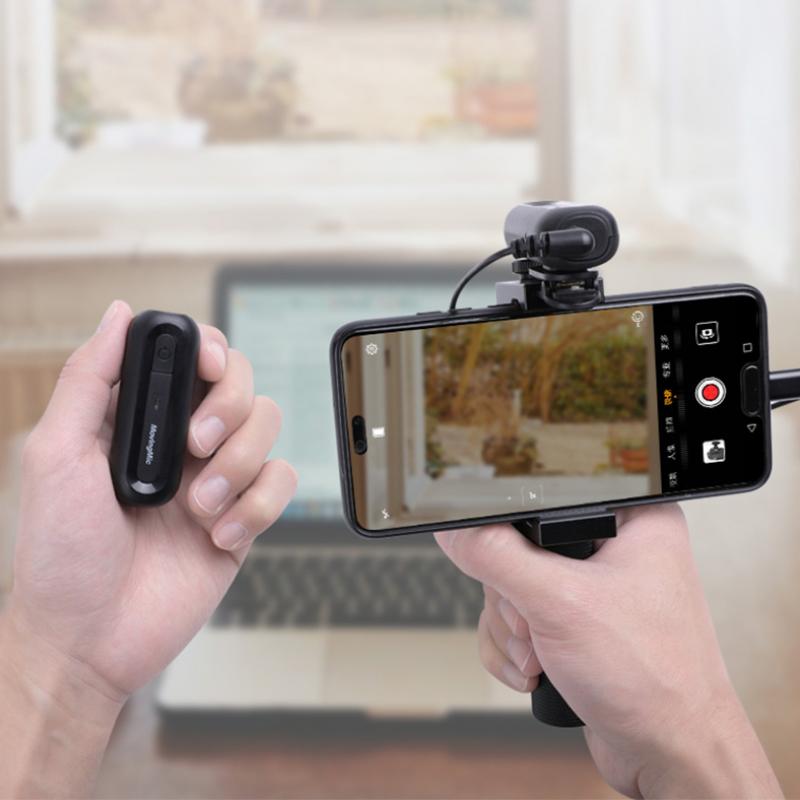
This works well for talking-head videos, interviews, tutorials, and social content. Put the phone close to the speaker but out of frame. A shirt pocket can work, though fabric rubbing against the phone may create noise. A small stand just below the frame is usually cleaner.
If you are filming outdoors, wind is the enemy. Phone microphones are very sensitive to gusts. Even a light breeze can ruin a recording. Shield the phone with your body, place it behind something, or use an external lavalier mic with a foam windscreen if the audio matters.
Can you connect the phone directly with a cable?
Sometimes, but not as easily as people expect.
A phone’s headphone jack, USB-C port, or Lightning port is not usually designed to behave like a normal microphone output for a computer or camera. Plugging in a random cable often won’t work, and in some cases you may be connecting output to input in the wrong way.
For computers, a USB-based app is usually better than an analog cable.
For cameras, you can sometimes run audio from the phone into the camera’s mic input, but you need the right adapters and levels. Many camera mic inputs expect a microphone-level signal, not a loud headphone-level signal. If the level is wrong, the sound may distort badly.
For most people, syncing the audio afterward is easier and safer.
How to get better sound from your phone mic
The phone mic is not magic. It improves dramatically with good placement and gets bad quickly in the wrong room.
A few practical habits make the biggest difference:
Keep the phone close, but not too close. Around a handspan from your mouth is a good starting point. If you’re too close, breath blasts and popping sounds become obvious.
Avoid hard, empty rooms. Kitchens, bathrooms, and bare offices create echo. A bedroom, carpeted room, closet, or space with curtains and furniture will sound warmer.
Don’t cover the microphone. Phone cases, fingers, mounts, and stands can block the mic holes. On many phones, the main microphone is along the bottom edge.
Use airplane mode if you are recording locally. If you still need Wi-Fi for a mic app, use Do Not Disturb instead.
Check battery level. Live mic apps can drain the phone faster than expected, especially over Wi-Fi.
Record a short test and listen with headphones. Phone speakers hide problems. Headphones reveal hiss, hum, echo, clipping, and clothing noise.
Should you use an external mic with your phone?
If you plan to do this more than once or twice, a small external microphone can be worth it.
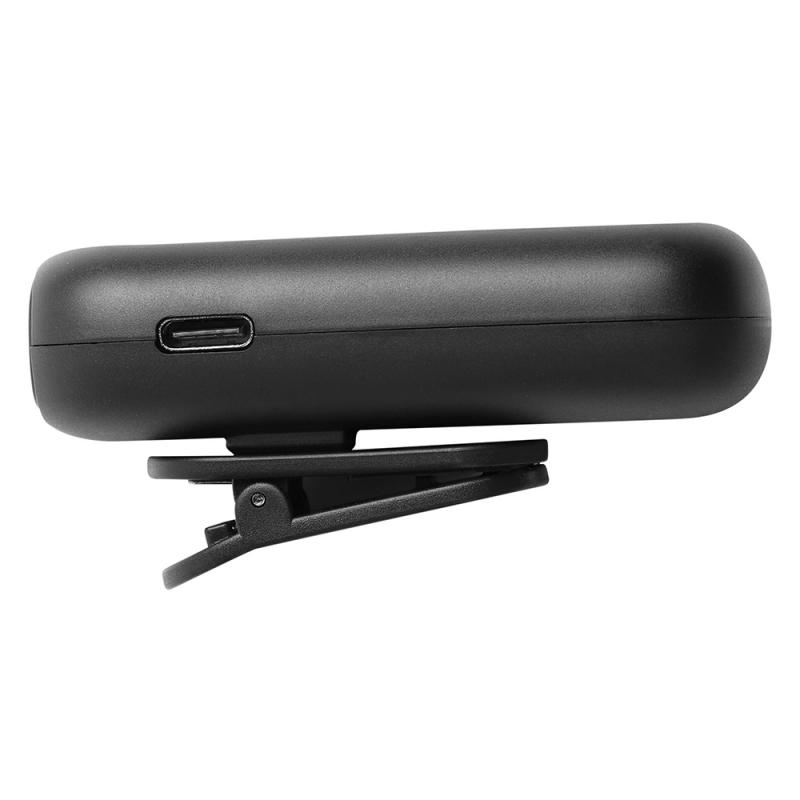
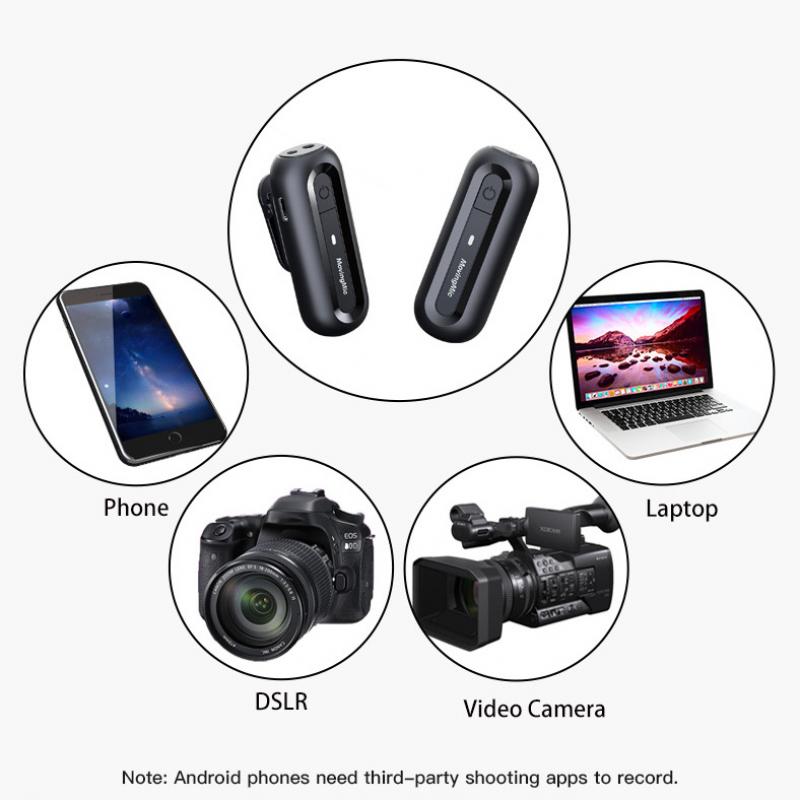
A basic USB-C or Lightning lavalier mic will usually sound better than the built-in phone mic because it sits closer to your mouth. Wireless phone mic kits are also popular for interviews and video, though cheap ones vary a lot in quality.
For calls and gaming, a wired headset can be simpler than turning the whole phone into a PC mic. For content creation, a phone plus lavalier mic is often a very practical lightweight setup.
Don’t overspend immediately. Try the built-in mic first in a quiet room. If your problem is echo or distance, a $20–$40 lav mic may solve more than an expensive app or complicated wireless setup.
Common problems and quick fixes
If your computer does not detect the phone mic, restart the desktop client, reconnect the phone, and check whether the companion driver is installed. On Windows, also check privacy settings for microphone access.
If there is delay, switch from Wi-Fi or Bluetooth to USB.
If the sound is distorted, lower the input gain in the app or move the phone farther away.
If your voice cuts in and out, disable aggressive noise suppression or automatic sensitivity in the calling app.
If the audio sounds roomy, move the phone closer rather than speaking louder. Speaking louder in an echoey room often makes the recording harsher.
If the app works in one program but not another, the second program may be using a different input device. Check the microphone selection inside that specific app, not only in system settings.
The most reliable approach
For live meetings on a computer, use a dedicated phone-to-PC mic app over USB and select it manually in your meeting software.
For recording videos, interviews, voice notes, or voiceovers, record directly on the phone and sync or transfer the file later.
For live speaker use, keep expectations low unless you have proper audio gear. A phone can help in a pinch, but it is not a great replacement for a real PA microphone.
A phone can absolutely work as a microphone. The best results come from using it in the right role: close to the speaker, in a quiet space, with a stable connection, and tested before it actually matters.


 Soft Graduated Neutral Density Filter K&F Concept Nano-Xcel Series")
 100*100mm Optical Glass MRC 20 layer Coating with Filter Case for Cokin Z")

")


