
How To Use A Graduated Nd Filter?
Graduated neutral density (ND) filters are indispensable tools in photography, allowing photographers to manage challenging lighting conditions by reducing the dynamic range of a scene. By darkening specific portions of an image––typically the sky––without affecting the rest of the composition, graduated ND filters enable balanced, well-exposed photos in high-contrast environments. In this article, we will explore the different types of graduated ND filters, how to use them effectively, and offer practical insights for photographers looking to amplify their creativity.
What Are Graduated ND Filters?
Graduated ND filters are specialized filters that have a gradual transition from a darkened region to a completely clear region. This design allows photographers to darken brighter areas of a scene, such as the sky, while leaving the rest of the image properly exposed. By reducing excessive brightness, these filters help to achieve a balanced exposure for scenes that have a high dynamic range.
Graduated ND filters come in different types based on their design and transition:
1. Hard-edge graduated ND filters:
These filters have an abrupt transition between the dark and clear areas. They are best suited for scenes with a defined horizon line, such as coastal landscapes or deserts.
2. Soft-edge graduated ND filters:
These have a gradual transition, making them ideal for landscapes with irregular horizons, such as mountains, hills, or urban skylines.
3. Reverse graduated ND filters:
These are darker in the middle and gradually transition toward clarity at the top. They are most effective during sunrise and sunset, when the brightest part of the sky is near the horizon.
4. Center graduated ND filters:
These have their darkest portion concentrated at the center and are less common. They are typically used for specialized, creative compositions.
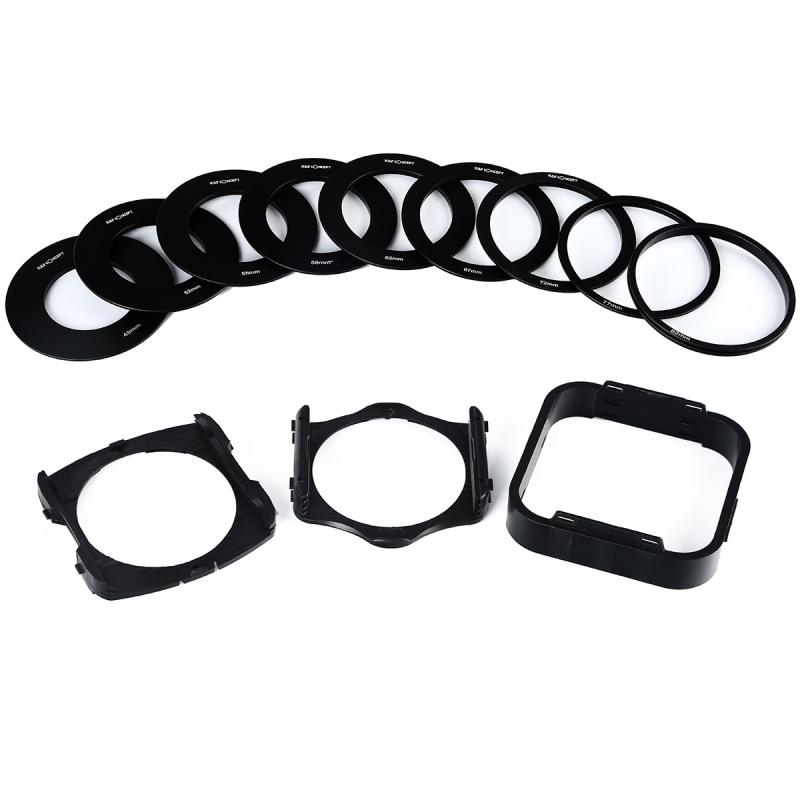
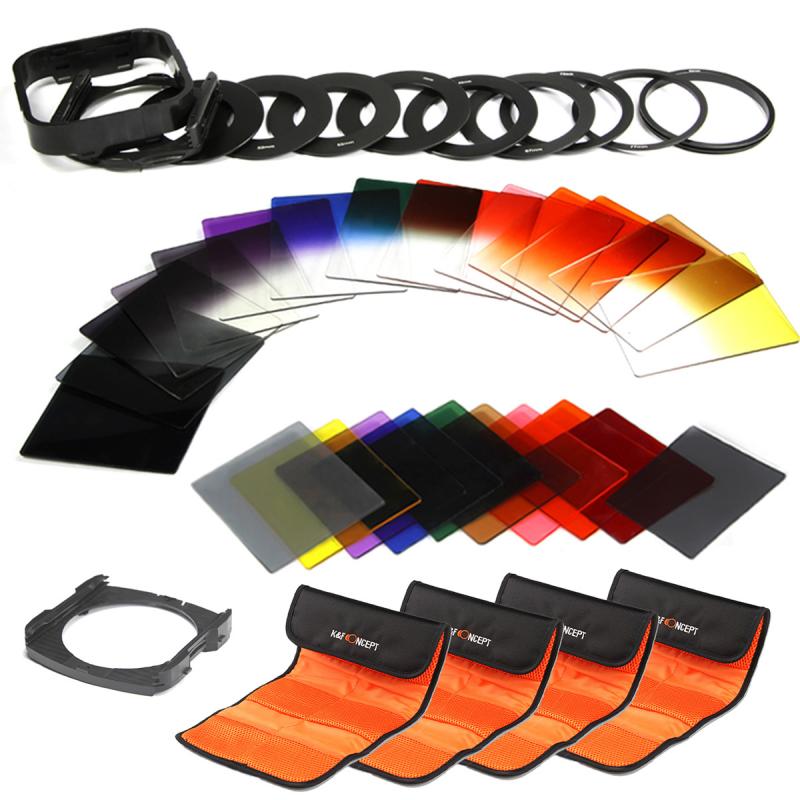
Graduated ND filters are available as rectangular (or square) filters that require a filter holder or as circular filters that screw directly onto your lens. Rectangular filters are more versatile, as they allow for precise positioning of the transition line.
Why Use Graduated ND Filters?
Dynamic range is a key limitation of most cameras. While our eyes can naturally adjust to scenes with a bright sky and dark foreground, cameras struggle to capture both extremes without losing detail in either the highlights or shadows. Graduated ND filters are used to mitigate this limitation in scenarios like:
1. Landscapes with a bright sky: Ensure both the sky and the foreground are properly exposed.
2. Sunrises and sunsets: Reduce the intensity of bright peripheries while retaining detail in darker areas.
3. Long-exposure photography: Maintain consistent lighting between the sky and ground while using a slow shutter speed.
4. Creative projects: Experiment with exposure alterations to achieve unique visual styles.
Graduated ND filters allow photographers to preserve textures, colors, and details across an entire scene without compromising image quality.
A Step-by-Step Guide to Using a Graduated ND Filter
Whether you are just starting out or have experience in landscape photography, here's a step-by-step guide to effectively using a graduated ND filter:
Step 1: Choose the Right Filter Strength
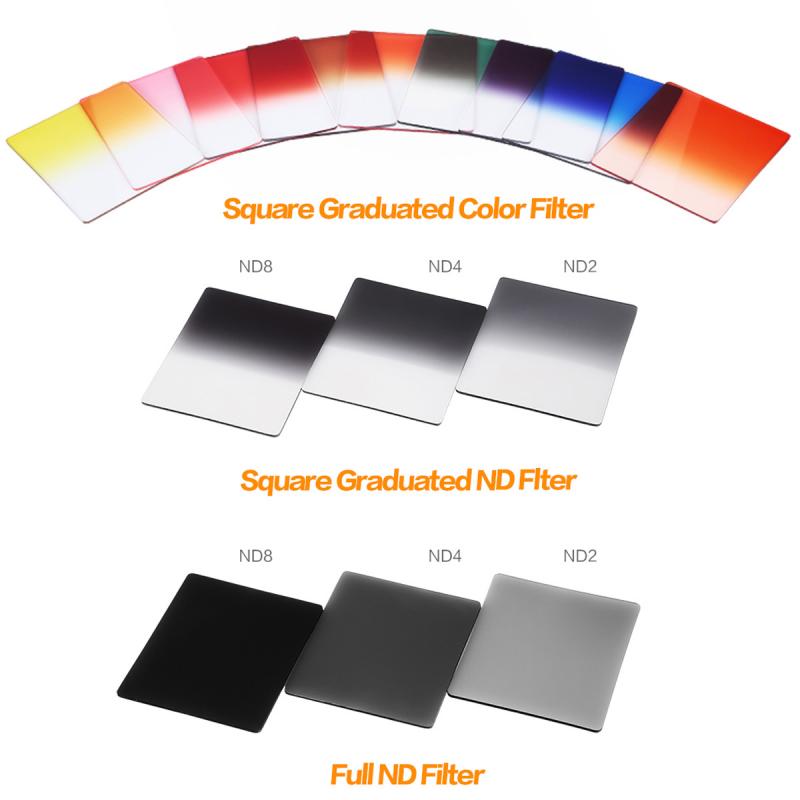
Graduated ND filters come in various strengths, typically measured in stops (e.g., ND2, ND4, ND8). Each increment corresponds to the amount of light reduction. For instance:
- ND2 reduces 1 stop of light (50% reduction).
- ND4 reduces 2 stops of light (75% reduction).
- ND8 reduces 3 stops of light (87.5% reduction).
Choose a filter strength that matches the brightness disparity between the highlights and shadows in your composition. For very bright skies, a stronger filter like ND8 may be appropriate, while ND2 or ND4 may suffice for more subtle contrasts.
Step 2: Assess the Scene
Survey your scene to determine where the transition between the bright and dark areas occurs. For example:
- A flat horizon (ocean scenes) may require a hard-edge filter.
- A scene with tree lines or mountains may benefit more from a soft-edge filter.
Identify the main elements of your composition and decide where the filter’s gradient should align.
Step 3: Set Up the Camera and Filter
If you are using a rectangular graduated ND filter with a holder system:
1. Attach the appropriate adapter ring to the camera lens.
2. Slide the rectangular filter into the holder, ensuring that the dark and clear areas of the filter align with your composition.
For screw-on graduated ND filters:
1. Screw the filter onto the lens' threading.
2. Adjust the filter by rotating it to position the gradient as required.
Use live view or your camera’s viewfinder to monitor how the filter affects the scene. Adjust the camera angle or reposition the filter for optimal effect.
Step 4: Adjust the Exposure
Once you’ve positioned the graduated ND filter, you may need to fine-tune your camera settings. Take note of the filter’s light reduction factor and adjust parameters like aperture, shutter speed, or ISO accordingly. For example, in manual mode:
1. Meter the scene without the filter to set your initial exposure.
2. Attach and adjust the graduated ND filter as needed.
3. Use a tripod to minimize camera shake, especially for long-exposure shots.
Step 5: Review and Refine
Take test shots to evaluate the exposure balance between the sky and the foreground. If the sky still appears too bright or the foreground too dark, reconsider the strength of the filter or adjust the gradient's positioning. Some experimentation may be necessary to achieve the desired result.
Pro Tips for Using Graduated ND Filters
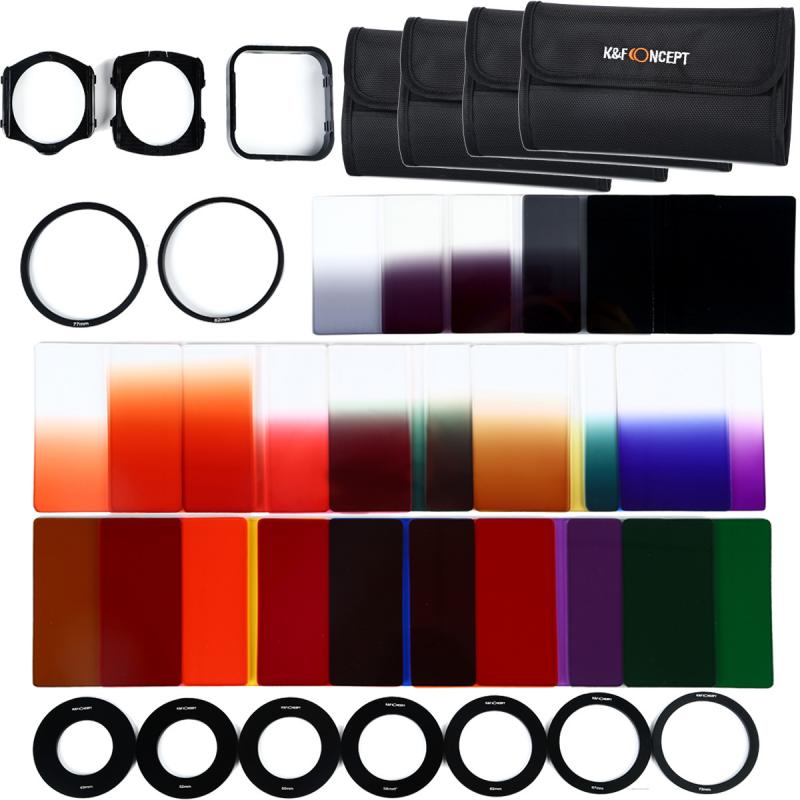
1. Combine Filters for Complex Scenes: In situations with extreme dynamic range, consider stacking multiple filters (e.g., a soft-edge ND with a reverse ND).
2. Experiment with Angles: For creative effects, try angling the gradient diagonally instead of horizontally to match unique lighting scenarios.
3. Work with RAW Files: Always shoot in RAW to retain as much detail as possible for post-processing.
4. Consider Alternatives: If carrying multiple filters isn’t practical, advanced post-processing techniques like HDR (High Dynamic Range) blending can act as a substitute for graduated ND filters.
When Alternatives May Be More Practical
While graduated ND filters offer a natural solution for many high-dynamic-range scenes, there are scenarios where they might not be ideal:
- For irregular or complex horizons, post-processing techniques like bracketing and merging exposures may be more flexible.
- Filters can sometimes introduce color casts to your images, requiring additional adjustments during editing.
Consider your creative vision, gear limitations, and time constraints when deciding whether to rely on a graduated ND filter or alternative methods.
Graduated ND filters are nuanced but powerful tools that enhance the storytelling potential of your images by bringing balance to high-contrast scenes. By selecting the right filter type, assessing the composition, and practicing intentional positioning, you can elevate the quality of your photography and create images that captivate viewers.
As you grow accustomed to using graduated ND filters, your ability to recognize opportunities for their application will improve. Don’t shy away from experimentation; with practice, you’ll understand when and how to use these tools effectively. Whether capturing vast sunsets, dramatic seascapes, or evocative mountain vistas, graduated ND filters will serve as an invaluable companion in your photographic journey.


 Square Lens Filter Kit 100x150mm Soft Graduated ND Filter Set (3 Stop) with Metal Filter Holder & 8 Filter Adapter Rings ( SJ51T )")
 Square Lens Filter Kit 100x150mm Soft Graduated ND Filter Set (3 Stop) with Metal Filter Holder & 8 Filter Adapter Rings ( SJ51T )")


")

 and CPL Filter 2 in 1 for Camera Filter Lens Nano-Klear Series")
")


 Light Reduction, Polarizing Daily Protection Lens Filter, Multi-Coated HD Optical Glass")


