
How To Built An Wifi Camera?
Building a Wi-Fi camera is an exciting DIY project that not only provides insights into electronics and communication systems but also allows you to create a custom device tailored to your specific needs. Whether you want to monitor your home, create a security system, or just experiment with technology, assembling a Wi-Fi camera from scratch is entirely possible if you follow the right steps. This article will discuss the fundamental components required, essential considerations when designing the system, and step-by-step instructions to guide you through the process.
Understanding the Basics of a Wi-Fi Camera

A Wi-Fi camera is essentially a digital camera equipped with a wireless communication module, enabling it to transmit captured footage or images directly over a network. The system consists of several essential components:
1. Camera Module: This is the core image-capturing device, typically equipped with a sensor capable of recording video or capturing images.
2. Microcontroller or Embedded Board: A microcontroller or embedded board processes data from the camera sensor and facilitates communication with other devices (e.g., smartphones or computers).
3. Wi-Fi Module: This module ensures a wireless connection, allowing the camera to transmit data to connected devices or the cloud.
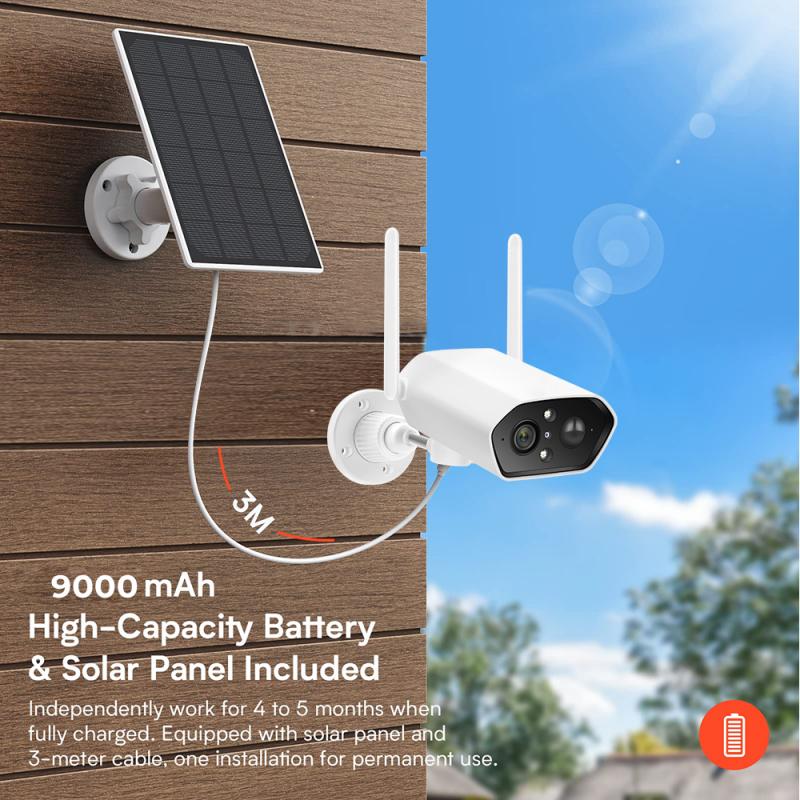
4. Power Source: The system needs a reliable power source, such as batteries or direct power through adapters.
5. Casing: A protective enclosure for the electronics and camera, ensuring durability and ease of deployment.
Step-by-Step Guide to Building a Wi-Fi Camera

1. Gathering the Necessary Components
Before you start building, ensure that you have the following hardware:
- A camera module: A popular choice is the OV7670 or any comparable module depending on the resolution and functionality needed.
- Embedded computing board: Boards like Raspberry Pi, Arduino with ESP8266 (or ESP32), or other similar platforms are widely recommended for projects requiring Wi-Fi functionality.
- A Wi-Fi module (if not integrated into the board): For example, ESP8266 is commonly used.
- Power supply: Batteries or a USB adapter.
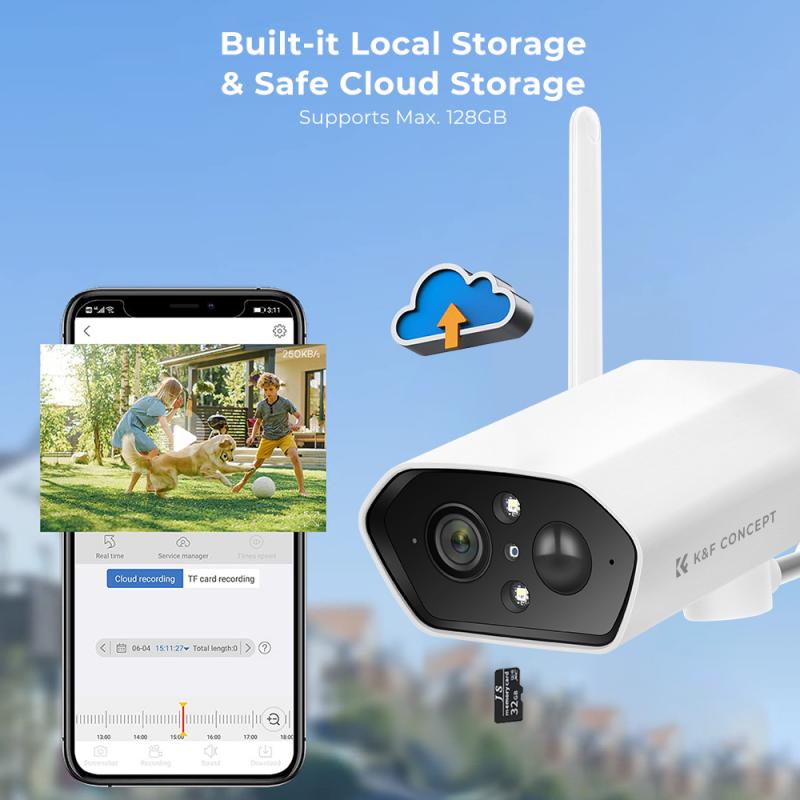
- SD card (optional): For local storage of images or videos.
- Additional sensors and accessories (motion sensors or IR LEDs for night vision, if necessary).
2. Assembling and Connecting the Hardware
Start by connecting the camera module to the embedded board. If you are using Raspberry Pi, ensure compatibility between the camera module and the Raspberry Pi. Most modules ship with specialized connectors.
Camera connection: Many embedded boards have dedicated camera interconnects, often via MIPI-CSI or parallel bus interfaces. Refer to the datasheet or manual of your camera and board for the exact wiring.
Wi-Fi module: Attach the Wi-Fi module if it's not built into the system. For Arduino, the ESP8266 or ESP32 module can be connected via GPIO pins.
Power management: Ensure proper voltage levels between the camera module, board, and Wi-Fi adapter as mismatched power levels can damage components.
- Place the components inside a sturdy casing that protects against dust, water, and accidental damage.
3. Writing the Software
Once the hardware is set up, you need to write code to make the components work in harmony. The software typically includes two key parts: configuring the Wi-Fi and programming the camera.
Platform choice: Whether you are using Arduino, Raspberry Pi, or ESP-based systems, there are libraries available to simplify development. For instance:
- Arduino IDE supports ESP modules using libraries like `ESP8266WiFi` and camera handling libraries.
- Raspberry Pi users can take advantage of Python libraries such as `picamera` for camera control and `socket` libraries for network communication.
Camera setup: If using a camera like OV7670, ensure driver compatibility. Configure parameters such as resolution, frame rate, and focus.
Network configuration: Use software to connect the Wi-Fi module to your local network. Most Wi-Fi modules allow you to either configure static IP addresses or dynamically assign IPs using DHCP.
Data transmission: Create a basic HTTP server or use protocols such as MQTT or RTSP for real-time video streaming. If you'd like to use cloud storage, integrate APIs like AWS S3 or Google Cloud for data uploading.
4. Connecting and Testing
After writing the code, upload it to your embedded board. Using tools like Arduino IDE or Raspberry Pi’s OS interface, deploy the program.
- Power on the device, connect it to your Wi-Fi network, and verify connectivity using ping or through a web dashboard you set up.
- Capture test images or stream video to ensure the camera module and network functionality are properly synchronized.
- Troubleshoot issues by verifying your wiring and coding logic.
5. Enhancing Features
While basic Wi-Fi camera functionality is exciting, additional features can make your device more versatile:
Motion detection: Add a PIR motion sensor to detect movement and trigger the camera to record.
Night vision: Include IR LEDs around the camera module to capture video in low-light settings.
Cloud integration: Stream footage to cloud-based monitoring systems using APIs or pre-built services.
Mobile app integration: Develop a custom app or use existing services like Blynk for remote control and monitoring from your smartphone.
Common Challenges and How to Overcome Them
Building a Wi-Fi camera will expose you to some common challenges. Here are a few and how to address them:
1. Wi-Fi Connectivity Issues: Ensure that the Wi-Fi module firmware is up-to-date and the module supports the required encryption protocols (e.g., WPA2).
2. Streaming Lag: Optimize your software to reduce latency by lowering the resolution or using faster protocols like RTSP.
3. Power Management: Choose a power source with sufficient capacity to run all components without interruption, especially if you're using energy-demanding modules.
Practical Applications of DIY Wi-Fi Cameras
Your homemade Wi-Fi camera can be utilized in various ways:
Home Security: Mount the camera at entrances or other vulnerable areas of your property, enabling 24/7 surveillance.
Wildlife Monitoring: Capture images or videos of wildlife in your backyard without physically being present.
IoT Experiments: Integrate the camera into a larger Internet of Things (IoT) system for automation and analysis.
Educational Projects: Use this as a prototype or study tool for understanding sensors, communication protocols, and embedded systems.
Building a Wi-Fi camera can be both a fun learning experience and a rewarding skill development activity. It offers a hands-on introduction to concepts like connectivity, embedded programming, and video technology. By understanding the components, mastering assembly and coding, and troubleshooting issues, you can create a functional Wi-Fi camera for various applications.
With today’s abundance of affordable modules and resources, creating a Wi-Fi camera has become more accessible than ever. Whether you're a hobbyist, a student, or someone keen on DIY electronics, this project will give you valuable technical knowledge and the satisfaction of building something useful. So gather your tools, plan your system, and start building!


")

 HD Optical Glass with 28-Layer Coating, Standard IR Filter for Unmodified Cameras to Shoot Surreal Landscape and Black & White Photography - Nano-Xcel Series")

")


")

")


