
Can You Use An Nd Filter Inside?
Mastering the Use of ND Filters in Photography: Practical Insights for Enthusiasts and Professionals
Photography is an art and science that demands control over light. One of the most versatile tools in a photographer's kit is the Neutral Density (ND) filter. By managing the amount of light that reaches the camera's sensor, an ND filter opens up creative possibilities, especially in challenging lighting conditions. This article explores the practical applications, types, and techniques for using ND filters to elevate your photography.
---
What Is an ND Filter?
An ND filter is a piece of glass or optical resin that reduces the amount of light entering the lens without altering the color of the scene. It acts like sunglasses for your camera, enabling you to shoot in bright conditions or achieve specific creative effects. ND filters are classified by their light-blocking intensity, typically represented as a filter factor, optical density, or in terms of stops of light reduction.
---
Why Use an ND Filter?
There are several compelling reasons to incorporate ND filters into your photography:
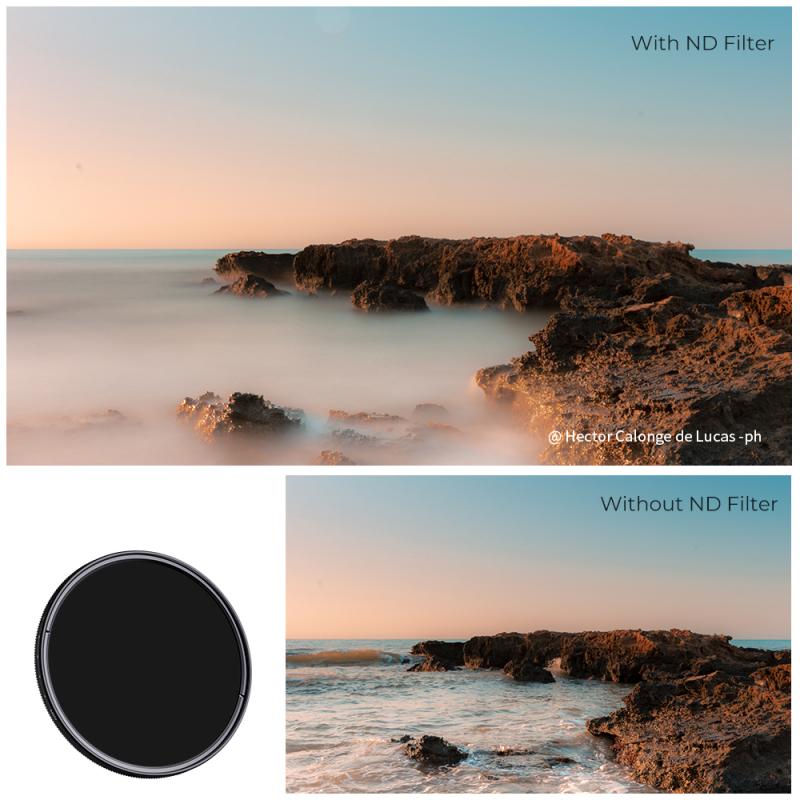
1. Long Exposure Photography
- ND filters allow for long exposures even in daylight, enabling effects like silky-smooth water, blurred clouds, or streaking lights from moving vehicles. For example, a 10-stop ND filter can turn a bright afternoon scene into a dreamlike composition.
2. Wide Apertures in Bright Light
- When you want a shallow depth of field in bright conditions, ND filters help you use a wide aperture without overexposing the image. This is particularly useful in portrait photography when soft, out-of-focus backgrounds are desired.
3. Motion Blur for Dynamic Effects
- Adding intentional motion blur to moving subjects such as rivers, waterfalls, or even people in urban environments adds dynamism to your shots. ND filters provide the control needed to slow the shutter speed and capture this motion.
4. Video Applications
- Filmmakers often use ND filters to maintain cinematic shutter speeds while shooting in daylight. The "180-degree shutter rule" in cinematography requires a specific relationship between frame rate and shutter speed, which is achievable with ND filters.
---
Types of ND Filters
Choosing the right ND filter depends on your specific needs. Here are the main types:
1. Fixed ND Filters
- These filters offer a specific light reduction level, such as 3-stop, 6-stop, or 10-stop. They are simple and effective for photographers who require consistent light control.
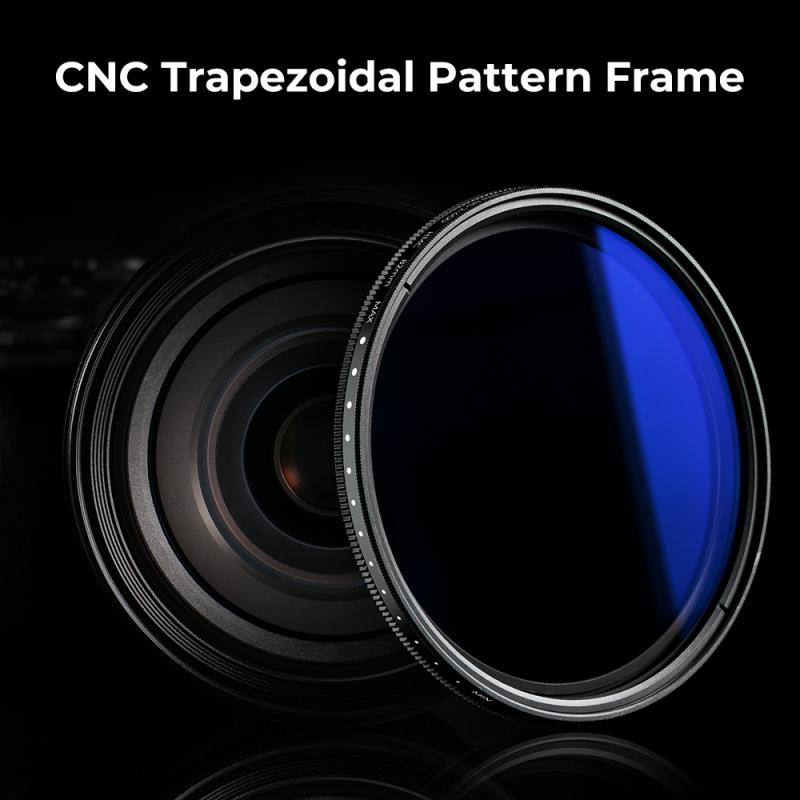
2. Variable ND Filters
- Variable ND filters allow you to adjust the light reduction by rotating the filter, providing flexibility for varying lighting conditions. However, they may introduce artifacts like the "X-pattern" when used at their extremes.
3. Graduated ND Filters
- Designed to balance light between a bright sky and a darker foreground, graduated ND filters are often used in landscape photography. They come in hard, soft, and reverse gradients.
4. Infrared ND Filters
- These specialized filters block visible light while allowing infrared light to pass through, creating unique artistic effects.
---
Choosing the Right ND Filter
When selecting an ND filter, consider the following factors:
1. Intensity
- Determine how many stops of light reduction you need based on your shooting conditions. A 3-stop ND filter may suffice for mild adjustments, while a 10-stop filter is ideal for extreme light reduction.
2. Filter Size
- Ensure the filter matches your lens diameter. If you use multiple lenses, step-up rings can adapt smaller filters to larger lenses.
3. Optical Quality
- Invest in high-quality filters to avoid color casts, vignetting, or loss of sharpness. Reputable brands such as B+W, Hoya, and Lee Filters are reliable choices.
4. Ease of Use
- Variable ND filters offer convenience but may compromise image quality. Fixed ND filters are more reliable for critical applications.
---
Techniques for Using ND Filters
Mastering ND filters involves more than just attaching them to your lens. Here are essential techniques:
1. Metering Before Mounting
- Meter and compose your shot before attaching the ND filter, especially if it’s a high-density filter like a 10-stop. Once the filter is in place, the reduced light may make it difficult to focus or see the scene through the viewfinder.
2. Using a Tripod
- Long exposures often necessitate a tripod to prevent camera shake. ND filters are most effective when combined with stability, especially for exposures lasting several seconds or minutes.
3. Calculating Exposure
- Use an ND filter chart or smartphone app to calculate the correct exposure. For example, if your base shutter speed is 1/125 second, a 10-stop ND filter extends it to 8 seconds.
4. Avoiding Overexposure
- Check your histogram and highlight warnings to ensure your image isn't overexposed. Bracketing exposures can help capture the best result.
5. Combining Filters
- For extreme light reduction, stack multiple ND filters. However, be mindful of potential vignetting or image degradation.
---
Common Challenges and Solutions
1. Color Casts
- Some ND filters may introduce a color cast to your images. High-quality filters minimize this issue, and post-processing tools like Lightroom or Photoshop can correct any remaining color imbalance.
2. Focus Difficulty
- High-density ND filters can make it hard to focus manually or automatically. Focus before mounting the filter or use live view with focus magnification.
3. Vignetting
- Stacking filters or using filters on wide-angle lenses can cause vignetting. Opt for slim-profile filters to reduce this risk.
---
Creative Applications of ND Filters
ND filters aren’t just for technical control—they unlock a world of creative possibilities:
- Landscape Photography
- Use ND filters to transform rushing rivers into silky streams or to capture the motion of clouds across a static landscape.
- Portraiture
- Create a cinematic look by shooting wide open in harsh sunlight while maintaining proper exposure.
- Cityscapes
- Blur moving crowds or vehicles to emphasize the architecture and urban environment.
- Seascapes
- Achieve surreal, minimalist images by smoothing the ocean surface and softening crashing waves.
---
Real-World Scenarios: When and How to Use ND Filters
Scenario 1: Capturing Waterfalls
- To photograph a waterfall with a dreamy, flowing effect, use a 6-stop or 10-stop ND filter and set your shutter speed between 1 and 15 seconds.
Scenario 2: Daytime Portraits
- For a shallow depth of field under bright sunlight, use a 3-stop ND filter to shoot wide open while maintaining proper exposure.
Scenario 3: Time-Lapse Videos
- ND filters enable smooth transitions in time-lapse photography by ensuring a consistent motion blur in moving elements.
---
Final Thoughts
ND filters are indispensable tools for photographers and videographers looking to control light and explore creative effects. From long-exposure landscapes to cinematic portraits, these filters expand the possibilities of your craft. By understanding their types, applications, and techniques, you can harness the full potential of ND filters to enhance your work.
Incorporate ND filters into your practice with intention and creativity, and watch as your photography evolves into a realm of endless possibilities. Whether you’re an amateur or a seasoned professional, mastering ND filters is a step toward achieving artistic excellence.


 & Circular Polarizing Filter CPL & Black Mist 1/4 3 in 1 HD Lens Filter with 28 Multi-Coated for Camera Lenses Nano-Xcel Series")
")

 Variable ND Filter and CPL Circular Polarizing Filter 2 in 1 with 28 Layers of Anti-reflection Green Film, Two Orange Levers, Imported White Cloth Nano-X Series")


")


