How To Take Pictures Through A Telescope?
Taking pictures through a telescope can be surprisingly easy or maddeningly difficult, depending on what you’re trying to photograph.
The Moon with a phone? You can get a decent shot tonight.
Saturn with visible rings? Possible, but it takes patience and the right technique.
Galaxies and nebulae? That’s a different game entirely, and the telescope is only one part of it.
The biggest mistake beginners make is assuming the telescope works like a giant camera lens and that any camera can simply be held up to the eyepiece. Sometimes that works, especially for the Moon, but it is not the most reliable way to get sharp images. The method you use matters a lot.
Start with the Moon
If this is your first attempt, photograph the Moon before trying planets or deep-sky objects. It is bright, large, easy to find, and forgiving. You can practice focusing, exposure, and alignment without chasing a tiny dot around the sky.
A half Moon is often better than a full Moon. Full Moons look bright and dramatic to the eye, but in photos they can appear flat because the sunlight is hitting the surface straight on. Around first quarter or last quarter, shadows along the terminator — the line between light and dark — reveal craters and mountains much more clearly.
Use a low-power eyepiece first. Something like a 25mm eyepiece is usually easier than a high-power 6mm eyepiece. Beginners often go straight to maximum magnification, but high power makes everything harder: the image shakes more, objects drift faster, focusing becomes touchier, and brightness drops.
The simplest method: holding a phone to the eyepiece
Yes, you can take a picture through a telescope with a phone by holding it up to the eyepiece. This is called afocal photography. The telescope forms the image, the eyepiece magnifies it, and your phone camera photographs what your eye would see.
The trick is getting the phone lens exactly centered over the eyepiece. If it is slightly off, you’ll see black crescents, glare, or only part of the image. Move slowly. Don’t press the phone against the eyepiece too hard, because even a small bump can move the telescope off target.
For the Moon, tap and hold on the bright lunar surface to lock focus and exposure if your phone allows it. Then reduce exposure manually. Most phones overexpose the Moon because the camera sees a large black sky and tries to brighten the whole scene. The result is a glowing white blob with no crater detail. Lowering the exposure is usually the single biggest improvement.
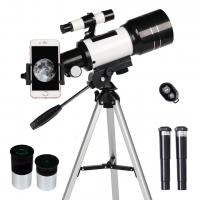
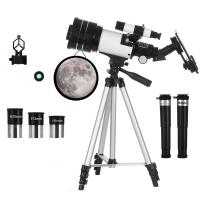
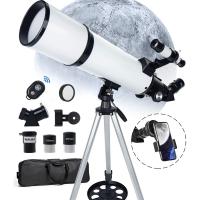
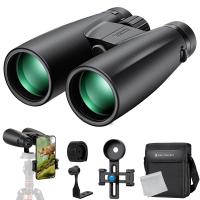
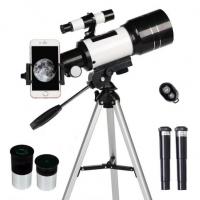
A cheap phone telescope adapter helps a lot. It clamps the phone in place and lines the camera lens up with the eyepiece. The first setup can be fiddly, but once aligned it saves you from hand tremor and constant repositioning. If your phone has multiple lenses, make sure the adapter is lined up with the actual lens being used. Many phones switch lenses automatically, which can make alignment frustrating. In the camera app, try selecting 1x and avoid digital zoom at first.
Use a short timer or voice shutter if possible. Pressing the screen often shakes the telescope just enough to blur the photo.
Using a DSLR or mirrorless camera
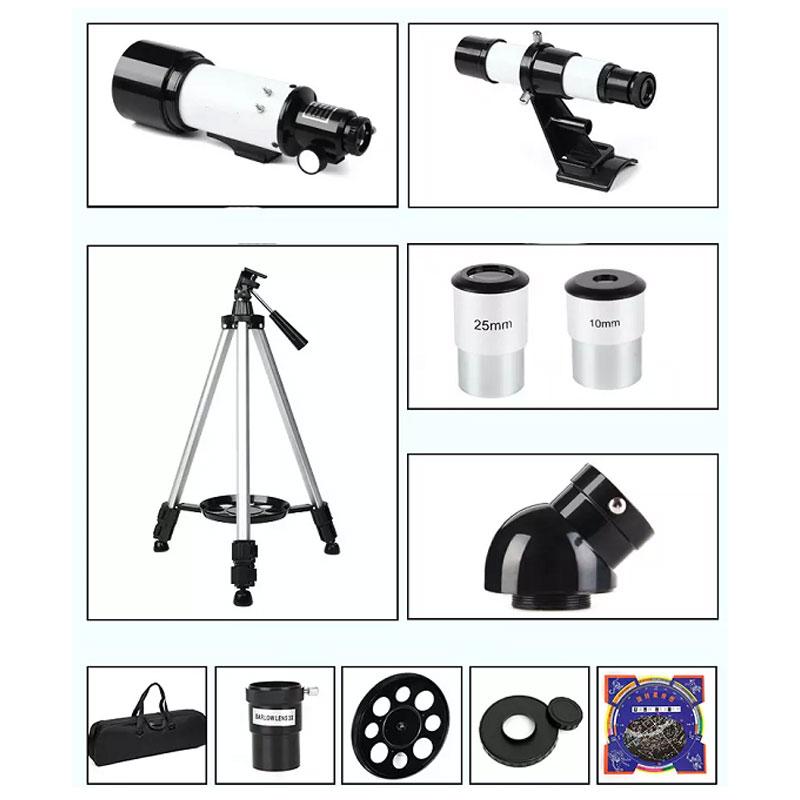
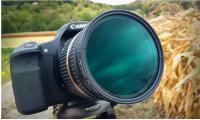
With a DSLR or mirrorless camera, there are two common ways to shoot through a telescope.
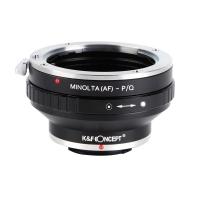
The cleaner method is called prime focus. You remove the camera lens and eyepiece, then attach the camera body directly to the telescope using a T-ring and T-adapter. The telescope becomes the camera lens.
This gives better image quality than shooting through an eyepiece, but not every telescope reaches focus with every camera. Newtonian reflectors are especially known for this problem: the camera sensor may sit too far back to reach focus unless the telescope was designed with astrophotography in mind. Some people solve it with a Barlow lens, a low-profile focuser, or by modifying the telescope, but it’s better to know this before buying adapters.
For prime focus, you’ll need:
- A T-ring for your camera mount
- A T-adapter or nosepiece that fits your telescope focuser, usually 1.25-inch or 2-inch
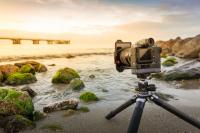
- A sturdy mount, because cameras are heavier than eyepieces
Set the camera to manual mode. For the Moon, start around ISO 100–400 and use fast shutter speeds, often somewhere between 1/125 and 1/1000 second depending on brightness and focal ratio. Don’t trust auto exposure for lunar shots; it usually gets fooled.
Use live view, zoom in on the screen, and focus manually. Focus is one of those things that looks “close enough” in the moment and disappointing later on a computer. Take your time. If the image wobbles every time you touch the focuser, wait for it to settle before judging sharpness.
A remote shutter release or 2-second timer is useful. On DSLRs, mirror lock-up can also help reduce vibration.
Eyepiece projection: useful, but not always beginner-friendly
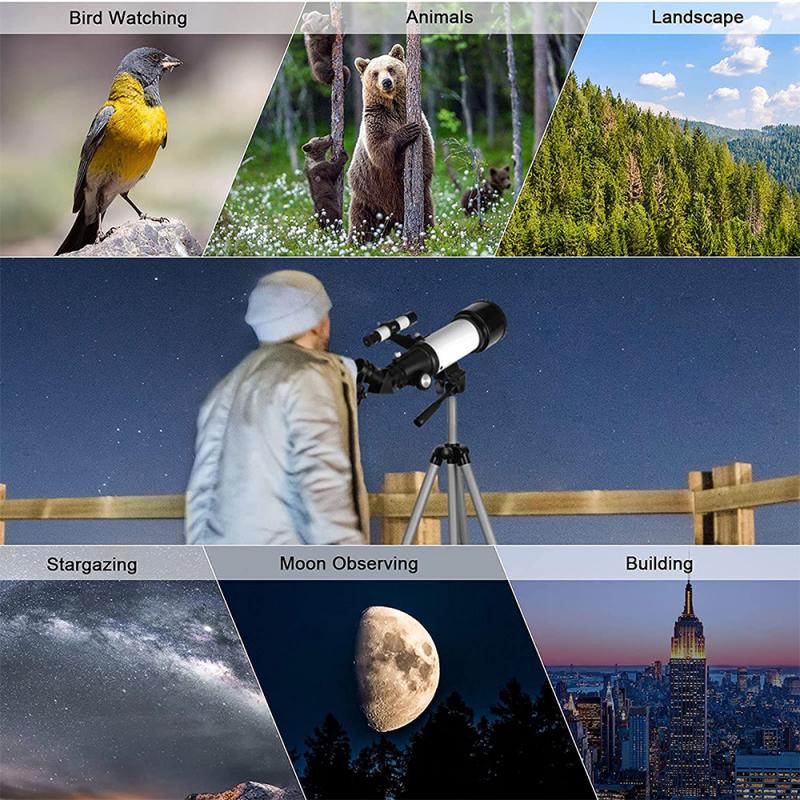
Eyepiece projection uses an eyepiece between the telescope and camera to increase magnification. It can work for planets, but it adds more glass, more alignment issues, and more ways to soften the image.
Beginners often try eyepiece projection because they want Jupiter or Saturn to look big. The problem is that bigger is not always better. If the atmosphere is unsteady, extra magnification just enlarges blur. A smaller, sharper image usually beats a huge mushy one.
For planets, many people get better results with a dedicated planetary camera and a Barlow lens rather than eyepiece projection with a DSLR. Planetary cameras record video, and software later stacks the sharpest frames. This works because planets shimmer and distort moment by moment in the atmosphere. One single photo may catch a bad instant, while a video gives you thousands of chances.
Planets need video, not single snapshots
If you want recognizable images of Jupiter, Saturn, or Mars, think in terms of short video clips. This applies whether you use a phone, a planetary camera, or sometimes even a regular camera with video mode.
The usual process is:
- Center the planet carefully
- Record a short video
- Use stacking software to keep the sharpest frames
- Sharpen the stacked result
This sounds more technical than taking one photo, but it is how most good amateur planetary images are made. The atmosphere is constantly moving. Stacking helps average out noise and preserve brief moments of clarity.
Jupiter is bright and changes quickly, so keep videos fairly short, often under a couple of minutes, to avoid smearing fine detail from the planet’s rotation. Saturn is dimmer and usually needs more gain or exposure. Mars is only impressive near opposition; for much of the time it looks like a tiny orange dot even in decent telescopes.
Don’t judge your telescope too harshly from one night. Planetary detail depends heavily on “seeing,” which is atmospheric steadiness. A night can be perfectly clear but still terrible for planets if the air is turbulent. If stars are twinkling violently, high-magnification planet images will probably suffer.
Deep-sky objects are a different challenge
Nebulae, galaxies, and star clusters are much dimmer than the Moon and planets. The main issue is not magnification; it is collecting enough light over time.
For deep-sky photography, the mount matters more than the telescope. You need accurate tracking so the camera can take long exposures while Earth rotates. A manual Dobsonian, for example, can be wonderful for visual observing and lunar snapshots, but it is not ideal for long-exposure galaxy photos.
You can still photograph bright targets like the Orion Nebula with modest gear, especially if you take many short exposures and stack them. But if your goal is colorful nebula images like the ones you see online, expect a learning curve involving polar alignment, tracking, calibration frames, stacking, and editing.
A common beginner trap is buying a large telescope on a weak mount. Visually, a big aperture is exciting. For photography, a shaky mount ruins images fast. A smaller telescope or camera lens on a solid tracking mount often produces better deep-sky photos than a large tube on a wobbly tripod.
Focus is harder than it looks
Through the eyepiece, your eye can compensate a little. A camera cannot. Slightly missed focus is one of the most common reasons telescope photos look soft.
For the Moon, focus on a high-contrast crater edge. For planets, focus on the planet’s edge or nearby moons if visible. For stars, use live view zoom and make the star as small as possible. A Bahtinov mask is a simple focusing aid that creates diffraction spikes around a star; when the center spike is aligned, focus is good. It’s one of the cheapest accessories that actually makes life easier.
Refocus during the night if the temperature changes. Telescope tubes and focusers shift slightly as they cool. What was sharp at 9 p.m. may be off by 11 p.m.
Keep the telescope steady
Many disappointing images come from vibration rather than bad optics. Lightweight tripods, loose mounts, wind, touching the focuser, pressing the shutter, even walking on a deck can blur the shot.
Set up on solid ground if possible. Tighten the mount, but don’t overtighten plastic parts. Balance the telescope if your mount allows it, especially with a camera attached. Let the telescope settle after every adjustment.
If you’re using a phone adapter, attach it before centering your target if the added weight tends to shift the telescope. With small beginner scopes, even a phone can affect balance.
Match expectations to the telescope
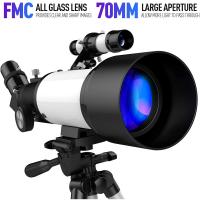
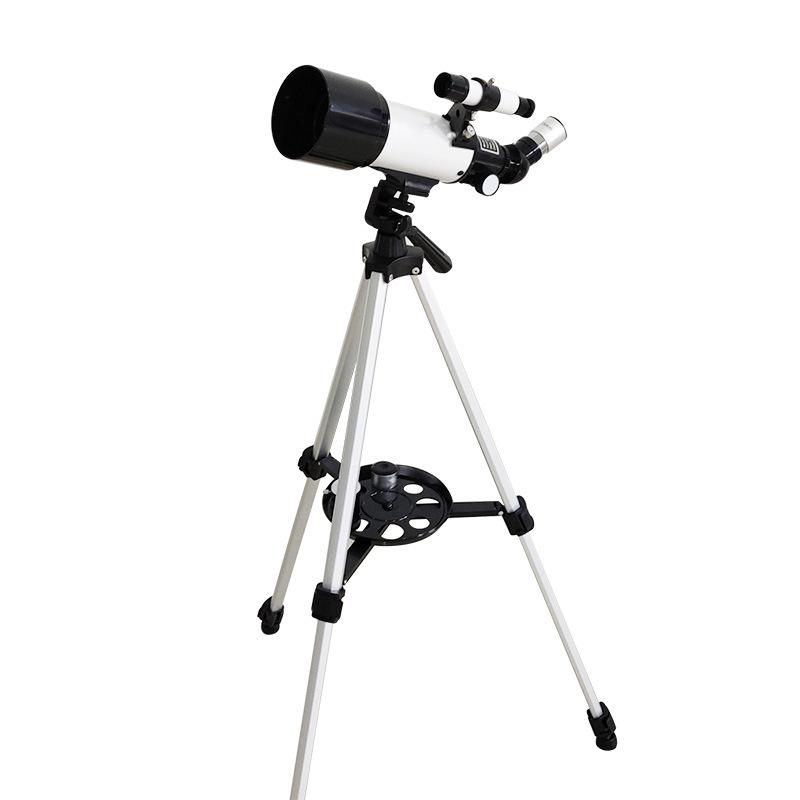
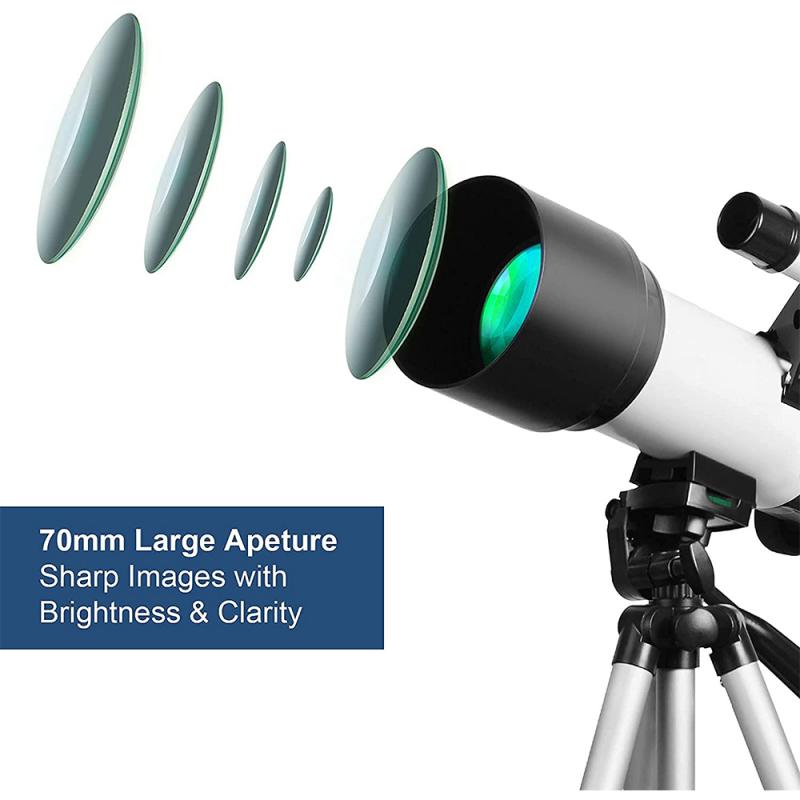
Small beginner telescopes can take nice Moon photos. They can show Saturn’s rings and Jupiter’s moons, but the images may be small. A 70mm refractor is not going to produce the same planetary detail as a well-collimated 8-inch reflector on a steady night.
Reflectors may need collimation, especially Newtonians. If the mirrors are misaligned, high-power images will look soft no matter how carefully you focus. Refractors avoid collimation headaches but cheaper ones may show color fringing around bright objects like the Moon.
Clean optics are less important than people think. A little dust on the lens or mirror rarely ruins an image. Fingerprints, dew, poor focus, bad seeing, and shaky mounts are much bigger problems. Don’t aggressively clean telescope optics unless you know how; it’s easy to do more harm than good.
A practical first-night plan
Pick the Moon. Set the telescope outside 20–30 minutes early so it can adjust to the outdoor temperature. Use a low-power eyepiece. Center the Moon and focus visually first.
If using a phone, attach the adapter indoors or while aimed at a bright area so you can align the camera lens with the eyepiece. Then place it on the telescope, open the camera app, reduce exposure, and take several shots with a timer. Try different exposure levels. Some will look too dark on the phone but show better crater detail later.
If using a camera at prime focus, take a series of manual exposures at different shutter speeds. Review them zoomed in, not just full-screen. The best lunar photo is often slightly darker than expected.
Once you get a sharp Moon image, move on to planets. Once planets make sense, then consider deep-sky imaging. Trying to learn everything at once usually leads to frustration.
Telescope photography rewards patience more than expensive gear at the beginning. The first good crater shot or clean view of Saturn’s rings feels great because you had to work for it. Start simple, control shake, nail focus, lower the exposure, and take more frames than you think you need. The improvement from your first awkward attempt to your third or fourth session can be huge.