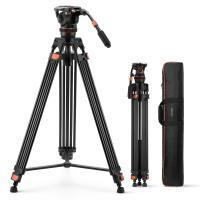
How To Set Up A Tripod?
2026-07-11 00:47:38
0 Comments
setting up the tripod
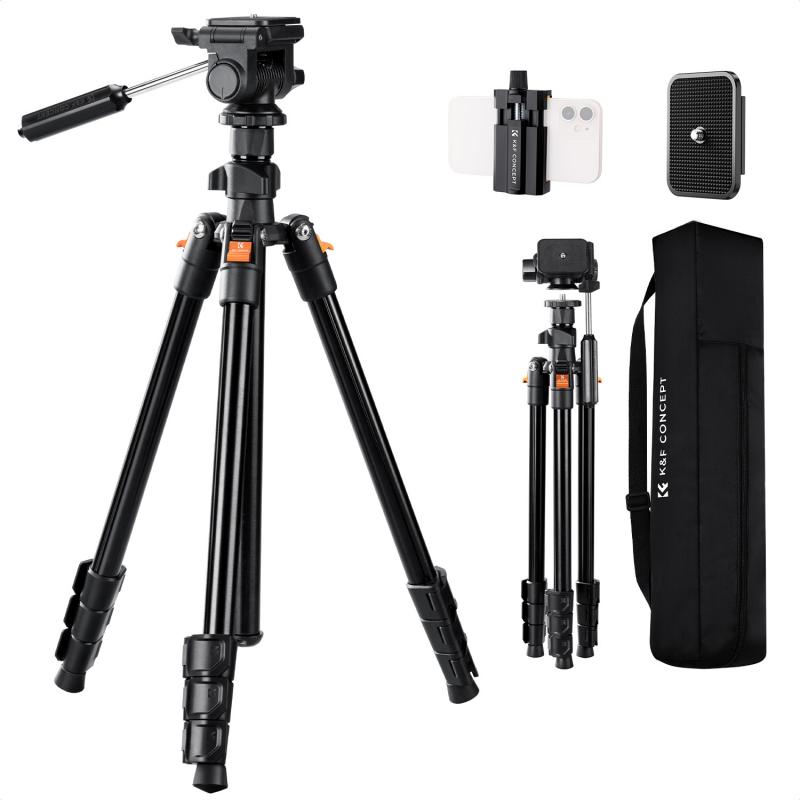
- first thing to do is to figure out roughly how tall your tripod needs to be to take your picture. if you don’t know exactly, that’s ok. just guess for now to get a start.
- decide on your location. be sure the backdrop will work for your photograph, and decide on the direction you will want to take your photo.
- arrange the legs. point one of the legs in the same direction that your camera will face. doing so will create a space between the other two legs for you to stand. this will make it easier and more comfortable for you to work while focusing and shooting.
- extend the legs. open the latches that release the legs and extend the sections. start by extending the thickest sections first as they will provide more stable support than the thinner segments.
- be sure the legs are secure. if you are on an uneven surface you will have to readjust the legs until you can get the length just right. when on soft ground or sand, push the tripod legs all the way down until it is pressed against something solid.
- to give the tripod some extra support, you can add some weight to the center by hanging your camera bag.
- avoid raising the center post. if you set up your tripod and realize you need your camera to be higher, adjust the legs first. the three legs of the tripod provide much better stability. using the center post will make your setup less stable. only use the center post as a last resort, or to make minor adjustments when you need an inch or two of additional height.
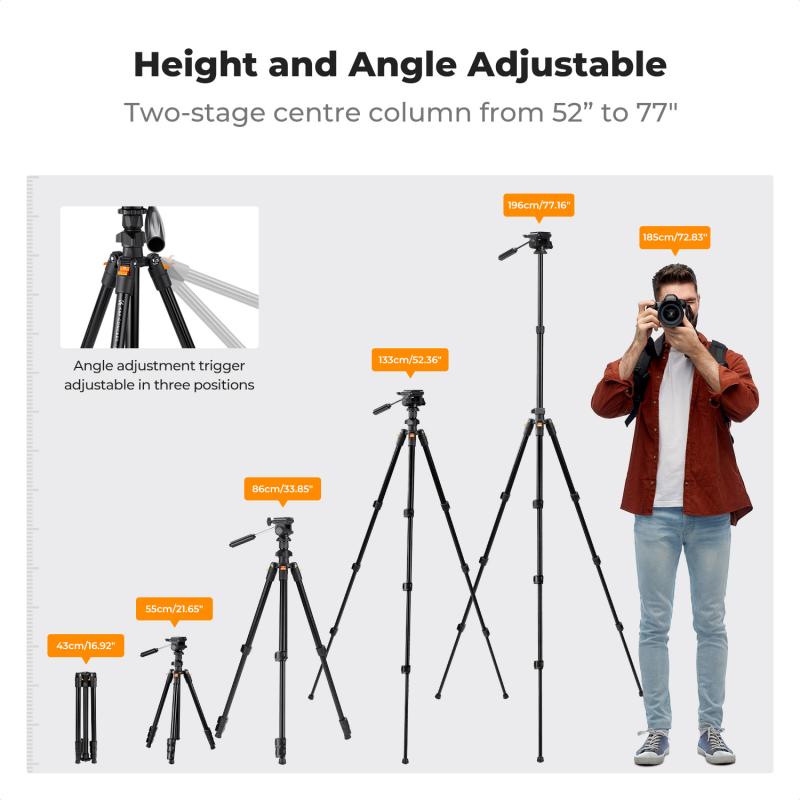
leg extension
- loosen the pull leg to desired length.
- tighten the repeat for all legs.
- expand legs and place the tripod on the ground.
- grab your tripod and pull down the legs. to expand the legs, twist the bottom grip (to the left) and pull it down. twist the bottom grip in the opposite direction (to the right) to lock the leg into place. you will hear a clicking sound as you unlock and lock the position.
- once the legs are in ideal height position, twist the middle grip to adjust the height of your iphone mount. to unlock the grip simply twist it and pull it up or down. once you found the perfect position twist the grip back in to lock the position.
camera mount
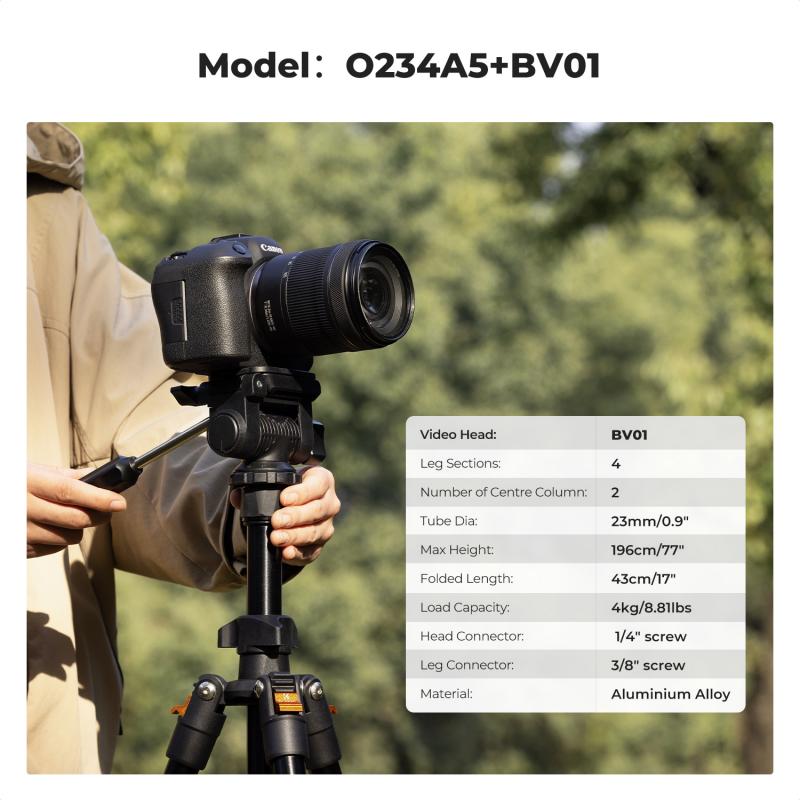
- remove the camera base plate from the tripod.
- most tripods have a plate that screws onto the base of the camera and locks into place on the tripod. this allows you to quickly attach and remove the camera when shooting.
- remove the plate from the tripod by using the quick release latch.
- attach the base plate to the camera. place the screw of the base plate into the hole on the bottom of the camera and rotate clockwise until tight.
- you can do this before you even go out to take pictures if you want to save yourself some setup time.
- place the camera on the tripod. put the camera on top of the tripod so that the base plate is between the tripod and the bottom of the camera.
- some tripods will lock the camera into place automatically, so listen for the camera to click into place.
- secure the release latch. if the tripod has a release bar, lock it back into place.
- be absolutely sure the camera is secure on the tripod before you let go of it. even if it seems okay, wiggle the camera a bit just to make certain it will not fall off.
- adjust the camera angle. you may need to loosen a knob just below the camera base plate to adjust the angle.
- once you settle on the desired angle, be sure to tighten the knob to secure the camera in place.
- you may need to get extra equipment in some cases, like an l bracket for quick portrait-to-landscape orientation changes or a tripod collar for long lenses.
iphone mount
- grab your iphone mount from the box and place the side of the mount that doesn’t expand out, on the top plate of the tripod.
- use the knob at the top (green) to securely lock in the stand.
- place your iphone in the mount by having the back of your iphone face the interior of the mount.
- pull the side of the mount and expand it outwards, place the side of your phone inside and slide it in the mount.
- make sure the sides of the mount are lower than the iphone lock and volume buttons.
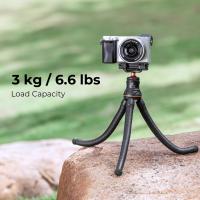
- the tripod has a weight capacity of 6.5 pounds (3 kilos).
handle adjustment and height adjustment
- handle adjustment
- loosen the move the tighten the pan handle dial.
- height adjustment
- loosen the rotate the tighten the centre column dial.
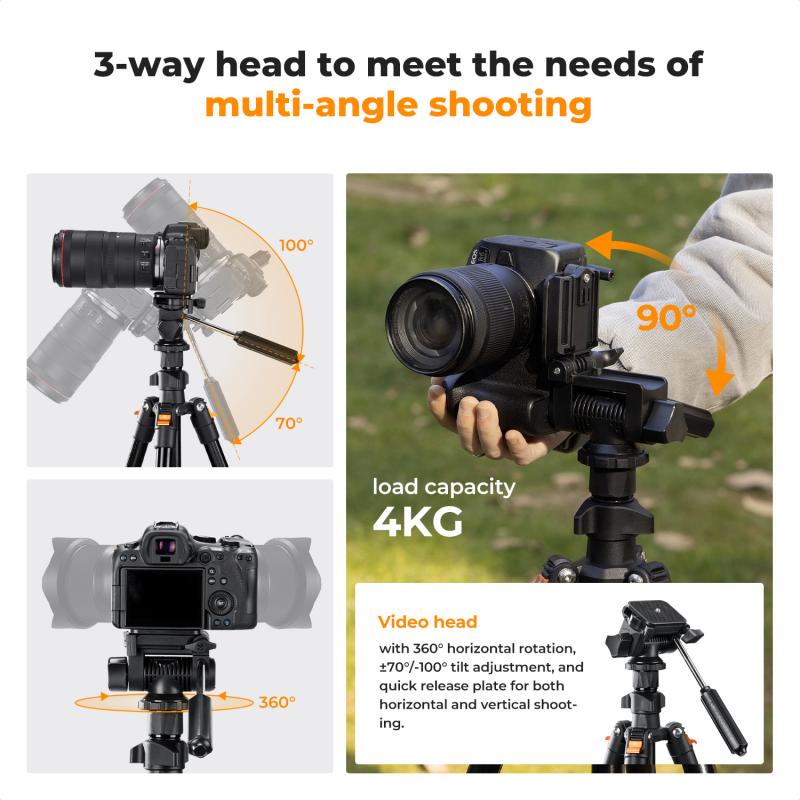
3-way pan/tilt
- horizontal pan
- loosen the rotate the tighten the vertical pan
- mount tilt
- loosen the tilt the mount to the desired position.tightenthe mount tilt dial.
tripod head direction and angle
- on the top part of your tripod there are two black knobs one is lower than the other.
- the lowest knob controls the turn direction of the head of the tripod, allowing you to lock in the desired direction.
- the other knob controls the angle of the iphone mount on the ball head and allows you to lock in that ideal angle.
multiple positions
- the tripod allows you to have freedom with creating your shots through multiple positions.
- landscape mode is how your tripod should look after setting it up. when the iphone mount is oriented in a vertical position it is in landscape mode.
- portrait mode can easily be acquired by using the top knob to unlock and loosen the mount to move around.
- on the side of the ball head the mount can be moved lower and the orientation of the iphone mount will shift horizontally.
- this is how you can capture portrait photography and footage on the tripod.
- overhead photography can be captured in portrait mode.
- using the top knob unlock the position and turn the iphone mount to flip the iphone in an overhead position and lock in the position.
- pro tip: when trying to capture overhead photography, have the iphone mount at an angle to avoid capturing the tripod legs in your shot.
when to use a tripod
- knowing the right way to use a tripod can make your photography and videography more professional.
- it will help you to pay more attention when setting up your composition, and give you the stability needed for crisp, beautiful shots.
- select a tripod that is compatible with your camera, and you're all set to take some great photos and videos.
- use a tripod when the shutter speed is too slow for the focal length of your lens.
- for example, if the shutter speed is set at 1/60 seconds and you are using a 100mm lens, you need a tripod.
- so if you're using longer lenses and photographing in low-light environments, you will like benefit greatly from using a tripod.
- using a tripod in low-light or night photography will help you from taking blurry pictures.
- use a tripod when you plan to enlarge the photos.
- use a tripod for specific styles and techniques.
- skip the tripod when using the flash as the light source. since a flash is brief you won't need a tripod when using it as your main source of light.
camera settings and shutter release
- adjust your camera settings.
- set a timer. this way the camera will have an extra moment to stabilize
- use a remote shutter release.
- after all the time you have spent preparing your camera and tripod to capture the perfect picture, don't risk messing it up by bumping the camera or moving it inadvertently when you snap your shot.
- instead of pressing the button on the camera, use a remote to snap your pictures.
selecting a tripod
- check to make sure the tripod is compatible with your camera.
- be sure you check that your equipment will work together.
- note the weight of the tripod.
- cheap tripods may be tempting to purchase, but will not provide much stability because of their lighter weight and less stable construction.
- if you have an expensive camera, the last thing you want is for it to break because the wind blew your lightweight tripod over.
- check the weight of different models and find one that is going to be sturdy, but not too difficult for you to carry around.
- look for helpful features.
- tripods may all seem to do the same thing, but some are better than others.
- purchasing a tripod with a hook for a camera bag or built-in level can make a big difference in getting better pictures.
- look over the knobs and feet on the tripod legs, too.
- then assess the overall value of the tripod before deciding on your purchase.
keep the manual handy
- keep the manual handy if your tripod came with one.
- you will find yourself referring to it often.
- experiment with each part of your tripod.
- getting familiar with its parts will help you to set up and collapse it quickly.
- if your tripod has been used a lot, you may need to perform some maintenance on it, like replacing the head
Leave your comment
Note: HTML is not translated!