Can You Take Photos Through Binoculars?
Yes, you can take photos through binoculars. Binoculars are designed to deliver an image to your eye, but a smartphone camera's lens is of a similar size. The entrance pupil for the camera lens is just a mm or two behind the window on the rear of the case. When you focus your binoculars, you will adjust them to place the magnified virtual image somewhere between 1 m and infinity, and your phone's autofocus can focus on that. So if you can hold the phone camera in the same position that your eye's pupil would be when you are using the binoculars, the phone will see through the binoculars and focus on the image.
The easiest method is to afocally couple the camera to the binoculars. For a quick, through-the-binocular image in daylight, you can simply hand hold the camera against the eyepiece. You may have to adjust focus to a finer degree than you'll see on the camera's LCD screen. Hold your phone camera up to the eyepiece, then move left, right, up, down, forward and back until you get a nice clear image with no dark spots, then click.
One thing to note is that your phone camera has a wide field of view and the binoculars can't match that, so the image size will be small. You certainly can take photos through a binocular, and you may achieve acceptable results, but usually not great photos.
Alignment and Centering
The hardest part is keeping the camera lens centered behind the binocular eyepiece. Several companies make "digiscoping" holders which hold the phone and the binoculars attached together, with the camera lens and binocular eyepiece lined up. Or you can try holding them in alignment by hand.
- Make sure the iPhone lens is sitting dead center in the eyepiece — that's where the sharpest point is.
- Kill any light coming in from the rear so it won't be bouncing and reflecting light between the iPhone lens and eyepiece — that should improve clarity.
- A digiscoping mount solves both alignment and light issues.
- The eye-pieces on the binoculars can be extended to sit tight around your eyes; for photography they need to be retracted so the camera lens can fit close against the viewport.
- Make sure there aren't any obstructions between you and the subject that you missed with the naked eye — this ensures the camera will have a better chance of focusing on the subject instead of a branch or other obstacle in front of it.
Camera Settings for Binocular Photography
- Burst mode
- Set your camera to burst mode so you can take many photos in a row, giving a better chance of a good capture.
- Intelligent auto
- Setting your camera to intelligent auto helps accommodate a variety of ever-changing situations.
- Manual focus (Pro mode)
- Try using your phone's pro mode (manual mode) for manual focus — this can help with sharpening. Some apps allow you to force the telephoto lens specifically.
- Brightness adjustment
- If appropriate, adjust the brightness on your camera so you don't lose any data from anything in the photo being over or under exposed.
- Telephoto lens forcing
- Smartphones don't strictly use the telephoto lens — they blend between lenses. Apps like ProCam can force the phone to use the telephoto lens only, which can improve results.
Using a Digiscoping Adapter
Several companies make digiscoping or bino-phone adapters that are pretty cheap. An adapter definitely makes it easier to line up the camera with the eyepiece. For a quick, through-the-binocular image in daylight, you can simply hand hold the camera against the eyepiece, but in low light, an adapter becomes more important.
- A digiscoping mount holds the phone and the binoculars attached together, with the camera lens and binocular eyepiece lined up.
- Some adapters are universal smartphone optics adapters that fit a range of eyepiece diameters.
- The adapter helps line things up, but getting full clarity still requires attention to centering and light management.
- In low light, even with an adapter, you may encounter many hours of frustration — for low-light scenarios, stacking images from a small video camera is an alternative approach.
Technique and Practical Tips
- Make sure batteries are charged, memory card has room, lenses are clean, and straps are on and comfortable before heading out.
- Focus in on your subject with the binoculars first and make sure there aren't any obstructions between you and the subject.
- Retract the eye-pieces so the camera lens can fit close against the viewport.
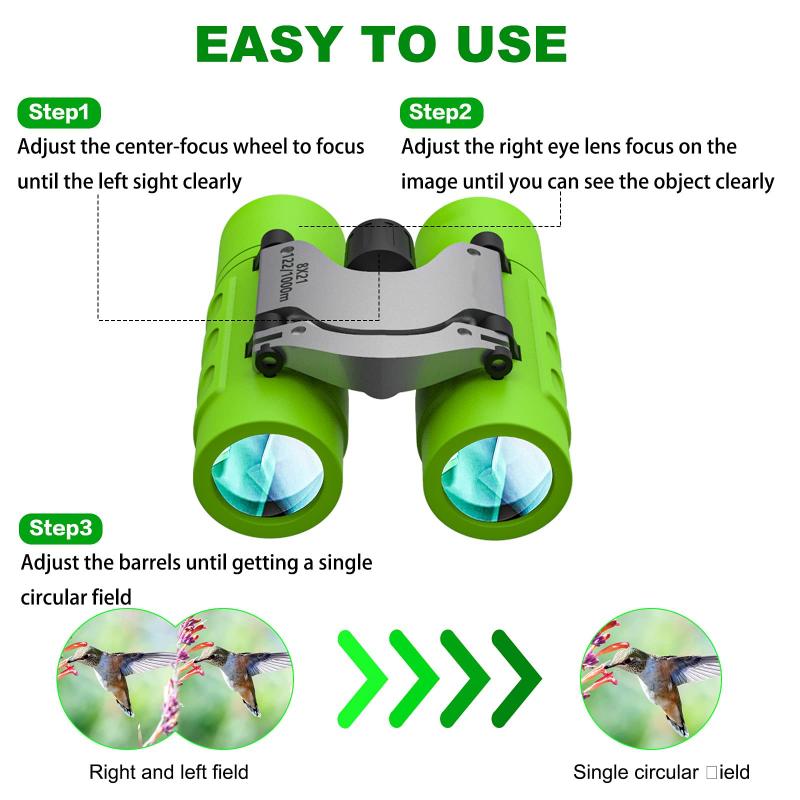
- Turn your camera on and find focus with your binoculars. Keeping one eye on the subject, line up the camera lens to the binoculars, making sure it is centered.
- Hold both the camera and binoculars, find the subject, zoom to an appropriate level, set up the shot, and start shooting.
- Constantly monitor the subject, the lens alignment with the binoculars, and the focus and lighting of the shots — adjust as needed and continue shooting.
- This method takes patience, constant vigilance, and a fair bit of arm stability.
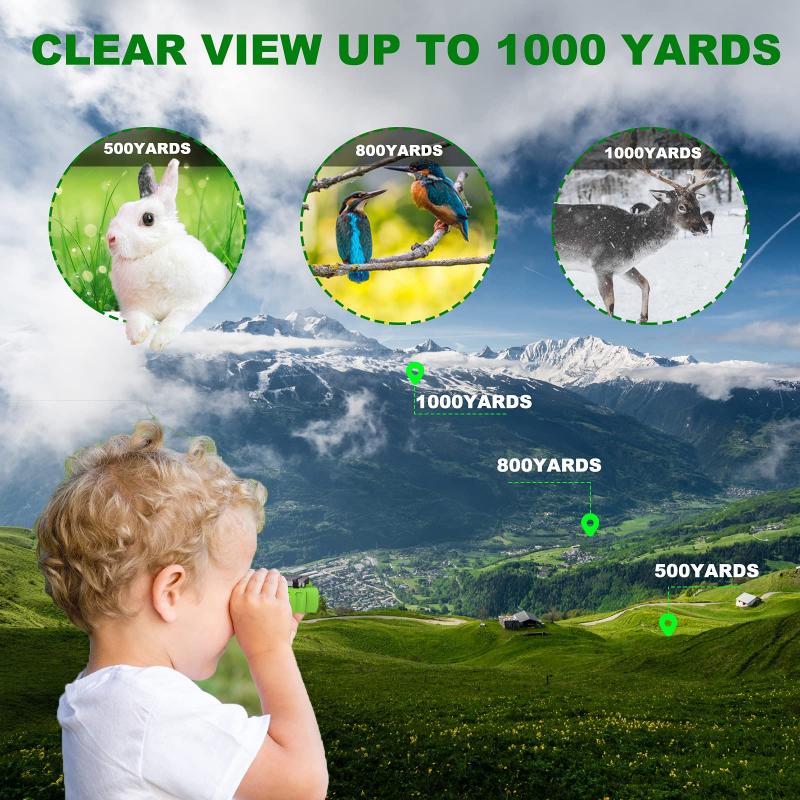
One example of binocular photography in practice: one photographer uses this technique regularly for bird photography, lining up a standard camera lens to binocular eyepieces and shooting in burst mode with intelligent auto. A close-range photograph taken this way can pick up a stunning amount of detail in feathers and, with natural lighting, requires very little processing. This method is described as a natural choice when walking around with both a camera and binoculars while trying to photograph birds at a distance, using the binoculars for extra optical zoom.