Which Nd Filter For Landscape Photography?
Neutral density (ND) filters are some of the most valuable pieces of equipment that a landscape photographer can have in their camera bag. Just like sunglasses are to your eyes, neutral density filters are optical accessories that act to shield the amount of light entering your lens and eventually reaching your camera's sensor. In doing so, they give you greater control over exposure, allowing you to work with slower shutter speeds to create interesting motion effects which can change the overall mood and atmosphere of your shots.
There are two ways that you can use an ND filter: 1) to slow down your shutter speed and 2) to shoot with a wider aperture in bright environments. Slowing down the shutter speed is the most common way of using ND filters. By placing an ND filter in front of your lens, you will reduce the amount of light that enters your camera, causing moving objects to be blurred.
Creative Uses of ND Filters in Landscape Photography
In landscape photography, ND filters are used to reduce the light coming into the camera sensor so that the shutter speed can be slowed down for creative effect. The following subjects benefit most from ND filter use:
- Water: Waterfalls, streams, rivers, lakes and ponds — ND filters allow for silky smooth water effects. A 3-stop ND filter is great for slightly slowing motion in moving water, while a 6-stop filter offers more flexibility in moderate light.
- Waves and coastal scenes: ND filters are used on coasts when conditions are too bright for half-second or longer exposures needed to capture wave action.
- Clouds: A 10-stop ND filter allows shooting exposures with shutter speeds of 30 seconds and longer to capture wispy cloud movement. If the clouds are moving fast, a shutter speed of 15 seconds may get some movement, but most often when shooting for cloud movement, shutter speed will be 30 seconds to several minutes.
- Reflections: On lakes and ponds, on a clear calm day when reflections of the sky or surrounding landscape are visible, an ND filter can help with smoothing out smaller ripples from fish or light wind for a better reflection.
- People removal: If visiting a place with a lot of people coming and going, an 8–12-stop ND filter and a tripod-mounted camera can make them disappear. As long as people do not stop and stay in one place, they can either be a ghostly blur or vanish entirely depending on the length of the exposure.
- Shooting wide open in daylight: ND filters allow shooting with a large aperture without having to crank shutter speed way up. They can also be used for shooting at f1.2 or f0.95 in broad daylight.
- Grasses and trees in wind: Moving vegetation can produce a surrealist look with longer exposures.
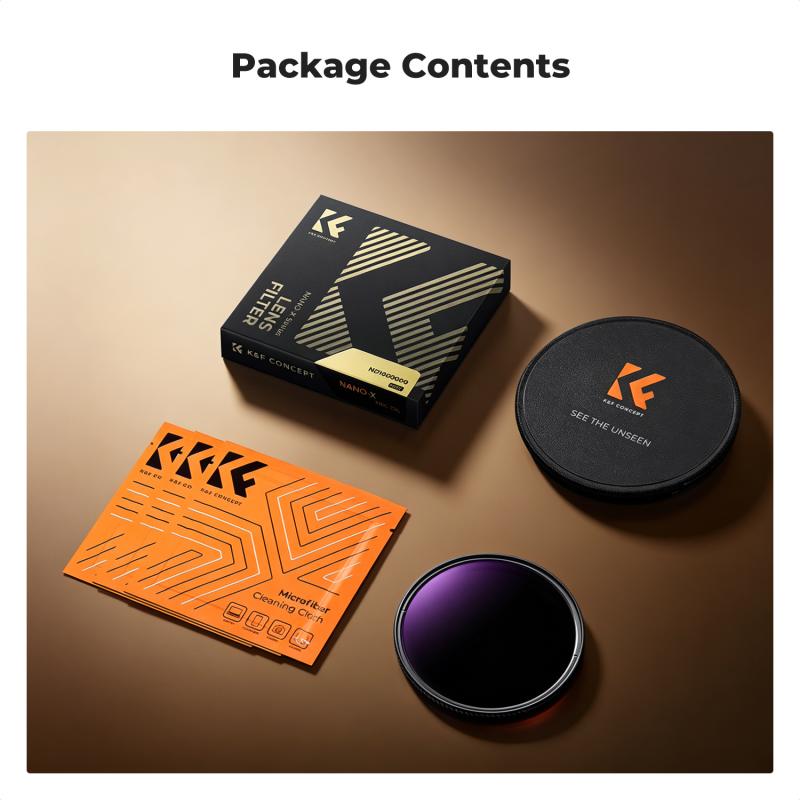
ND Filter Strengths and When to Use Each
- 3-Stop ND Filter
- A 3-stop ND filter is great for slightly slowing motion in moving water. In lower light and/or for an exposure of just a couple seconds, a 6-stop filter may be sufficient, but the 3-stop serves as the starting point for many photographers. It can also be stacked with a 10-stop filter to allow 3–6 minute exposures for cloud photography during daylight.
- 6-Stop ND Filter (ND64)
- The 6-stop filter is perfect for a number of situations where you want to reduce shutter speed in the 0.4 second to 5 second range. It is perfect for photographing waves and water when you don't want to freeze the motion but want to keep some shape, texture, and detail in the water. The longer exposures of 5–10 seconds will create a very smooth effect while less than 5 seconds leaves a little more texture in the water. It is also perfect for smoothing the water of waterfalls to create a soft flow. In very low light, the 6-stop can allow an exposure of 10 seconds or more. The 6-stop ND64 is, in the opinion of experienced landscape photographers, perfect for taking shots in the time interval from half an hour before sunset to sunset, and from sunrise to half an hour after sunrise. Within these time frames it can be used with shutter speeds between one and three minutes without having to adapt aperture and ISO too much. A single 6-stop filter is a nice compromise for photographers who want to minimize what they carry — if it isn't quite right, aperture and/or ISO can be adjusted to get the light levels perfect for the desired exposure time.
- 8-Stop ND Filter (ND256)
- An 8-stop ND256 filter handles situations of intense light without requiring compromise of ISO and aperture values, particularly as the light begins to decrease around sunset. Being only 2 stops away from the ND64, these two filters together can handle any light condition. For example, with an 8-stop filter, a 2-minute shutter speed can be obtained at ISO 100 and f/11 even in intense light conditions. Using an ND1000 (10-stop) in the same situation would require finding 2 additional stops elsewhere — such as ISO 200 and f/8, or ISO 400 and f/11 — all of which introduce noise or diffraction.
- 10-Stop ND Filter (ND1000)
- The 10-stop filter is the go-to choice for exposures 15 seconds and longer. In daylight, the 10-stop is needed for creative long exposures of water or clouds — those super smooth waters and wispy clouds. A 10-stop neutral density filter allows shooting exposures with shutter speeds of 30 seconds and longer. It will allow you to create long exposure photos in full daylight. One example used a 15-stop to drag an exposure out to 4 minutes, making water super flat and cloud motion around a peak really apparent. The 10-stop filter is a popular choice, widely considered a benchmark, partly because of the legendary Lee Big Stopper which made the 10-stop density widely adopted. However, the 10-stop density was designed around long exposures done almost exclusively during the central daytime hours, making it less practical around sunrise and sunset without compromising ISO and aperture.
- 15-Stop ND Filter
- For even longer exposures in daylight, a 15-stop filter can be used, or a 10-stop can be stacked with a 3-stop or 6-stop. To experiment with exposures 30 seconds and longer, investing in a 10-stop neutral density filter and perhaps also a 15-stop filter is recommended.
Screw-On vs. Square ND Filters
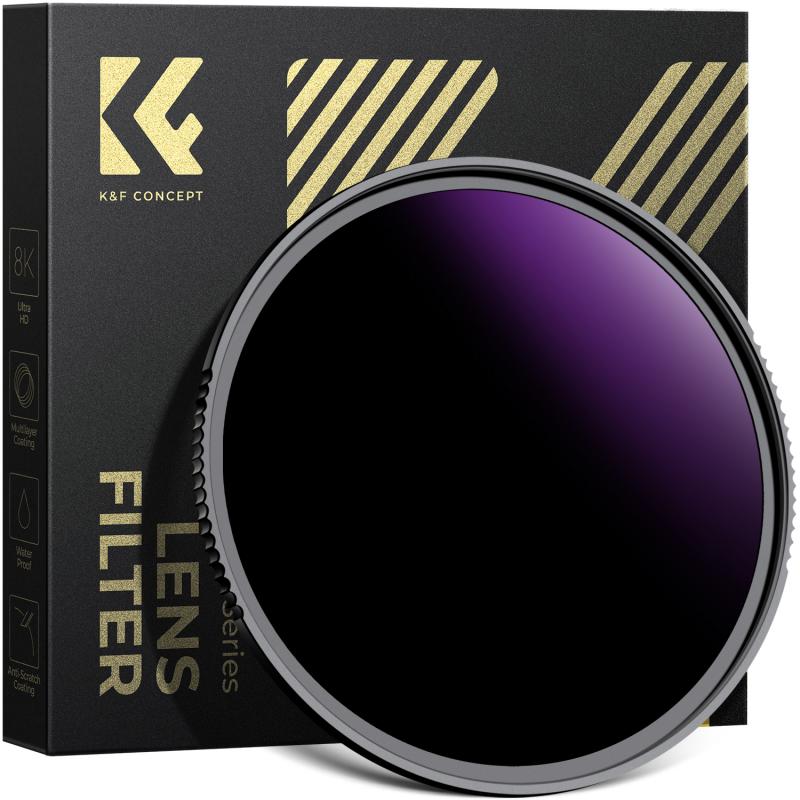
There are two main types of neutral density filters used in landscape photography: the screw-on circular neutral density filter and the square neutral density filter. Both do the same job though there are pros and cons to using each.
- A screw-on filter allows less light to seep in around the edges during use. However, these types of filters are difficult to stack. When stacking screw-on filters, there may be a noticeable black ring around photos — this is called vignetting and can be very apparent, especially when working with screw-on filters and wide-angle lenses. Another downside is that you will need to purchase multiple filters to fit the different thread sizes on each lens.
- Screw-on filters also have a risk of thread galling and seizure when installed on aluminum lens barrels. Even finger-tight can result in filter thread seizure. Some filters with brass frames mitigate this issue but they are not as common and come with a premium price.
- Square neutral density filters are a popular choice for landscape photography, as they allow you to stack several filters at the same time with little to no risk of vignetting. You'll need an adaptor and a filter holder to use square neutral density filters, which may be expensive to invest in, but once you have them, you'll be able to use the same set across all of your lenses.
- One common strategy with screw-on filters is to purchase one to fit the largest diameter landscape lens and then use step-up rings to use the same filter with other smaller diameter lenses.
Variable ND Filters
Variable ND filters use two polarizing elements to let you dial in the exact amount of light reduction. They're convenient, but they can also create glitches in the form of uneven exposure or color shifts. Variable ND filters are better used at low levels of ND. Wide lenses do poorly with variable ND filters since variable filters use two polarizing films to achieve ND. As you get to 10 stops and more of ND, the blocking on the sensor allows a little color cast from the IR spectrum. Some brands of filters try to balance that with a color cast in the filter, which adds to problems. CP filters do not block IR at all.
IR Blocking and Optical Quality
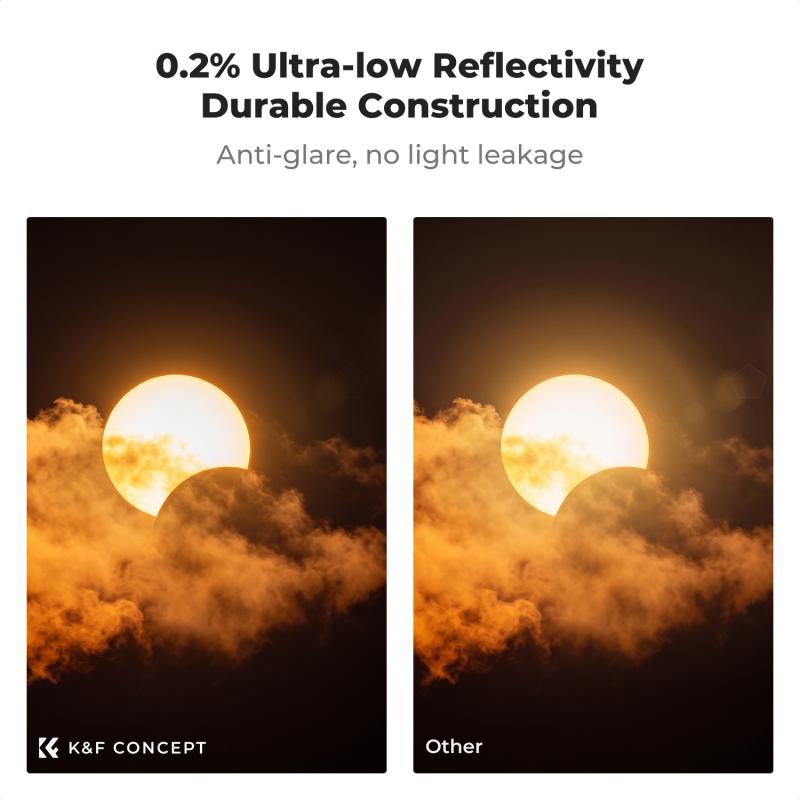
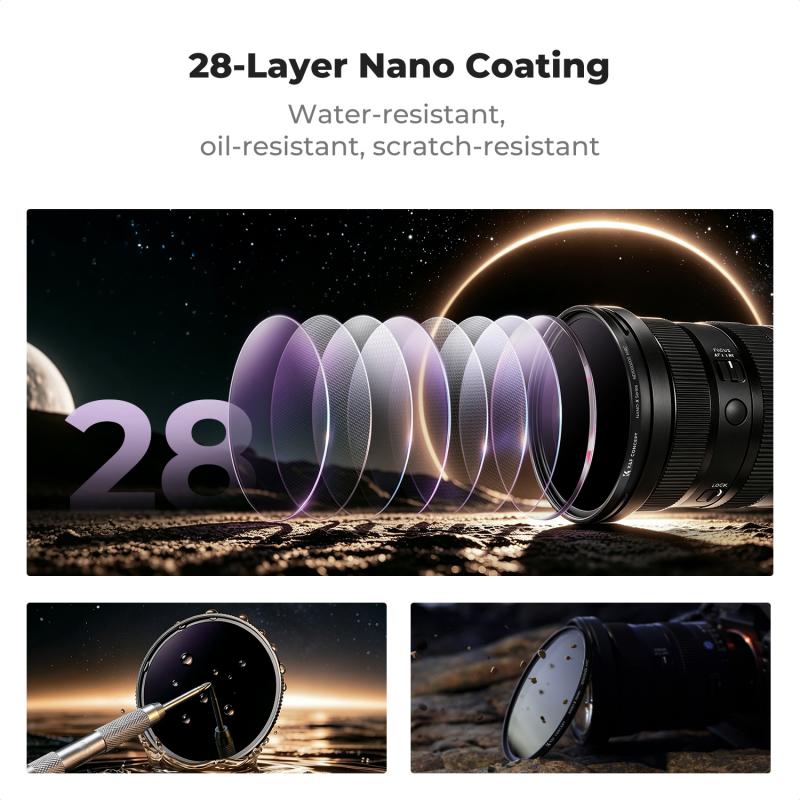
One key feature for ND filters is that they need to block IR wavelengths. As for materials, optical glass is the correct choice — resin should be avoided, and not all glass filters are made of true optical glass. Coatings that are useful include hydrophobic and anti-IR coatings. As for filter format, slot-in (square) filters offer flexibility that screw-on filters cannot, particularly because screw-on filters do not support GND options and stacking more than one simultaneously is not recommended.
Tips for Long Exposure Photography with ND Filters
- A tripod is essential. It is necessary to keep the frame stable throughout the long exposure. Make sure your tripod is steady and secure.
- Compose your frame and focus for the desired depth of field before putting the filter in front of the lens. Once you put a 10-stop filter on, you can't see through to focus and compose.
- Set the new exposure before putting the filter on the lens. Find the proper exposure without the filter, then use a long exposure calculator app to find the new shutter speed. For example, with ISO 100, f/22, and a base shutter speed of 1/80, a 10-stop filter will require a 13-second shutter speed for the same exposure.
- Use a shutter release remote. These are critical if you are using a shutter speed slower than 30 seconds, as you must then turn to bulb mode. A camera's 2-second timer is also a great option.
- Cover the eyepiece viewfinder to prevent light from coming into the frame, as this creates undesirable light leaks. Cover it with a black or dark cloth or anything else that will keep the light out.
- Check the histogram. Sometimes finding the right exposure with the filter can be a bit of trial and error. Don't rely on the app or the LCD screen. Make sure the histogram is toward the right without climbing the right wall.
- Consider the creative effect and mood of the image you want to create. For really streaked clouds, you may need a 60-second exposure or even a few minutes. If clouds are moving fast, 15–30 seconds may create the look you desire. With water, a really smooth effect requires 20–60 seconds; leaving more texture in the water requires 1 second or a fraction of a second.
- Look at other areas of your frame. If there is unwanted blur in areas such as trees, grasses, or other foliage, capture the exact composed frame with a faster speed so you can composite the two images later in post processing.
Graduated ND Filters for Landscape Photography
Graduated ND (GND) filters are those filters with a rectangular shape, half transparent and half dark with a gradual transition, available in various densities to balance the exposure between a bright sky and a darker landscape. Before the days of advanced exposure blending, a graduated ND filter was essential for balancing exposure between a bright sky and a darker landscape. They could be tricky to use, as anything sticking up into the sky — like trees or mountains — would end up getting darkened as well.
Today, you can achieve much better results with the help of exposure blending and HDR techniques in the digital darkroom, or even just by relying on the expansive dynamic range offered by modern digital cameras. However, GND filters remain useful in specific situations. For example, with high winds, trees will move slightly between bracketed shots, inevitably leaving artifacts upon merging — in these cases there is a place for a GND filter. Three GND filter types are commonly used by experienced landscape photographers:
- GND Hard 0.9 (3-stop): The most commonly used GND filter. Perfect for landscapes — marine and non-marine — where the horizon line coincides with the line of light. Ideal for shooting at sunrise and sunset, especially when the light comes from one side. Even though it's called hard, there's actually a slight transition, so if promontories slightly stick out of the horizon in the distance, this filter can still be used.
- GND Medium 1.2 (4-stop): Perfect for compositions where promontories or artifacts such as lighthouses stick out from the line of light. The medium transition is also suitable for hilly and mountain sceneries. The 1.2 density is measured in the upper part of the filter before the transition, so near the central area where its effect is actually needed, the density will be lower and not too far from the 3 stops of the hard version, but with a softer transition.
- GND Reverse 1.2 (4-stop): Used when there is a strong front light source in the transition zone — essentially when the sun is in the composition at sunrise or sunset. This filter blocks the strong brightness of the sun near the horizon without affecting the portion of the sky above, capturing every gradient of color on illuminated clouds.