What Is Uv Filter For?
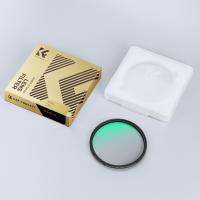
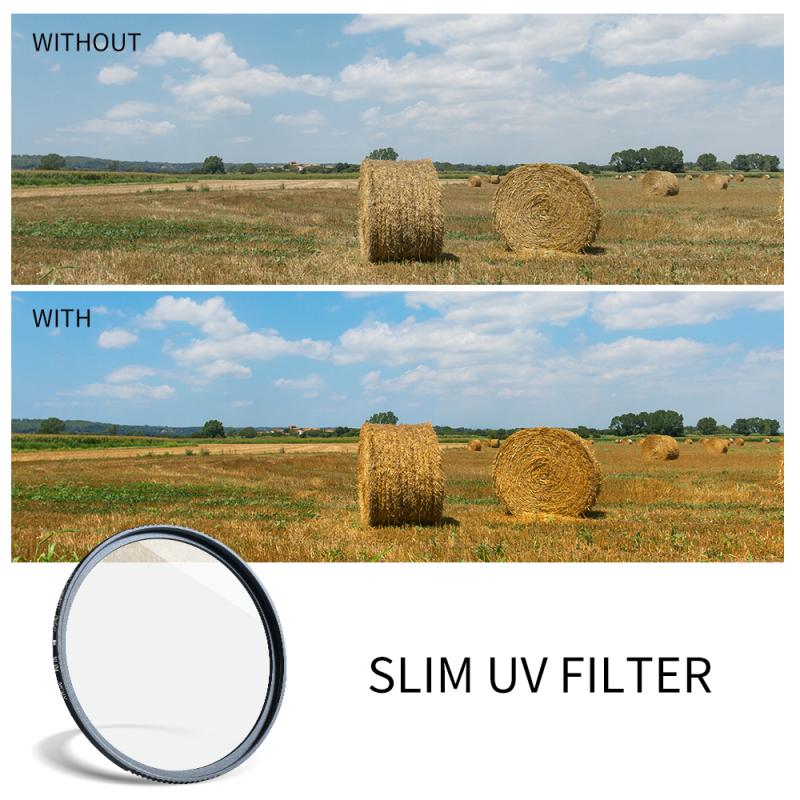
UV filters, short for ultraviolet filters, are transparent filters designed to block ultraviolet light from reaching the camera's sensor or film. Originally, the purpose of a UV filter was to counteract the bluish haze caused by UV light, thus improving image clarity and colours. In the past, lenses were often made from materials that were susceptible to UV light. When UV light hits the lens, it creates a bluish haze, particularly noticeable in images captured on sunny days. When shooting film, a UV filter reduces ultraviolet light that reaches the emulsion, minimizing unwanted effects such as a bluish color cast or haze, which can degrade image quality. These effects are more noticeable in bright conditions or at high altitudes.
However, modern lenses are less sensitive to UV light as they are coated to reduce the impact of it. Modern digital sensors already have UV filters built into them, so on a digital camera, a UV filter is functionally exactly the same as a clear filter. They are mainly used for lens protection. They are also still good to use for older lenses that don't have a normal coating and in analogue photography where protection against UV rays is essential.
What Do UV Filters Do and How Do They Work
UV filters, or ultraviolet filters, are lens attachments primarily designed to block incoming ultraviolet light rays from reaching the camera sensor. In the film era, these filters were essential for reducing the effects of ultraviolet haze and radiation on the captured images. A UV filter cuts out light with wavelengths below 300–400nm. Most UV filters don't do anything besides act as a barrier — most don't filter UV beyond what plain glass would do, so they do cut UV B & C but pass a lot of UV-A especially between 350nm and 400nm. After the lens, the camera has a UV/IR cut filter over the sensor that works right up to 400nm.
Its intended purpose is based on two main arguments:
- It protects the end of the lens from scratches and dust.
- It blocks out ultraviolet light and removes a blue cast on images.
A couple of exceptions that cut more than plain glass are the Hoya UV(C) and UV(O) filters and the Zeiss T* UV, though the latter may still have trouble with the blacklight test. UV/IR cut filters for full spectrum cameras also actually cut UV more than glass.
UV Filters as Lens Protection
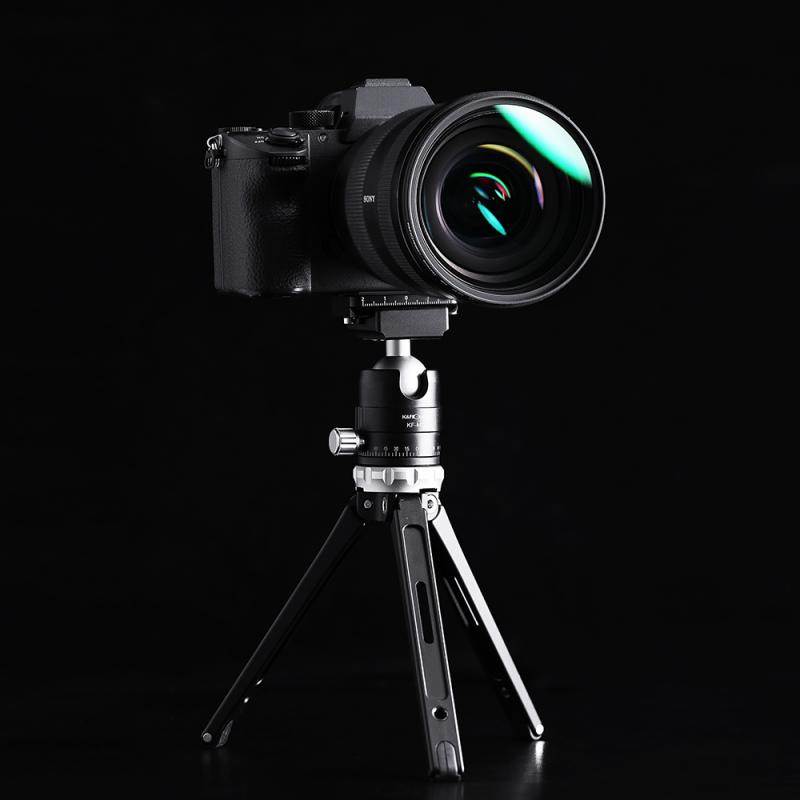
One of the main reasons photographers choose to use UV filters is for lens protection. By attaching a UV camera filter to the front of your lens, you create a barrier that guards against dust, dirt, and other contaminants. This is particularly useful when shooting in outdoor environments where the lens is exposed to various elements.
UV filters are especially beneficial when photographing in challenging conditions:
- Windy or dusty environments — they help prevent debris from reaching the camera lens surface, ensuring that images remain clear and free from unwanted artefacts.
- Sandy or sea-spray conditions — sand and dust can, over time, grind away at the coating on the front element of a lens.
- Woods or dirty/muddy outdoor conditions — a filter may get scratched by sticks or debris instead of the lens.
- High-risk shooting environments such as professional skateboarding events, street photography, or concert photography where the photographer is in tight spaces with expensive lenses.
However, the front element of a lens is hardened glass, supposed to resist scratches. Additionally, usually the edge of the housing extends further than that element. An object sharp or powerful enough to scratch a lens will typically also burst through the filter. The filter is only useful in the range of force where it was just strong enough to break the lens, but the filter absorbed some of that force to prevent the lens from breaking.
UV Filters in the Digital Era
With the advancement of digital cameras, the necessity of UV filters has been questioned. Built-in sensors in modern digital cameras are equipped to eliminate UV light, reducing the need for the filter. Adding a UV filter does sweet FA on a modern mirrorless camera since the sensor already has a UV and IR cut filter as the front layer.
- Outdoor and landscape photography
- When shooting in overcast conditions or areas with low light, a UV filter can help to reduce haze and enhance colour saturation. When capturing landscapes, a filter can help minimise the effects of atmospheric haze, resulting in clearer and more vibrant images.
- Film photography
- UV filters were often used when shooting in daylight on film cameras, as daylight is particularly rich in UV light. Film stock can "see" UV light, so the filter was essential for reducing bluish haze and radiation on captured images.
- Older lenses
- UV filters are still good to use for older lenses that don't have a normal coating, where protection against UV rays remains relevant.
- Harsh environments
- You probably don't need one unless you are taking your camera into a harsh environment with sand, dust, ocean spray, etc. Use a lens hood to prevent accidental contact with the lens surface in normal conditions.
Arguments Against Using a UV Filter
Any glass placed in front of a lens has the potential to degrade image quality. Even an ideal filter does absolutely nothing to the image, but in practice, even the best ones will introduce a little bit of softening and possibly glares, flares, and chromatic aberrations. The following are the commonly cited downsides:
- UV glass quality: The use of a UV filter can sometimes lead to a slight decrease in image clarity, a trend more noticeable with low-grade filters. With premium UV filters like those from B+W or Tiffen, the effect on image sharpness is barely perceptible.
- Flares and ghosts: Lens flare, which is often intensified by the use of budget lens filters, results from light scattering that causes bright light to spread across the filter's glass surfaces. This contributes to a rise in ghosting and flare under certain lighting conditions and is typically more pronounced with subpar filters.
- Diminished illumination: Lenses are designed to deliver their best performance without any filters, though accessories like polarizers and density filters can be indispensable for creating specific photographic effects and managing exposures.
- Diminished resolution: The influence of a UV filter on resolution is particularly critical when using telephoto lenses. Inexpensive UV filters might degrade resolution due to their inferior optical properties. For the sharpest results, it's essential to maintain a clean UV filter since any dirt or smudges will be more visible on the filter than on the lens element.
- Vignetting at wider focal lengths: When stacking multiple circular filters — such as a UV filter, polarizer, ND filter, or GND filter — one might notice vignetting, which manifests as darkened corners within the image frame. This effect is more pronounced when these filters are combined and used at wider focal lengths, which can include capturing the filter edges in photos taken at a 10–24mm focal range.
Choosing the Right UV Filter
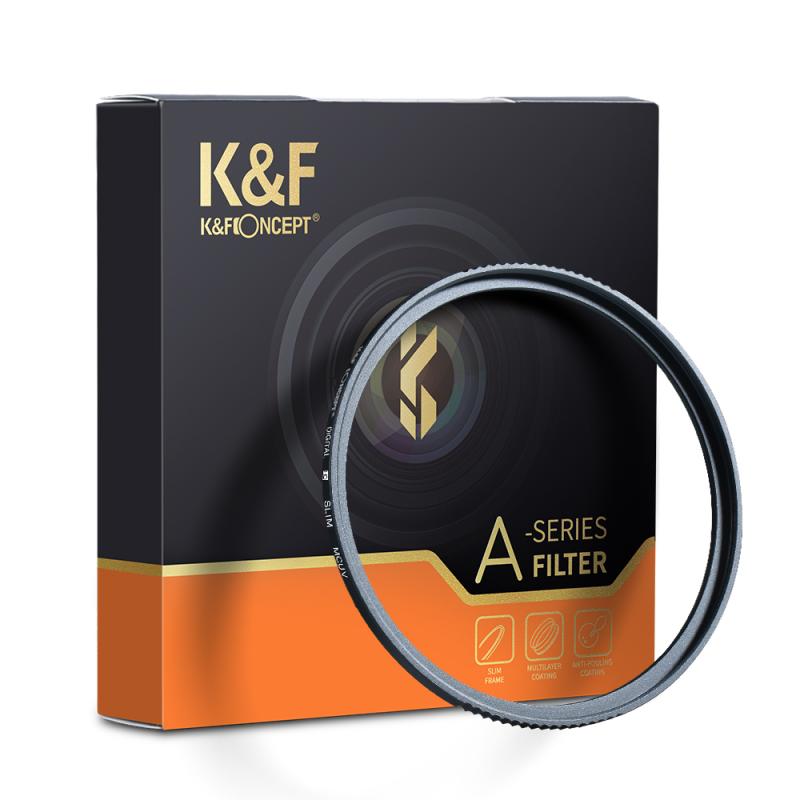
When it comes to selecting a UV filter, it is essential to consider filter quality and its compatibility with your camera and lenses. Key factors to keep in mind include:
- Optical quality: Opt for UV filters with excellent optical quality to ensure minimal impact on image quality. Look for filters made of optical glass with multi-layer coatings to reduce reflections and maintain clarity.
- Size and fit: Choose a UV filter that matches the thread size of your lens. Check the lens specifications or refer to the lens manual to determine the correct filter size.
- Brand reputation: Stick to reputable brands known for their quality filters. Research customer reviews and expert opinions to make an informed decision. Look at camera filters like Kase Filters to match professional quality results from your lenses.
- Price vs. quality: While cost is a consideration, investing in a high-quality UV filter is crucial for optimal image quality and lens protection. Cheaper filters may compromise image clarity and introduce artefacts.
UV Filter Maintenance and Proper Use
To maintain the effectiveness of a UV filter and ensure optimal image quality, proper cleaning and care are essential:
- Regular cleaning: Clean your filter regularly using a microfiber cloth or a lens cleaning solution. Remove any dust, fingerprints, or smudges to maintain optimal clarity.
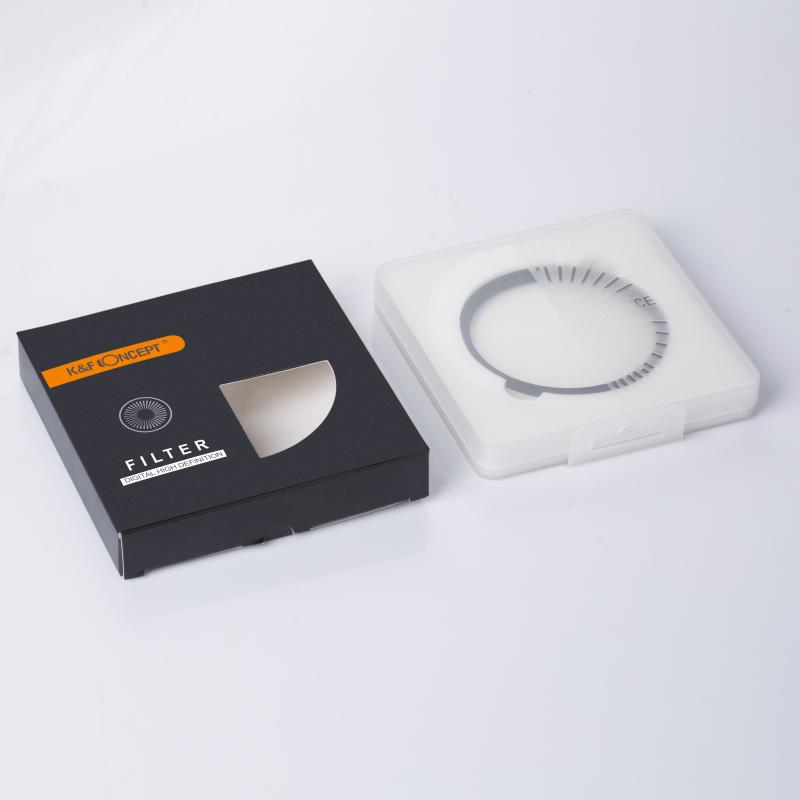
- Handling with care: Handle your filter with care to avoid scratching the surface. Store it in a protective case when not in use.
- Avoid excessive force: When attaching or removing the filter from your lens, apply gentle pressure. Avoid using excessive force, as this can cause damage to both the filter and the lens.
- Night and bright-light scenes: Remove the UV filter for night scenes, long exposures, or frames with bright point lights. Extra glass can add flare and ghosting and lower contrast.
- Lens hood alternative: Using a lens hood instead also provides protection and blocks light from the side. Use the lens hood by default for protection and contrast. Add a UV filter selectively when the environment is genuinely risky.
The choice to employ a UV filter hinges on particular shooting conditions and personal preferences. Assess the environments where you typically shoot, the value of your camera lens, and the caliber of image quality you aim to achieve. With diligent UV filter care and maintenance, it can serve as a dependable ally throughout photographic endeavours, safeguarding equipment and contributing to improved creative output.