How To Use Projector As Tv?
Using a projector as a tv offers a range of benefits that go beyond a traditional television set. You can immerse yourself in captivating visuals that sprawl across an entire wall, bringing your favorite movies, shows, and games to life like never before. With a projector, you can indulge in a larger-than-life display, making every movie night, sports event, or gaming session a truly unforgettable experience. A projector can project a screen up to 300 inches, compared to a rigid screen of a tv, and the cost per inch of screen dramatically decreases because of the larger screen size of the projection.
Essential Components You Need
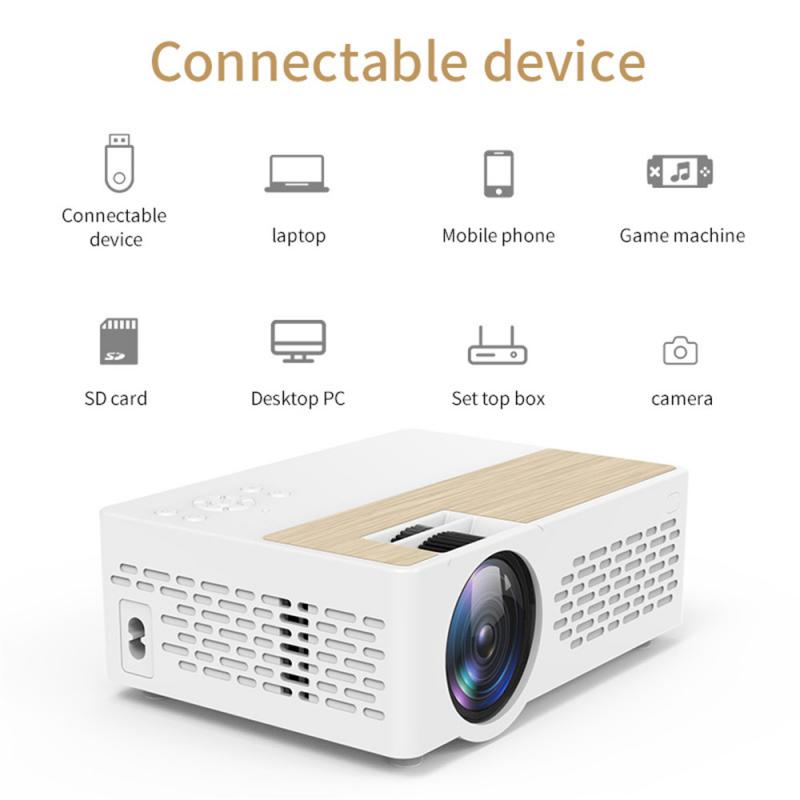
Before setting up a projector as a tv, it helps to understand the components involved. Projectors do not have tuners built in to them — you will need to connect a video source to them. Here are the key devices that work with a projector:
- TV Tuner
- A tv tuner is an essential component for using a projector as a tv because it allows you to receive and display broadcast signals on the projector. Whether you want to watch your favorite tv shows, sports events, or news, a tv tuner is necessary to access these channels. If you watch broadcast tv via antenna, you will need a USB or PCIe tv adapter connected to a computer and a program to watch it such as VLC or MythTV.
- Cable / Satellite Box
- To use your projector as a tv, you'll need to connect a cable or satellite box. The cable box receives the tv signal from your cable or satellite provider and converts it into a format that can be displayed on the projector. By connecting the cable box to the projector, you'll be able to watch your favorite tv channels just like you would on a regular tv.
- Streaming Device
- A Roku stick, Amazon Fire TV stick, or similar streaming device plugged into the projector's HDMI port gives the projector smart tv functionality. Projectors don't have tv smarts built in, but these devices will make them work for streaming content.
- Gaming Console
- If you're a gaming enthusiast, you can connect gaming consoles to your projector and enjoy games on a larger screen. Whether you have an Xbox, PlayStation, or Nintendo console, connecting it to the projector will enhance your gaming experience by providing a larger and more immersive display.
- DVD / Blu-ray Player
- If you enjoy watching movies, connecting a DVD or Blu-ray player to your projector will allow you to enjoy your favorite films on a big screen. The projector will display the movie with enhanced visuals, making it feel like you're at a theater.
Mounting and Physical Setup
Mounting the projector securely is crucial to ensure stable and optimal viewing. Follow these step-by-step instructions:
- Choose the desired location for mounting the projector, either on the ceiling or a stable surface.
- Use a stud finder to locate a solid beam or wooden joist in the ceiling. If mounting on a stable surface, ensure it can support the weight of the projector.
- Mark the drilling points on the ceiling or surface, ensuring they align with the projector's mounting holes.
- Drill pilot holes at the marked points and insert anchors.
- Attach the projector mount to the ceiling or surface using screws and tighten securely.
- Carefully attach the projector to the mount using the appropriate screws or brackets.
It is not necessary to buy a screen for your projector — you can simply shine it on your wall. However, a projection screen will help in achieving the full potential of your projector, so you can see pure colors and better contrast. Projectors do have their drawbacks mostly around lighting and taking up more space, since they have to have their own space opposite the screen, as well as line of sight to the screen.
Connectivity Options
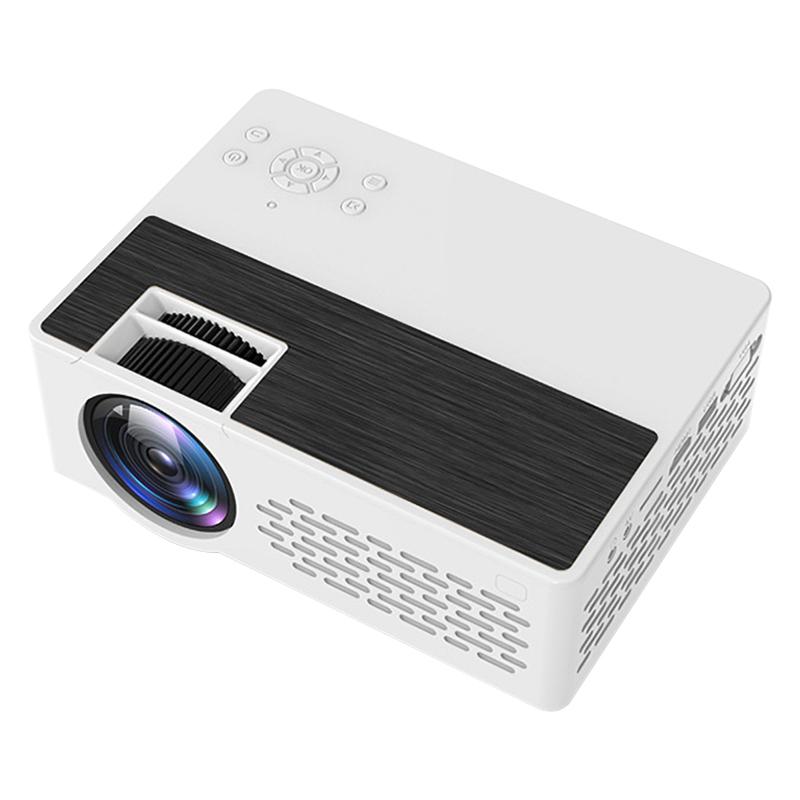
When selecting the connectivity option for your projector, it's crucial to consider the compatibility between your source devices and projector. Check the available ports on both devices and ensure they support the same type of connection.
- HDMI: HDMI (High-Definition Multimedia Interface) is a popular and versatile connectivity option. It allows you to transmit high-quality audio and video signals from your source to the projector. HDMI connections are widely supported by most modern projectors, making them a convenient choice for connectivity. If you have many things you want plugged into the projector, purchase an HDMI switch.
- VGA: VGA (Video Graphics Array) is an older type of connection that is still commonly found in projectors. It allows you to transmit analog video signals to the projector. While not as advanced as HDMI, VGA connections can still deliver decent video quality for your projector setup.
- Component Video and Audio: Component video and audio connections use separate cables for transmitting video and audio signals, resulting in better quality compared to VGA. However, not all projectors support component video and audio connections, so it's important to check compatibility before using this option.
Adjusting Display Settings
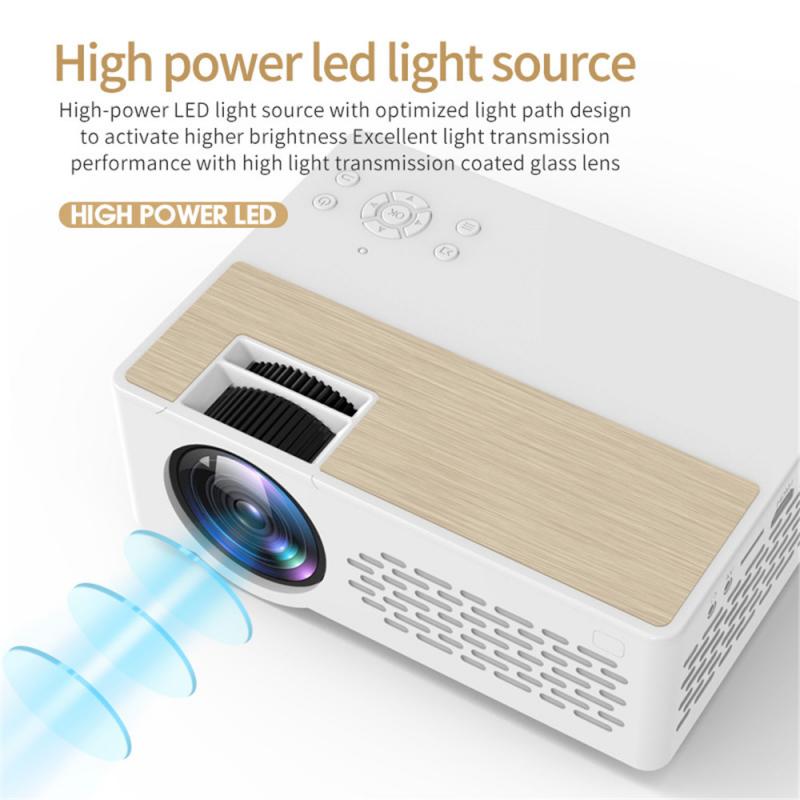
Adjusting the display settings is necessary to optimize the visual quality of the projected image. Here are the key adjustments to make:
- Resolution: Go to the settings menu, look for the display or picture settings, and select the resolution option. Choose the highest resolution available for the best picture quality. Keep in mind that the resolution may be limited by the inputs of your video sources, so check the capabilities of your devices.
- Aspect Ratio: Aspect ratio refers to the proportional relationship between the width and height of the image. Most projectors offer various aspect ratio options, such as 16:9 for widescreen content or 4:3 for standard content. Adjust the aspect ratio according to the source material you are watching to avoid image stretching or cropping.
- Color Calibration: Access the color settings in the menu and look for options like color temperature or color balance. Use the built-in test patterns or calibration discs to help you make adjustments. Aim for accurate color reproduction by adjusting the contrast, brightness, hue, and saturation settings.
- Keystone Correction: Keystone correction is useful for correcting image distortion caused by the projector being placed at an angle or not aligned properly with the screen. Most projectors offer automatic keystone correction, but if not, you can use the manual keystone adjustment controls. Make sure the projected image is rectangular and not skewed.
- Focus Adjustment: Most projectors have a focus ring or button that allows you to adjust the focus manually. Use test patterns or text to help you achieve the sharpest focus possible. Keep in mind that the projector's distance to the screen can affect the focus, so make necessary adjustments.
Audio Setup
When using a projector as a tv, getting the audio setup right is essential for an immersive viewing experience. Most projectors have very bad speakers built into them, so you will want a projector with an audio port so you can connect external audio.
- External speakers or soundbar: Check if your projector has an audio output port, and if so, connect it to the input port of your sound device. Adjust the projector's audio settings to route sound through the connected device, and test the audio by playing a video.
- Built-in speakers: For a hassle-free audio solution, utilize your projector's built-in speakers, which offer adequate sound quality for most viewing needs. Simply connect the necessary audio cables to the appropriate ports, then adjust the volume settings on your projector and any external devices as needed.
- Audio-video synchronization: Verify if your projector offers audio delay settings, which is crucial for aligning sound with video playback. Navigate to the projector's menu to access these settings, then fine-tune the delay until both audio and video are perfectly synchronized.
Choosing and Setting Up a Projection Screen
When using a projector as a tv, selecting the right projection screen is crucial for achieving optimal image quality. Here are the key factors to consider:
- Screen Material
- The type of screen material you choose will affect the brightness, contrast, and viewing angle of the projected image. Options include matte white, high-gain, and ambient-light rejecting screens. White walls reflect light so well, making it harder to see images with ambient light — screens with ALR technology allow projectors to be used in living spaces.
- Screen Size
- Consider the size of the screen that suits your viewing environment and seating arrangement. Measure the available space and select a screen size that provides a comfortable viewing experience.
- Aspect Ratio
- Choose a screen with the correct aspect ratio to match the content you will be watching. Common aspect ratios include 16:9 for widescreen content and 4:3 for older standard definition content.
- Gain
- Screen gain refers to the amount of light reflected back to the audience. Higher gain screens offer brighter images, but they may also result in narrower viewing angles.
Once you have chosen the right projection screen, follow these steps to set it up:
- Determine where you want to mount or position the projection screen, considering room layout, viewing angles, and available wall space.
- Mount it on a wall, suspend it from a ceiling, or use a portable screen stand depending on the type of screen.
- Ensure that the projection screen is positioned at an appropriate height and angle to provide a comfortable viewing experience for everyone in the room. Avoid placing it too high or too low.
- If you are using a retractable or motorized screen, make sure it is properly tensioned to prevent any wrinkles or distortions that can affect image quality.
- Adjust the screen settings such as brightness, contrast, and color temperature to optimize the image quality for your specific projector and viewing environment.
Optimizing the Viewing Environment
Creating a good viewing environment is crucial to ensure the best possible experience when using a projector as a tv. By controlling ambient light and ensuring optimal screen distance, you can enhance the picture quality and overall enjoyment of your favorite movies and shows.
- Close curtains or blinds to minimize natural light entering the room.
- Avoid using bright overhead lighting and opt for softer, ambient lighting instead.
- Consider using blackout curtains or shades to completely darken the room if necessary.
- Place the projector on a stable surface or mount it securely on the ceiling.
- Position the projector at the optimal distance from the projection screen to avoid distortion and ensure sharp image quality. Consult the projector's manual for the recommended distance.
- Adjust the projector's angle and keystone correction settings, if applicable, to align the image properly on the screen.
- Ensure proper ventilation around the projector to prevent overheating.
Room lighting often determines whether a projector is practical at all. Ambient light reduces contrast, which can make images look washed out even if the projector is technically bright. In bright rooms, even high-lumen projectors often struggle to match the punch of a tv. Projectors are optimal in a dark room, but there are also laser projectors now that offer much higher brightness and contrast with a much shorter throw.
Troubleshooting Common Issues
When using a projector as a tv, you may encounter some common issues. Here are steps to resolve them:
- No signal / connection problems
-
- Check if the video source is properly connected to the projector.
- Ensure that both the projector and the video source are powered on.
- Verify the cable connections and replace any damaged or faulty cables.
- Try using a different HDMI or VGA input on the projector.
- Restart both the projector and the video source.
- Inspect your HDMI cables to ensure they're snugly connected; loose or damaged cables can lead to signal loss or diminished image quality.
- Poor image quality
-
- Adjust the projector's focus and zoom settings to improve image quality.
- Make sure the projector is placed on a stable surface and not vibrating.
- Check for any obstructions that may be affecting the projection.
- Ensure the projector lens is clean and free from dust or smudges.
- Try adjusting the aspect ratio or resolution settings on your video source.
- Audio problems
-
- Check if the audio cables are securely connected to both the projector and the audio source.
- Ensure that the audio source is not muted or set to a low volume.
- Try using a different audio cable or port.
- Ensure the audio settings on the video source are correctly configured.
- Restart both the projector and the audio source.
- Dim image
-
- If the projected image is too dim, adjust the projector's brightness settings.
- Ensure that the projector is within its operating temperature range.
- Consult the projector's user manual for specific troubleshooting steps.
- Update the projector's firmware if available.
- If all else fails, contact the manufacturer's customer support for assistance.
Using a projector instead of a traditional tv can completely transform your home entertainment setup. With the tips and techniques covered here, you'll be able to make the most out of your projector setup and enjoy countless hours of entertainment with family and friends.