How To Light Still Life Photography?
Many photographers think that you need to have lots of expensive gear and lighting knowledge to shoot still life images. And yes, sometimes still life images are created with this kind of expertise and equipment. But you don't have to have these things in order to start shooting still life. Still life photography is often overlooked, but this type of photography can be a lot of fun – and it can also be a great way to learn the basics of photography. It allows photographers to focus on composition, lighting, and other elements of photography without having to worry about moving subjects.
Many baroque artists like Caravaggio and later Peale painted still life as a way to develop and demonstrate their skill with lighting, detail and realism. Found still life has its roots in the Dada and Surrealist movements of the early 20th century. Artists like Pablo Picasso and Marcel Duchamp were known for incorporating found objects into their works, often with humorous or subversive intent.
Types of Still Life Photography
- Found Still Life
- Found still life is a type of photography genre that uses found objects as the primary subject matter. The term "found object" refers to any everyday object that has been repurposed for use in a photograph, artwork, or similar medium. Found still life photos often incorporate common household items such as plates, cups, bottles, and books. Found still life offers a creative way to explore the world around us. It allows photographers to find beauty in the everyday and capture it in a photo. Capturing photos with this genre in mind is relatively easy to set up and photograph. Unlike other genres of photography, found still life does not require expensive gear or complicated lighting setups.
- Created Still Life
- In still life photography, created still life refers to a scene that has been specifically arranged for the purposes of taking a photograph. This is in contrast to a "found still life," which is a naturally occurring scene that the photographer simply happens to come across. The photographer has complete control over the scene, so they can take their time to perfect the composition.
Controlling the Light
The first thing you need to do for still life photography, just like any other kind of photography, is to find your light. You can use a window that faces any direction. The key is to identify the best time to photograph for your window and work around that. For instance, the light through an east-facing window is best up until about lunchtime, but if photographing using a west-facing window then it might be better in the afternoon.
It is best to mostly avoid allowing direct sunlight to fall on still life scenes in order to achieve a softer style of light. However, photographers can also create incredible still life images using direct sun – you must experiment and find out what works for you. As for lighting modifiers, curtains work well. Having pieces of white and black card on hand to reflect and manipulate the light is also useful. For a stronger reflector to bounce light back into the scene, use either a silver foil covered piece of foam board or even a mirror.
Controlling the light has a direct impact on the feel and mood of your final image. It may also require you to make technical adjustments to the way you shoot a scene. The intensity of the light accounts for exposure settings and, ultimately, image sharpness. Having the right tools to modify your light allows you more control over the final outcome and allows you to extend the scope of your creative lighting choices.
Studio Lighting Setup Step by Step
- Position: For this sort of shoot, aim for a quick fall-off of light in all directions with no spill. This allows you to isolate the subject without any background elements getting in the way. This also means you do not need to set up a black backdrop.
- Ambient Light: When shooting in a studio, ensure total control of the light. This means ensuring no ambient light is coming into the shot. Turn all artificial lighting off and set ISO 100, f8, then starting with a slow shutter-speed, increase until you have a totally dark photo. Note these settings, as you must not increase exposure or you will let some ambient back in.
- Light Positioning: To simulate a Vermeer-style window light coming in from the side and from slightly above, place the main key light — a Godox AD200 inside a gridded Godox soft box — in that position. The grid keeps things directional and controlled. In order to keep the light as soft as possible, the light should be positioned as close to the subject as possible. A rim light (Godox/Ving V860II) behind the subject can be used to create some highlights. Use two honeycomb mag-grids together on the speed light to control this.
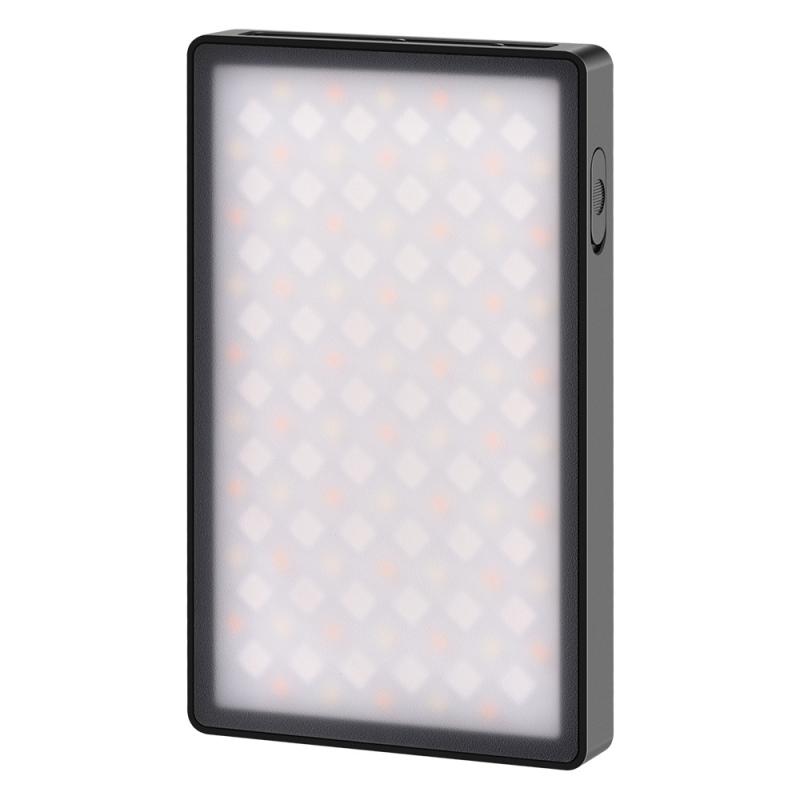
- Test Shot: Fire off a test shot to see what the two-light setup is giving. Check if shadows are too deep on any part of the subject. With both main and rim lights on one side, shadows can be a bit deep. To avoid killing the contrast and dark atmosphere of the shot, use a continuous "wand style" light source such as an ice light with barn doors attached, to just pick out specific areas without lifting the atmosphere away from everything else.
- Highlights: With the main light still switched off, adjust the position of the rim light and change the power until you are getting just the right amount without clipping highlights too much.
- Main Light: Bring in the main light with just enough power to finish off the shot. Keep the highlights from being overpowered. This style of image needs nice shadow contrast, so keep the power quite low.
Setting Up Your Scene
Your set is essentially the stage that you will use to create your photographs. Think of it as a theatre stage for your subject. Sets for still life photography can be incredibly simple, deviously complicated, and anything in between.
- Pull a table up to your window. If you have a table with a lovely surface then just place your still life objects on it and start shooting.
- Think about how the light falls and what the light on your subject looks like from different angles as you move around.
- Backgrounds can be a large sheet of paper or card, or fabric draped over a big cardboard box. Alternatively, you can buy special photography backgrounds for tabletop photography that look like different surfaces.
- Remember that backgrounds do make a difference to the overall feel of the shot. Simply changing the backdrop really changes the whole atmosphere of the photograph.
- Split lighting involves placing the light source to one side of the subject so that half of the subject is illuminated while the other half remains in shadow. This can create a sense of drama and contrast, making the subject more interesting to look at.
Using a Tripod
If you have a tripod available then you should definitely use it if you're shooting still life indoors with natural light. You might find that you need to use quite long shutter speeds in order to get a well-exposed image, so a tripod will help you get sharp images. A tripod can also help you with your composition. Once your camera is on the tripod and in place, you can start to place objects and create your images. Some photographers also connect their laptop or phone to their camera so that they can see the scene more easily as they build their picture.
Lenses for Still Life Photography
- Macro Lenses
- Macro lenses are designed for close-up photography and have a minimum focusing distance of around 1:1. This means that they can capture intricate details that would be invisible to the naked eye, making them ideal for still life photography. Two of the top-rated macro lenses for still life include a Canon 100mm and Sony 105mm lens.
- Non-Macro Lenses
- Non-macro lenses have a minimum focusing distance of around 1:4 or 1:5. This makes them better suited for general photography, but they often lack the ability to capture fine details.
Finding Inspiration and Composing Your Shot
Once you have your tabletop still life area set up it's really just a case of composing your image. Start off with a key central subject or idea. Make that item the "hero" in the image, and then build the image around it. It can also be fun to create a series of images that look the same but with different "hero" subjects, or even to take individual elements out of a larger scene that you created and photograph them individually.
- For food photography: find a subject that is inspiring — something enticing, whether it's a freshly baked cake topped with decorative icing or a colorful fruit salad. Consider the background, the light, and the angle. Use a tripod to keep the camera steady and use a low ISO to avoid grainy images.
- For flowers and plants: choose a location with indirect lighting and minimal shadows; generally a north-facing window is often a good choice. Select specimens that are in good condition and that will complement each other. A clutter-free background will help your subjects stand out. Experiment with different angles, lighting, and compositions until you find one that works well.
- Iconography is the study and interpretation of symbols in works of art. Artists throughout history have used "codes" in their artworks in order to signify messages, hiding meaning in objects within pictures and sculptures. Researching and including some of these codes could be a great way to give your still life images more depth of meaning.
Post-Processing the Still Life Image
When you spend a long time setting up a shot, there is often not much work to do in post-processing. Finishing your still life images in editing software can really add a new dimension to your photographs and elevate the overall look. Although it's a great idea to get as close as possible to your finished image while shooting, the editing process can really help polish a still life photograph.
Even simple processes like dodge and burn can really make a huge difference to your photograph. Remember to always work with the light that you created rather than against it. Emphasise the original highlights and shadows in the photograph rather than trying to completely change the lighting. Experiment with different kinds of editing — as long as you keep a copy of the original image file you can always start again. Adding texture into the shot and giving it a more atmospheric look naturally needs to be done in something that can deal with layers and masks, such as Photoshop. This has the effect of pulling the whole image together and creating atmosphere. Lights that appear in the shot can be cloned out in Lightroom; if it is a more complex job, wait until the Photoshop stage.