How To Use Phone As Microscope?
Your phone can easily be set up to work as a digital zoom microscope. One of the best features of a smartphone is the incredible cameras they come with. There are magnifying apps you can download that will allow students to zoom in with their camera to see small objects. You can also convert your cell phone into a portable, picture-taking miniscope using a simple plastic lens from a laser pointer.
What You Need to Get Started
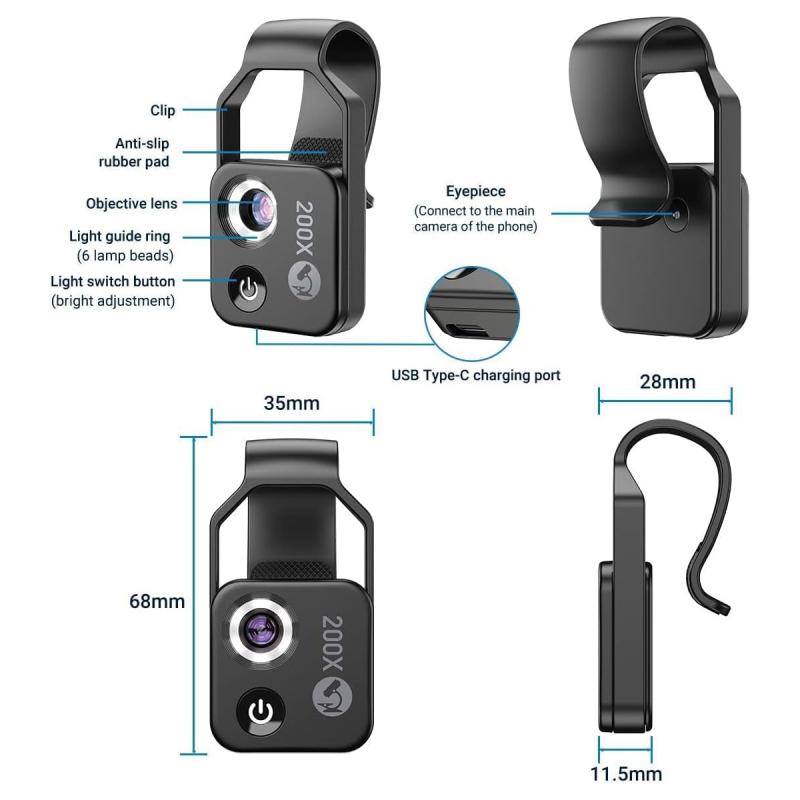
To use your phone as a digital microscope, you will need a stand or tripod — even a selfie stick mounted to your table can work. A phone with a camera function is light and easy to balance on stands, but you can also use a digital camera. Arbor Scientific has a cell phone magnifier that can easily be attached to a cell phone camera and turn it into a microscope. You can use it anywhere you want, any time you want; for example, you can investigate something on your nature walks that would be interesting microscopically, such as an insect or plant.
- A smartphone with a camera (almost any smartphone made over the last few years can be pressed into service)
- A stand, tripod, or selfie stick mounted to your table
- Optional: a clip-on lens attachment, such as a lens from a laser pointer or a DVD drive lens
- Optional: a magnifying app such as BigMagnify or Cozy Magnifier
- Optional: a remote shutter release to avoid camera movement when taking photos
Two Ways to Use Your Phone as a Microscope
There are two primary techniques for using your phone to magnify your work.
- Live view mode: The first way simply uses the camera zoomed in as a live view mode, just like a microscope. The trick with this technique is to position the lens of the camera so you can comfortably see your work on the phone screen and have enough room underneath the camera to move your hands and your work freely. This mode does drain your battery, and you will need to have the display setting changed if you normally use a battery saver mode, as the battery saver mode turns the screen off after a designated time period.
- Photo and zoom method: The second way gives even more magnification by taking a photo at the full zoom and then viewing the photo and zooming in further. This viewing zoom is so powerful you would rarely need to zoom in the whole way. It works best if the photograph focus is really crisp with no camera movement, as any blurring is magnified as well. For this to work well, you need to have a stand or tripod that has no movement, or a remote shutter release which allows you to take a photo without touching the phone.
Tips for Getting a Better Image
- Avoid digital zoom in live view
- You quickly learn never to zoom on a mobile phone camera in live view because it is inevitably a digital zoom that delivers grainy interpolated pictures. Instead, snap the picture with good exposure, then zoom the resulting photo — this works like a charm.
- Use good lighting
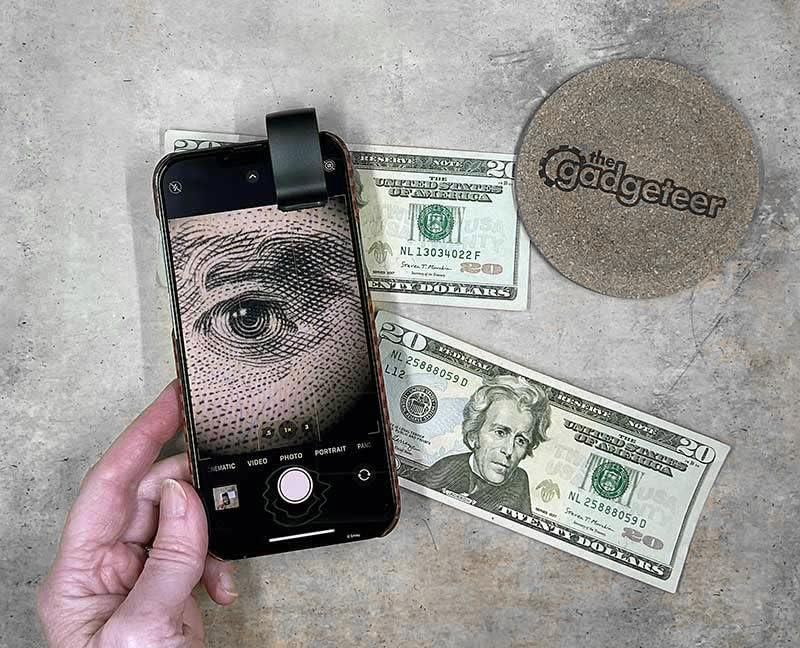
- Quality depends heavily on light sources nearby. Sometimes even changing angles by 10 degrees can make text unreadable. Shine a flashlight at your subject for best results, especially for detailed objects like currency.
- Use macro mode if available
- The Open Camera app has a macro mode, which has been used with good results to read the markings on small ICs.
- Protect the lens during soldering or lab work
- Put a layer of thin plastic film used in your kitchen to wrap food over the front camera lens. After a lot of soldering, a coating forms on the lens due to vapors and fumes produced — it sticks. You can easily clean with alcohol, but it is easier with those films: just peel it off and you are free to go.
- Add an external lens for more magnification
- A small lens barrel assembly from an old laser printer — about 16mm long, 12mm in diameter — held in place with a small blob of blu-tack gives excellent magnification. A lens from a DVD drive can also be used to make a DIY microscope.
The Physics of the Clip-On Lens
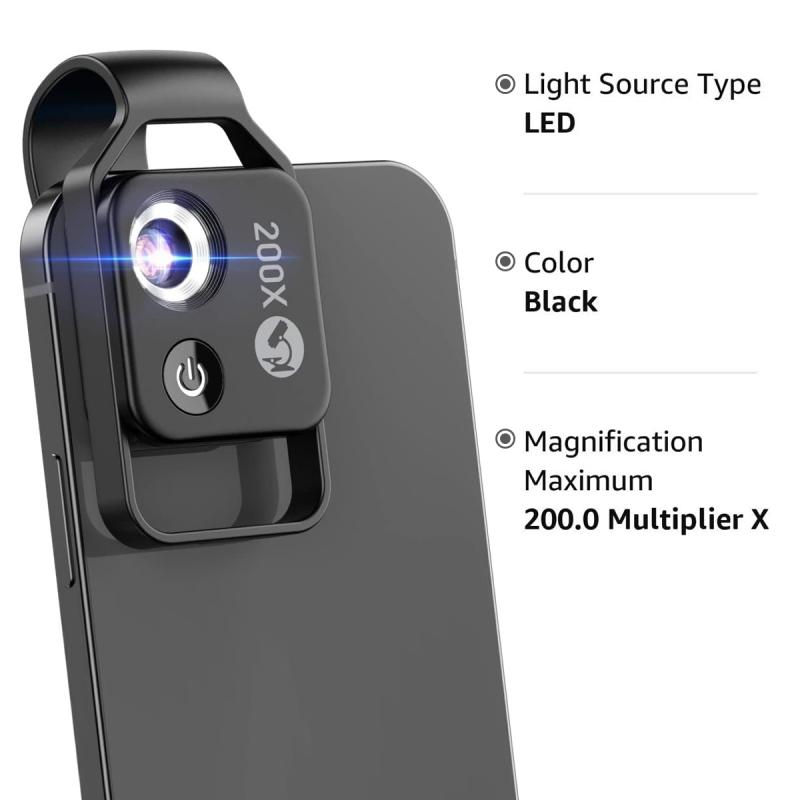
The clip-on cell phone magnifier lens has a focal length of about 1cm, found by projecting a real image of ceiling lights and applying the formula 1/f = 1/do + 1/di. The magnifying power is 15 times. This can be verified by first taking a picture of an ordinary meter stick without the lens — an iPhone lens has a magnification of 2 — then taking a picture of a ruler with and without the lens and comparing. The increase is a little more than 7 times. The product of 2 and 7.5 is 15, which matches the advertised value.
Using your cell phone as a microscope has advantages beyond just making and sharing videos and pictures. Your camera has an autofocus, which makes it easier to get the image. Also, since the lens is making a virtual image, you do not have to move the object oppositely to the direction you want the image to move — this is a major annoyance when using conventional microscopes.
A mobile phone is designed to take reasonable pictures of everything in its field of view, so it has a particularly wide depth of field. The microscope meanwhile is designed to bring objects at a particular distance into sharp focus, so with its narrow depth of field it transmits some depth information in terms of focus.
Interesting Objects to View
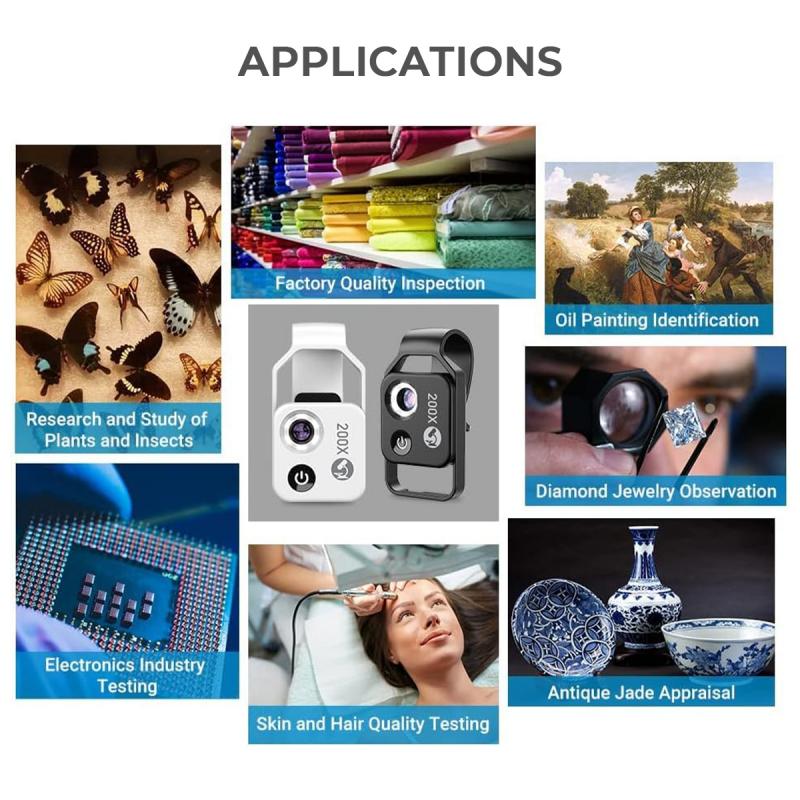
- Printer paper: The surface of an ordinary piece of printer paper shows quite easily that it is not smooth at all. This is important for explaining why paper does not reflect light the same way a mirror does (diffuse vs. specular reflection).
- Mint Mentos: Mint-flavored Mentos have a pitted surface. These little holes act as nucleation sites for bubbles to form in carbonated liquid.
- The new $100 bill: Many of its security features are only appreciable if you have a microscope — for example, the tiny security writing along the length of the feather, or the security threads. The color-changing glitter is laid in different directions on each side. Shine a flashlight at the bill for best results.
- Computer screen pixels: Hold the lens up to a computer screen and see the different pixels making the colors. The lens offers an excellent opportunity to study how the primary colors of light are combined to generate new colors. Look at the black cursor with a white background to learn how white light is made.
- Textbook images: Take a close look at an image in a textbook and see that pictures are not made from RGB, but rather the primary colors of ink — CYMK: cyan, yellow, magenta, and black — unequally mixed to form the desired color.
- Rocks, crystals, and condiments: Pretty much any grain or crystal will look very interesting microscopically. Take a closer look at your rock collection, or just take some condiment packets from your local restaurant.
- Insects: Because the camera is mobile, you can look at and photograph living insects more easily.
Using Your Phone as a Microscope for Electronics Work
A mobile phone can serve as a just-about-viable solution for impromptu SMD soldering in the field. The slight delay and lack of perspective take a little getting around. The open camera app's macro mode and freezing frames are useful for reading small chip markings and part designations.
I frequently use the phone as a magnifier for small part markings. I find it inconvenient to zoom the camera in live view, as it then amplifies any movements from holding the camera and can make it go in and out of frame, focus, and exposure. However, snapping the picture with good exposure, then zooming the resulting photo, works like a charm.
If you can't magnify enough with the phone, make a photo and then zoom into the photo. Often live view has much lower quality so that it can be updated live, and once the phone takes a photo, it tries to capture the most details. You can also use your phone handheld as a loupe, allowing you to check beads and gems and to see if your solder has flowed in all of the right places.