Which Light Is Best For Photography?
When booking a studio or setting up lights for portraits, one of the most important decisions is color temperature. It affects skin tones, mood, and the overall feel of your images — and getting it wrong can leave you with unnatural, inconsistent results that are tough to fix in post.
What Is Lighting Temperature
Lighting temperature is measured in Kelvin (K) and describes how "warm" or "cool" a light source appears. There are two important values to consider for any light source: the color temperature, and the tint. These two measurements make up white balance. The color temperature is measured in Kelvin on a scale that represents the color of light going from yellow/orange to blue, commonly ranging from 2700K to 6500K. The tint is a value that goes from magenta to green.
- Lower Kelvin (around 2700K–3200K) = warm, yellow-orange light (think candles or cozy living rooms)
- Higher Kelvin (5000K–6500K) = cool, bluish daylight (like a bright, overcast sky)
In portrait photography, this affects not only the look of your images but also how accurate and flattering your skin tones appear. There is also a very important rating for lighting called CRI — Color Rendering Index. CRI tells you how clean your light is, and how accurately that light source renders all the colors. The range goes from 0 to 100. Do not use lights with a CRI less than 90. When a light only has a CRI of 80, the tint is about 30–40 points green, which means your camera will not be able to render accurate color.
The Sweet Spot for Portraits: 5000K–5600K
For most portrait setups, a lighting temperature setting of 5000K to 5600K is ideal.
- Mimics natural daylight
- It keeps skin tones neutral and flattering and works well with both natural light and continuous or strobe lights.
- Avoids color casts
- This range avoids color casts (too orange or too blue) on your subject.
- Versatility
- This range gives you versatility for bright, crisp headshots, lifestyle sessions, or creative portraits while staying easy to balance with any available daylight in the room.
A warm white high CRI light will be more flattering than a cold white low CRI light. A 6500K 65 CRI light isn't going to do anyone any favors in the looks department. Look for a 4000–5000K 95+ CRI LED. Natural sunlight is considered the gold standard as it is 100 CRI, and "golden hour" sunlight is generally around 3500K.
Mixing Light Sources
If your studio has a mix of natural light and artificial lights, color balance can get tricky. Our eyes are amazing at color correcting any light we look at, which is why this is very difficult for photographers who are starting out — but cameras will see the difference clearly. A few rules for mixing light sources:
- Match your artificial lights to daylight (around 5500K) for consistency
- Avoid combining warm tungsten (3200K) with daylight unless it's an intentional creative choice
- Use gels or adjustable color temperature LEDs to even out mixed sources
- Make sure all your lights are matched within the scene, or you'll deal with uneven skin tones and messy edits
- Every one of your lights must be identical in every way — same brand, same color temperature — so that you don't get any white balance shifting
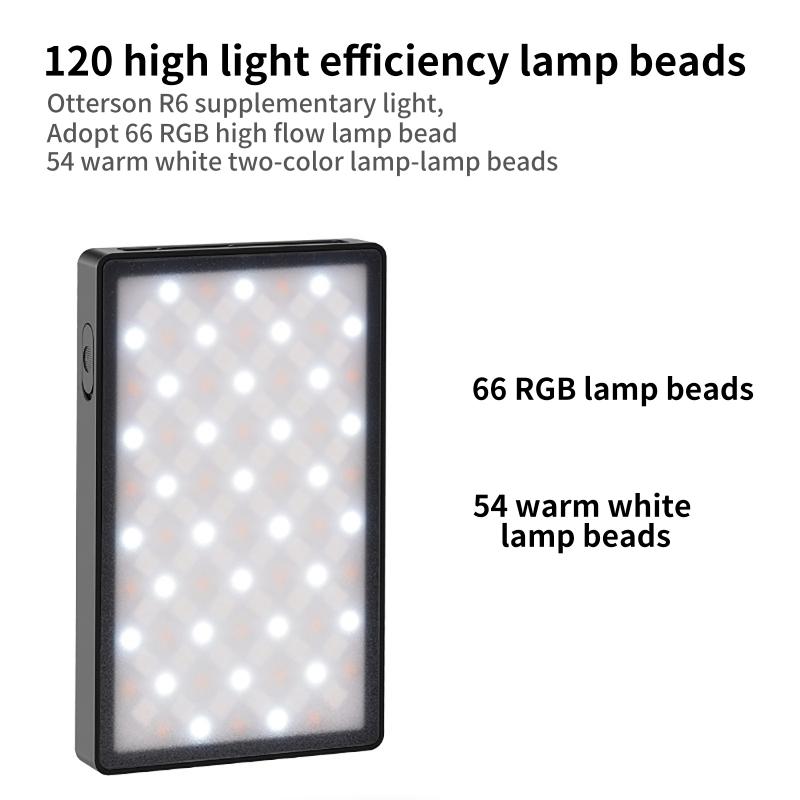
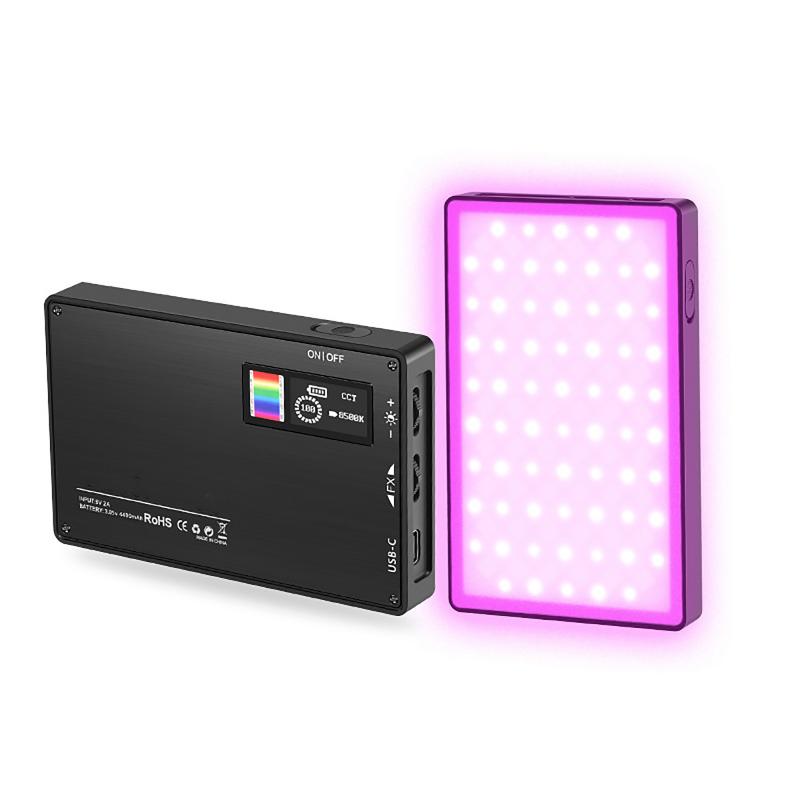
Some LED panels are called bi-color LED light panels, meaning they have a mix of bulbs (for example alternating rows of 3200K bulbs with 5500K bulbs) so that you can customize your light to match a given situation.
How to Dial In Your Studio Color Balance
Before you start shooting, take the following steps to establish correct color balance:
- Set your camera's white balance to the Kelvin value that matches your lights (typically 5000K–5600K)
- If you're unsure, use a grey card to custom white balance your camera
- Avoid auto white balance — it can shift unpredictably frame to frame
- Studios with good color balance options will have consistent lighting gear, daylight-matching fixtures, and blackout options to control ambient light
The only way to accurately measure the white balance of any light is with a color meter. A photographic color meter tells you the white balance in Kelvin and the tint — how much green or magenta is in the light. Photographers use color meters to read the tint in a light to see how green it is, then use color correcting gels (varying degrees of magenta) to render the light neutral. Our eyes cannot show us the real color of light the way a camera will see it.
Types of Artificial Light for Photography
There are several categories of artificial light available, each with different characteristics relevant to photography.
- Tungsten Incandescent Bulbs
- Tungsten bulbs have a white balance of 3200–3400K. They are very bright, ranging from 250 watts up to 24,000 watts. Many countries have banned tungsten incandescent light bulbs. They give off considerable heat, and the bulbs are energy inefficient. Still heavily used in the movie industry.
- CFL (Compact Fluorescent Lights)
- CFLs became more common following the ban on incandescent lights. They come in all kinds of varieties and price points. You cannot buy the cheapest ones — research is required. A CRI of 91 is considered good for a CFL, but do not use lights with a CRI less than 90. CFLs can have unpredictable tint issues.
- LED Panels
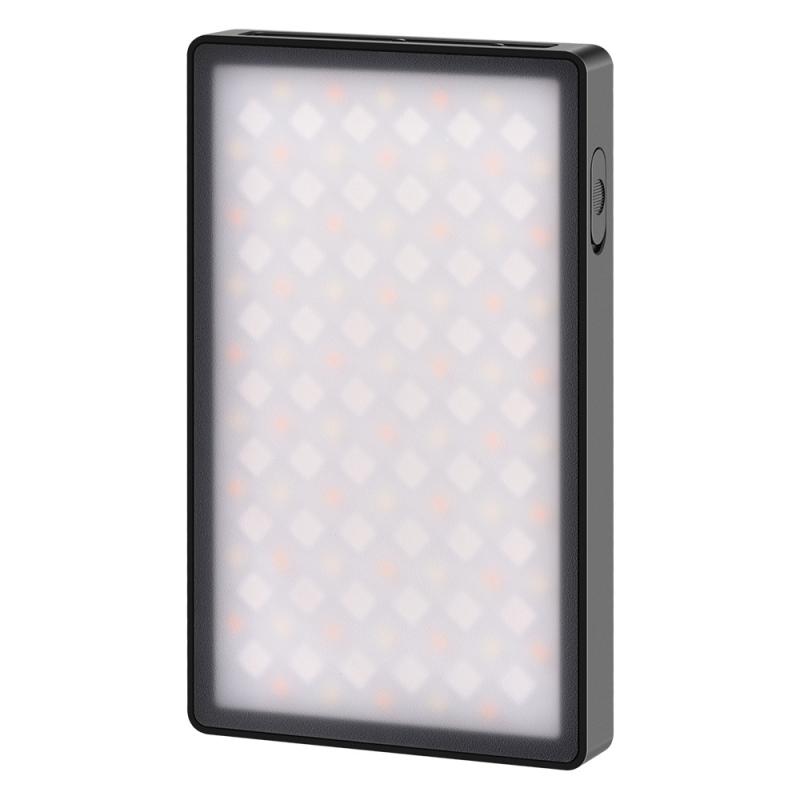
- LED panel lights make shooting experiences very comfortable because the heat stays in the power brick — the panel stays cool to the touch even after a long session. LED panels are available in bi-color versions to match mixed lighting environments. For product photography, apparel, or anything with paint, stains, pigments or dyes, high CRI LED panel lights or strobes are strongly recommended. The absolute most important thing when photographing fabrics is to have lights with a high CRI — without it, colors will shift.
- Strobes
- Strobes are an advanced lighting option. Quality strobes have a very stable white balance and are very neutral with a daylight color temperature. When using strobes, each camera has its own preferred syncing speed. A cheap off-camera flash with manual mode is far more flexible than a fixed light fixture. A basic set of one flash, a folding stand, an umbrella, and a way to trigger it off-camera is relatively inexpensive and extremely portable.
Light Modifiers and Softness
In portrait photography, soft light is often the method of choice, as it provides flattering renderings suitable for a wide range of styles and subjects. Getting a good lighting effect is seldom a function of the bulb alone. The way to achieve soft light is by using some kind of diffuser or softbox. The softbox diffuses the light source — and you can add diffusion gels if needed for further diffusion. You are generally trying to increase the apparent size of your light source, as larger apparent sources create softer light.
- A "shoot-through" umbrella is the semitransparent white one — the advantage is that the source can be located much closer to the subject, making the relative source bigger
- A reflector umbrella can be used as well, though it is limited by shaft length
- A lamp shade is similar in effect to an umbrella, just smaller — use a white one
- You can even hang a sheet and shoot through it
- A large softbox at 45 degrees high above the subject is a commonly recommended setup
- A rim light helps if the edge of the subject's body, hair, face, or clothing is the same color as the background
LED panel lights that include tent softboxes produce particularly soft, pleasing light. No heat comes from the panel itself — the heat stays in the power brick — making long sessions more comfortable for both photographer and subject.
When to Break the Rules
While 5000K–5600K is the standard for portraits, there is room to experiment with color temperature for creative effect:
- Warm light (around 3200K) can create a cozy, intimate vibe for evening, lifestyle, or romantic couple's portraits
- Cooler tones (6000K–6500K) can add a clean, clinical look for fashion or editorial work
- Golden hour sunlight (generally around 3500K) is generally considered particularly nice as far as natural lighting goes
When using continuous LED lights, avoid cheap "dimmable" LED bulbs if you rely on being able to dim them — the dimming action tends to be PWM and creates messy artifacts. Also avoid bare-PCB multi-LED bulbs unless you want "staircased" shadows, and color adjustable LED bulbs that use the same PWM approach. Any LED bulbs that use only a series capacitor or resistor as a ballast will also have subtle strobing problems.