When To Use Nd Filter On Dslr?
In photography, controlling light is as important as mastering composition or focusing on the subject. Neutral Density (ND) filters are indispensable tools for photographers who aim to expand their creative possibilities and achieve precise control over exposure. Despite their significance, many DSLR users are unclear about when and how to use ND filters effectively. This article will delve into the scenarios where ND filters shine, helping you understand their practical applications and benefits.
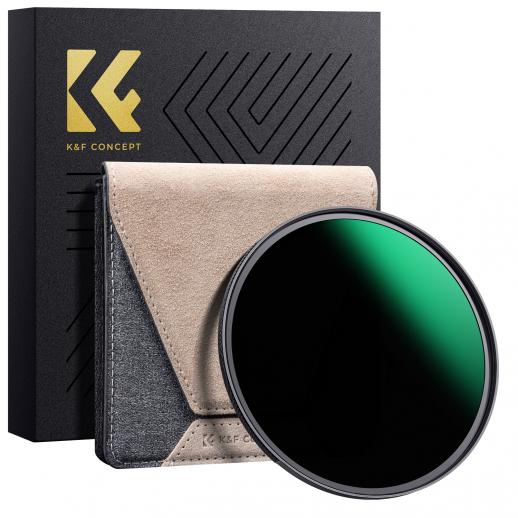
What is an ND Filter?
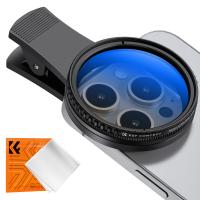
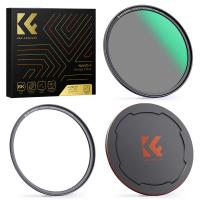
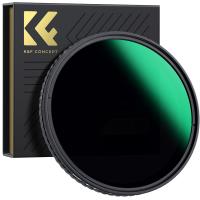
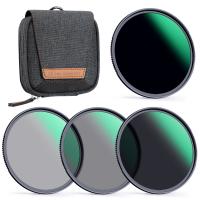
An ND filter is a piece of glass or resin that reduces the amount of light entering your DSLR's lens without altering the color of the scene. Think of it as sunglasses for your camera. By controlling light intensity, ND filters allow you to manipulate exposure settings creatively while preserving image quality.
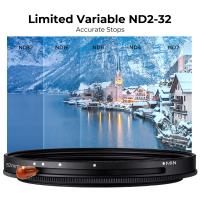
ND filters are categorized based on their strength, typically denoted by optical density (e.g., ND2, ND4, ND8, etc.) or the number of stops of light reduction they provide. The higher the number, the darker the filter and the greater the light reduction.
---
Practical Scenarios for Using an ND Filter
1. Achieving Motion Blur in Bright Light
- When: You want to capture silky smooth water in a waterfall, flowing rivers, or the motion of clouds during the day.
- Challenge: Bright daylight often forces faster shutter speeds, which freezes motion and prevents the desired blur effect.
- Solution: Using an ND filter reduces the light, enabling slower shutter speeds while maintaining proper exposure. This results in a soft, dreamy effect.
For example, to capture a waterfall with blurred water flow, an ND8 filter (three-stop reduction) might allow you to extend your shutter speed to several seconds, creating that ethereal look.
2. Shooting Wide Apertures in Bright Conditions
- When: You want a shallow depth of field with a blurred background (bokeh) in bright environments, such as during a sunny outdoor portrait session.
- Challenge: Bright light overexposes the image when using wide apertures (e.g., f/1.8 or f/2.8).
- Solution: An ND filter dims the light, allowing you to shoot wide open without overexposing the image. This ensures a beautifully blurred background while keeping your subject well-lit.
3. Long Exposure Photography During the Day
- When: You aim to capture unique long-exposure effects, such as car light trails during daylight, smoothing waves at a beach, or creating ghostly figures in bustling cityscapes.
- Challenge: Long exposures during the day are almost impossible without overexposing the image due to excessive light.
- Solution: Strong ND filters, such as ND64 or ND1000, block significant light, enabling exposures lasting seconds or even minutes in daylight.
Long exposure adds an element of surrealism to urban or natural scenes. For example, capturing a busy street with an ND filter can render moving pedestrians as ghostly figures while the stationary elements remain sharp.
4. Balancing Exposure in Video
- When: You’re shooting video outdoors and want to maintain cinematic settings, such as a specific frame rate and aperture.
- Challenge: Bright light often requires compromises in shutter speed or aperture, leading to overexposed footage or a lack of creative control.
- Solution: Using an ND filter allows you to keep your desired aperture and shutter speed settings without overexposing the video. This is particularly critical for achieving the “180-degree rule” in video, where the shutter speed is typically set to double the frame rate.
For example, when shooting video at 24fps, you’d want a shutter speed of 1/48 seconds. An ND filter enables this setting, even in bright light.
5. Preventing Overexposure in Aerial Photography
- When: You’re using a drone for aerial shots in sunny environments.
- Challenge: Bright skies often result in overexposed footage or blown-out highlights.
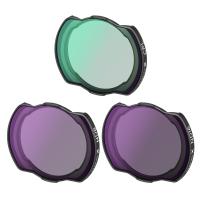
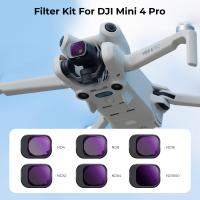
- Solution: ND filters designed for drones reduce light intensity, allowing for balanced exposure and a more professional look to your shots.
6. Controlling Highlights in Snowy or Beach Scenes
- When: You’re photographing in environments with reflective surfaces like snow, sand, or water.
- Challenge: These surfaces intensify light, causing overexposure and loss of detail in highlights.
- Solution: ND filters reduce the brightness of reflected light, preserving highlight details and improving image quality.
7. Creating Abstract and Minimalist Photography
- When: You want to create minimalistic or abstract compositions with extended exposure times.
- Challenge: Achieving a clean, simplified scene can be tricky in daylight due to visible details and motion.
- Solution: Strong ND filters allow extended exposures that eliminate distractions, such as moving people or waves, leaving a smooth, minimalist frame.
---
Key Considerations When Using ND Filters
1. Choosing the Right ND Filter
- The choice of ND filter strength depends on the specific scenario:
- ND4 or ND8: Suitable for mild light reduction, such as outdoor portraits or slight motion blur.
- ND64 or ND100: Ideal for moderate long exposures, such as light trails or smoother water surfaces.
- ND1000: Best for extreme long exposures, enabling daytime photography with exposure times of several minutes.
2. Avoiding Vignetting
- Stacking multiple ND filters can lead to vignetting, where the edges of the frame become darker. Using a single, high-quality ND filter of the appropriate strength is often preferable.
3. Combining ND Filters with Polarizers
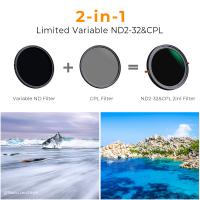
- If your scene includes reflective surfaces like water or glass, consider using a combination ND and circular polarizer filter. This setup reduces light while also eliminating glare and enhancing colors.
4. Using a Tripod
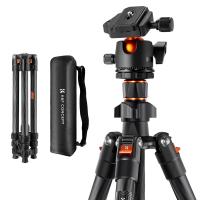
- Long exposures require stability. A sturdy tripod is essential to avoid motion blur from unintended camera shake.
5. Pre-Focusing
- ND filters, especially darker ones, can make it challenging to see through the viewfinder. Pre-focus your shot before attaching the filter to ensure sharp results.
6. Exposure Calculations
- Learning how to calculate the required shutter speed with an ND filter can simplify your workflow. Many smartphone apps and tools are available to assist with this.
---
Enhancing Creativity with ND Filters
Using ND filters isn’t just about solving technical problems; it’s about unlocking creative potential. Whether you’re crafting dreamy landscapes, isolating subjects, or adding motion dynamics to your shots, ND filters empower you to visualize and execute ideas that would otherwise be impossible. Experimentation is key to discovering the true versatility of ND filters.
---
Final Thoughts
An ND filter is more than just an accessory; it’s a gateway to creative freedom. Understanding when and how to use ND filters on your DSLR can significantly enhance your photography and expand your skill set. From capturing stunning long-exposure effects to achieving cinematic videos, ND filters are tools that allow you to bend light to your will.
By mastering their application, you can elevate your photography to new heights, creating images that stand out for their technical precision and artistic expression. So, whether you’re a seasoned photographer or a passionate hobbyist, investing in an ND filter is a step toward realizing your full creative potential.

