
How To Wire An Outdoor Camera For Power?
How to Wire an Outdoor Camera for Power: A Comprehensive Guide
Outdoor cameras are essential for enhancing home security, keeping an eye on your property, and deterring potential intruders. While modern technology has made installing wireless systems more accessible, many outdoor cameras still require a direct power source to function reliably. Wiring an outdoor camera for power, although straightforward, requires some planning and attention to detail to ensure the camera is powered safely and consistently. This guide will explain the process step-by-step, addressing common challenges and providing useful tips to achieve optimal results.
Step 1: Understanding the Power Requirements

Before starting, it’s crucial to understand the type of outdoor camera you’re working with and its specific power requirements. Here’s what you need to determine:
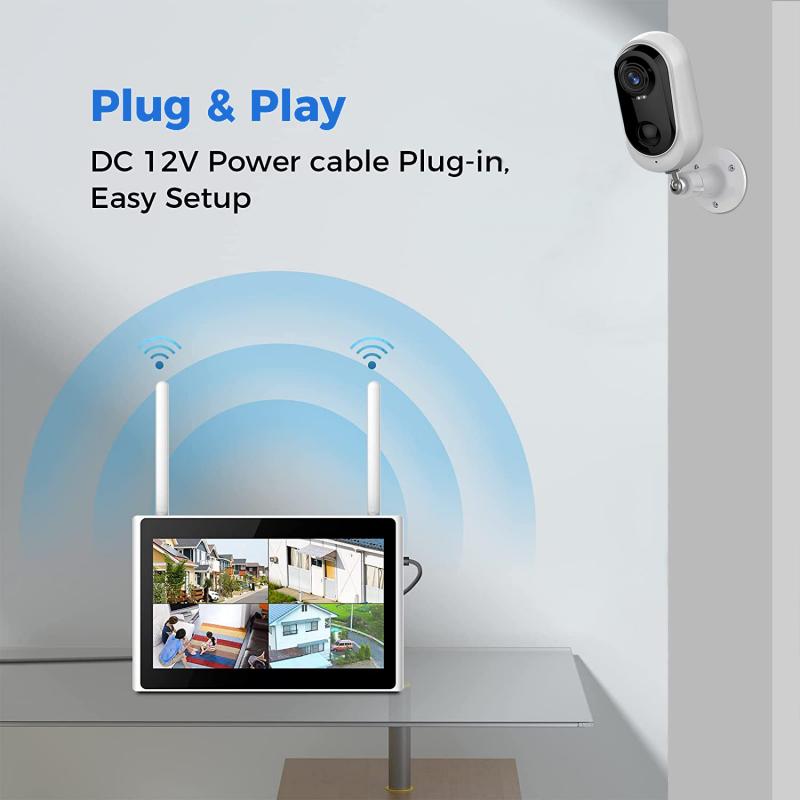
Voltage and Current: Most outdoor cameras operate at 12V DC or 24V AC. Check the camera’s specifications to identify its required input voltage and current (usually measured in amps).
Power Adapter: Many cameras come with a power adapter, but if yours doesn’t, ensure you purchase one compatible with the voltage and amp rating of your device.
Cable Type: Outdoor power cables should be durable and weather-resistant. Common options include 18/2 gauge cables (two-strand cables for low voltage devices) or combined power and video cables if the camera supports a wired connection.
Understanding these requirements ensures that your installation provides stable power without overloading or underpowering the camera, which could lead to performance issues.
Step 2: Planning Camera Placement
Proper planning prevents common pitfalls when wiring for power outside. Consider the following factors:
1. Distance from Power Source: The camera’s location affects the type and length of cable you need. Measure the distance between the installation area and the nearest power outlet. For longer distances, you may need thicker cables to prevent voltage drop.
2. Exposure to Elements: Outdoor cameras are subject to environmental conditions such as rain, snow, and direct sunlight. Choose weatherproof wiring and use protective coverings for exposed connections.
3. Accessibility: Position the camera so it’s easy to maintain or adjust if needed, while ensuring that the power source isn’t easily accessible for tampering.
Mapping out the installation area will help ensure an efficient and tidy wiring process.
Step 3: Installing the Power Cable
Once you know the camera's requirements and placement details, you can start the wiring process. Follow these steps to install the power cable safely and effectively:
1. Drill Holes for Cable Routing:
- If the camera is mounted on a wall or ceiling, drill a hole to route the cable through to the other side. Use watertight grommets to seal the hole and prevent moisture from entering.
- Ensure the hole is large enough to accommodate the cable’s connectors, but not excessively large.
2. Use Conduit for Protection:
- Outdoor wiring should be run through electrical conduits to protect it from damage due to weather, pests, or physical strain. PVC conduits are lightweight and affordable, while metal conduits provide extra durability.
- Secure the conduit against the wall using mounting clips or brackets.
3. Lay the Cable:
- Feed the power cable through the drilled hole and conduit. If your camera uses a combined video and power cable, ensure both cables fit snugly through the conduit.
- Avoid creating sharp bends in the cable, as this can cause wear over time.
Step 4: Connecting to the Power Source
Now that the cable has been installed, it’s time to connect the camera to the power source. Depending on the camera model, specific connection methods may vary, but here’s a general approach:
1. Connect Cable to the Camera:
- Locate the camera’s power input (often a barrel connector for DC-powered cameras).
- Plug the power cable directly into the camera or use any required adapters.
- Ensure the connection is secure—loose power connections can lead to intermittent functionality.
2. Plug Power Adapter into the Wall Outlet:
- Connect the power adapter to the other end of the cable and plug it into a wall outlet.
- For optimal safety, use GFCI (Ground-Fault Circuit Interrupter) outlets for outdoor installations. These outlets are designed to prevent electrical shocks in damp environments.
3. Test the Camera Functionality:
- Turn on the camera and confirm it’s receiving power. Check the indicator lights or the app/software linked to the camera for confirmation.
- Troubleshoot any issues, such as flickering power, by ensuring proper voltage and connection stability.
Step 5: Securing and Weatherproofing
Outdoor installations must account for weather and environmental exposure. Once the power is connected, follow these additional steps to ensure longevity and reliability:
1. Seal Connections:
- Use silicone sealant, electrical tape, or waterproof heat shrink tubing to seal any exposed connectors or joints.
- Cover all points where the cable meets the camera and where it’s plugged into the power adapter.
2. Protect the Cable Runs:
- If the cable is exposed at any point, consider using cable covers to shield it from UV radiation and physical damage.
- Avoid leaving power cables hanging loosely. Use cable ties or clips to bundle cables neatly against surfaces.
3. Check Waterproofing Standards:
- Ensure that both the camera and its connections meet IP (Ingress Protection) standards for waterproofing. Cameras with an IP67 rating or higher are ideal for outdoor installations.
Step 6: Additional Tips for Effective Installation
Here are some extra insights to improve your installation and address common concerns:
Use PoE (Power over Ethernet): If your outdoor camera supports PoE technology, this is an efficient option that combines power and data transmission over one Ethernet cable. It reduces clutter and simplifies installation.
Surge Protection: Outdoor cameras are often more vulnerable to power surges due to environmental factors. Consider installing a surge protector to safeguard the camera.
Wireless vs. Wired Power: Compare the advantages of traditional wiring versus solar-powered or battery-operated cameras, which avoid the need for a wired connection but might be less dependable in certain climates.
Common Challenges and Troubleshooting
Even the best-planned installations occasionally encounter challenges. Here are solutions to some common issues:
1. Voltage Drop Over Long Distances:
- If the camera is far from the power source, consider using thicker cables or upgrading to a higher-output power adapter to avoid insufficient power delivery.
2. Damage from Weather:
- Regularly inspect the wiring and seals to ensure they haven’t been compromised by rain, snow, or heat.
3. Short Circuits:
- Check for exposed wires or poorly connected terminals that could cause shorts. Revisit connections if the camera isn’t functional.
Conclusion
Wiring an outdoor camera for power might seem intimidating at first, but by following a systematic approach, homeowners can ensure a secure and lasting connection. From selecting the right equipment to weatherproofing the installation, every step plays a vital role in building a reliable surveillance system.
For those seeking alternative solutions, technologies such as Power over Ethernet or solar-powered cameras can simplify the process and reduce wiring challenges. However, if hardwiring offers the best solution for your setup, this guide provides the essential knowledge to get started.
Once the wiring is complete, enjoy improved peace of mind knowing your property is being watched 24/7 by a properly installed outdoor camera. Regular maintenance, combined with the sturdy installation practices outlined here, will guarantee years of reliable performance. Whether you're installing one camera or an entire network, wiring for power is a fundamental skill that every DIY enthusiast can master.


")


