How To Replace Sd Card Reader Switch?
How to Replace an SD Card Reader Switch: A Comprehensive Guide
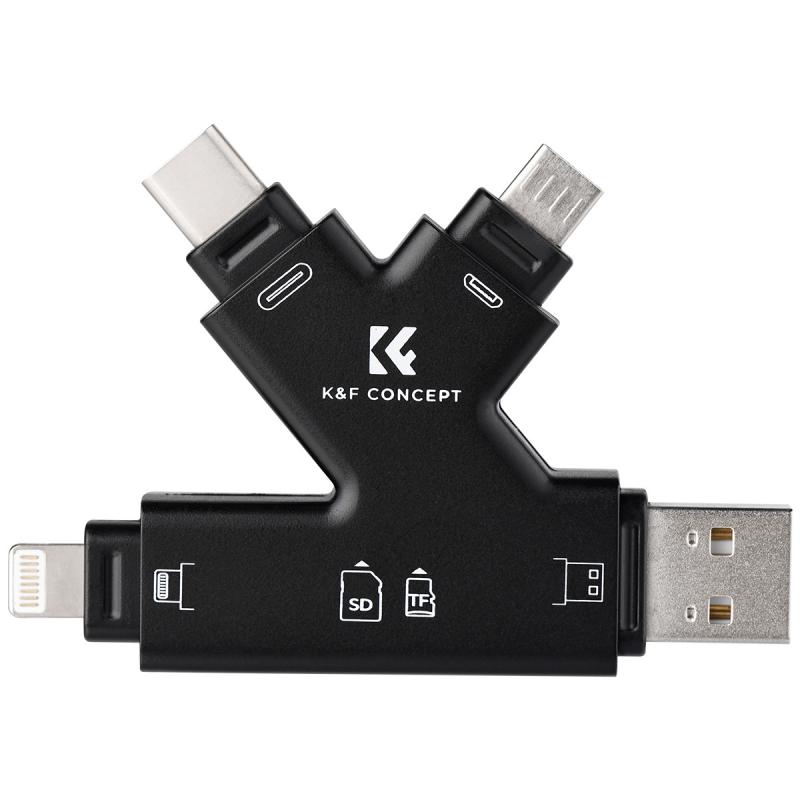
SD card readers are essential components for transferring files between devices and external storage, but like any hardware, they can wear out or malfunction over time. If you've encountered problems with your SD card reader, such as the switch not working or the card not being detected properly, it may be time to replace the switch. Replacing the SD card reader switch is a relatively straightforward task that you can handle on your own with the right tools and steps. This article will guide you through the process of replacing an SD card reader switch, focusing on the steps involved, necessary tools, and common issues.
Understanding the SD Card Reader Switch
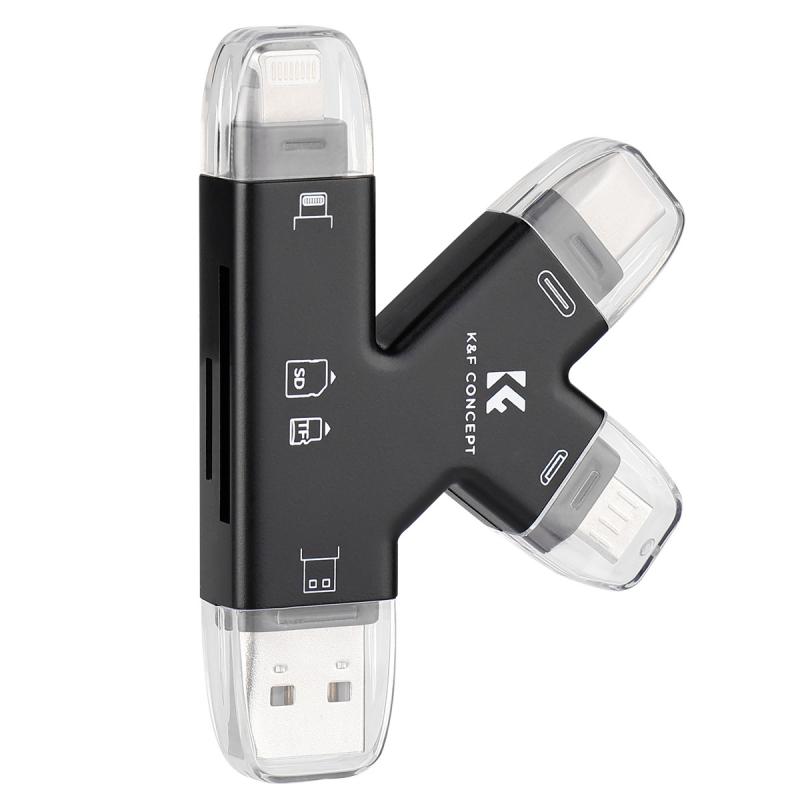
The SD card reader switch is an integral part of an SD card reader module, often embedded within laptops, desktops, or external card readers. This switch is responsible for detecting when an SD card has been inserted or removed. It works by physically activating or deactivating a small mechanism when an SD card is inserted, signaling the system to either mount or eject the device.
If this switch fails or becomes stuck, it can prevent the system from detecting SD cards or cause problems such as automatic mounting when no card is inserted, or the inability to detect the card at all. While the SD card reader itself may still function normally, a faulty switch can render it largely unusable.
Symptoms of a Faulty SD Card Reader Switch
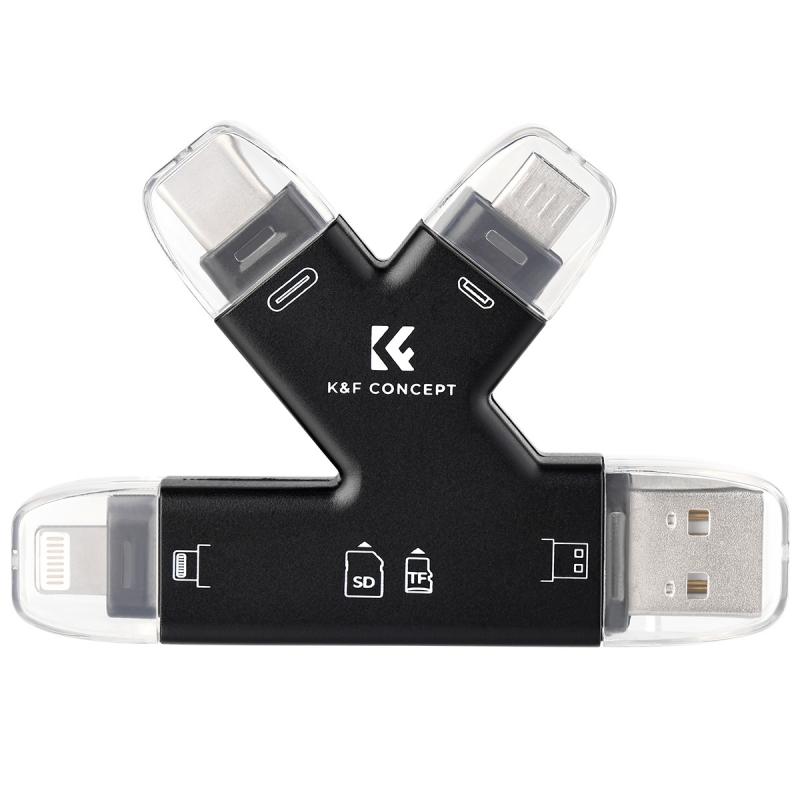
Before proceeding with the replacement, it's essential to confirm that the issue is indeed the switch. Here are a few common symptoms of a faulty SD card reader switch:
1. Card Not Being Detected: The SD card is inserted into the reader, but the system doesn't recognize it.
2. Card Detected but Not Ejected Properly: The SD card shows up in the system, but there’s no way to eject it.
3. Constant Ejection Notification: The system continually tries to eject the card or shows an error message that the card has been removed, even when it’s still inserted.
4. Physical Damage: If the switch or the surrounding area is physically damaged or seems stuck, it could be an indication that the switch is malfunctioning.
Tools and Materials Needed
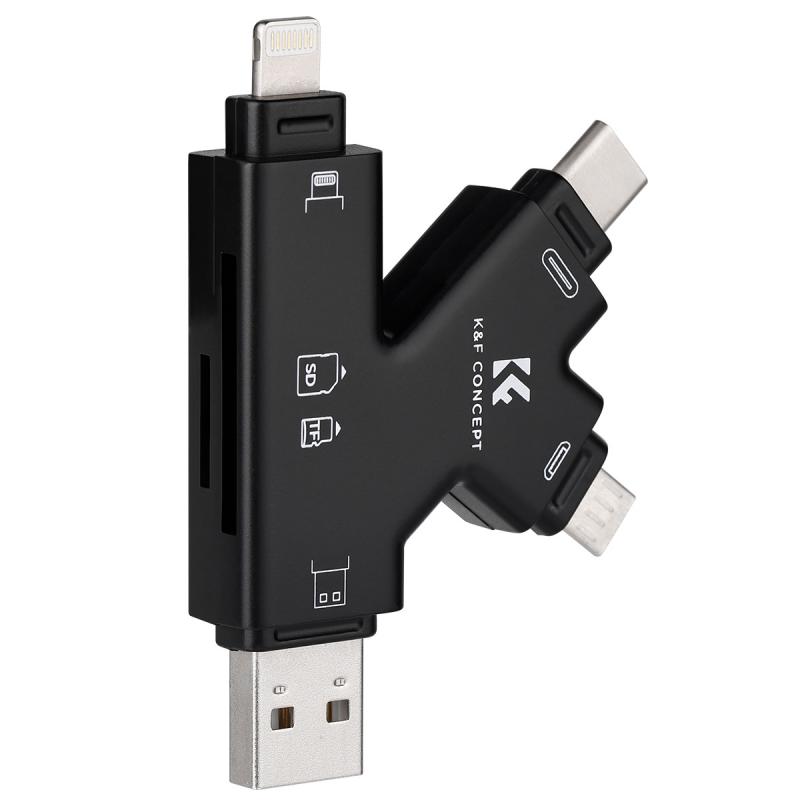
Before starting the replacement process, gather the following tools and materials:
- Small screwdriver set (for laptop or device disassembly)
- Plastic prying tools (to avoid damage to your device)
- Soldering iron (if the switch is soldered onto the motherboard or connector)
- Replacement SD card reader switch (make sure it's the correct model and type for your device)
- Tweezers (for precise handling of small components)
- Antistatic wrist strap (to prevent static damage to sensitive components)
Step-by-Step Guide to Replacing the SD Card Reader Switch
Step 1: Diagnose the Issue
Start by confirming that the issue lies with the SD card reader switch and not the card reader itself. Check the reader with a known, working SD card on a different computer or device. If the issue persists, it’s likely the switch or its connections that are malfunctioning. Sometimes, the problem could also be related to software or drivers, so make sure your system recognizes the SD card reader before jumping to hardware troubleshooting.
Step 2: Prepare the Workspace
Set up a clean, static-free workspace to work on your device. Ground yourself using an anti-static wrist strap to prevent damaging any delicate components. If you're working on a laptop or desktop, power off the device and unplug it from the wall. If it’s a portable external reader, disconnect it from the computer and ensure no power is supplied.
Step 3: Disassemble the Device
In many cases, replacing the SD card reader switch requires disassembling your device. The complexity of this step depends on the device you're working on.
- Laptop or Desktop: For internal SD card readers, you’ll need to carefully remove the back panel or casing of the device. Use a small screwdriver to remove screws and pry open the casing with a plastic tool. Be careful not to damage any connectors or internal components.
- External Card Reader: If you're dealing with an external SD card reader, this process is usually simpler. Remove the screws holding the casing together, and gently open the device.
Once the casing is removed, locate the SD card reader module. You may have to detach the card reader from the motherboard or unscrew it from its compartment.
Step 4: Identify the Faulty Switch
The SD card reader switch is usually a small mechanical or magnetic switch positioned near the slot where the SD card is inserted. Look for any signs of physical damage, such as a broken switch or bent pins. You may also want to check the surrounding connectors and cables for any loose or damaged parts.
If the switch is stuck, try to gently nudge it with a plastic prying tool or tweezers. Sometimes, the switch can become jammed, but this doesn't necessarily mean it needs replacing. However, if the switch is physically damaged or not functioning at all, it will need to be replaced.
Step 5: Remove the Faulty Switch
If the switch is part of a modular card reader, it might simply be unscrewed or detached. If it's soldered onto the motherboard or another board, you’ll need a soldering iron to carefully remove the switch. Be cautious when using the soldering iron, as overheating can cause damage to the board.
Use a small screwdriver or plastic prying tool to disconnect any cables or connectors associated with the switch. If the switch is connected by pins, use tweezers to pull them apart carefully.
Step 6: Install the New SD Card Reader Switch
Once the faulty switch is removed, it’s time to install the new one. If you’re replacing a soldered switch, apply a small amount of solder to the new switch’s pins and carefully attach them to the corresponding pads on the board. Make sure there’s no excess solder, as this could cause short circuits.
If it’s a modular switch, align the new switch with the connection points, secure it with screws (if necessary), and reconnect any cables or connectors.
Step 7: Reassemble the Device
Once the new switch is installed, carefully reassemble the device. Place the SD card reader module back into its compartment, secure any screws, and close the device’s casing. Make sure everything is tightly connected, and there are no loose parts.
Step 8: Test the Replacement
Before fully sealing the device, test the SD card reader switch by inserting an SD card. If the system detects the card and the switch activates correctly, you’ve successfully replaced the faulty switch. If the card is not detected, recheck the connections and soldering.
Common Issues to Avoid
- Static Electricity: Always wear an anti-static wrist strap when working inside a device to avoid damaging sensitive components.
- Overheating the Soldering Iron: When soldering the switch, ensure the iron’s tip isn’t too hot. Overheating can damage the circuit board and make the replacement process more difficult.
- Incorrect Switch Model: Ensure you’ve purchased the right replacement switch for your device. Using the wrong model may prevent the switch from functioning correctly.
Preventative Tips for SD Card Reader Maintenance
To avoid issues with your SD card reader in the future, consider these maintenance tips:
1. Regularly Check Connections: Loose cables or connectors can lead to issues with card detection. Periodically check the reader and ensure everything is properly connected.
2. Avoid Excessive Force: Be gentle when inserting or removing SD cards. Forcing a card into the reader can damage both the card and the reader’s internal mechanisms.
3. Clean the Reader: Dust and debris can accumulate around the SD card reader, potentially interfering with the switch. Use compressed air or a soft brush to clean the area periodically.
4. Update Drivers: Keep your system’s drivers up to date. Sometimes, software glitches can mimic hardware issues, so regular updates can help avoid unnecessary repairs.
Replacing the SD card reader switch is a manageable task for most people with some technical knowledge. Whether you're dealing with a laptop, desktop, or external card reader, the process follows the same basic steps: disassemble, remove the faulty switch, install the new one, and reassemble the device. By following these steps and taking precautions, you can ensure that your SD card reader functions correctly again, saving both time and money compared to replacing the entire card reader module.
Remember, if you’re not comfortable performing these steps on your own, it’s always a good idea to seek professional assistance to avoid causing further damage to your device.

