

 Neutral Density Polarizer Filter Drone Camera Lens Accessories, Multi-Coated Top Optical Glass Light Reduction Polarizer Filter")


 100*150*2mm Square Filter Optical Glass GND Slim")


How To Install Ring Camera Outdoor Wireless?
Installing a wireless Ring camera outdoors can be a straightforward yet rewarding task, as it adds a layer of security to your home while keeping things simple with wireless technology. If you’re looking to install your Ring camera outdoors but feel unsure about the process, this guide will walk you through every step, ensuring a quick, effective, and professional installation.
Understanding Your Ring Camera
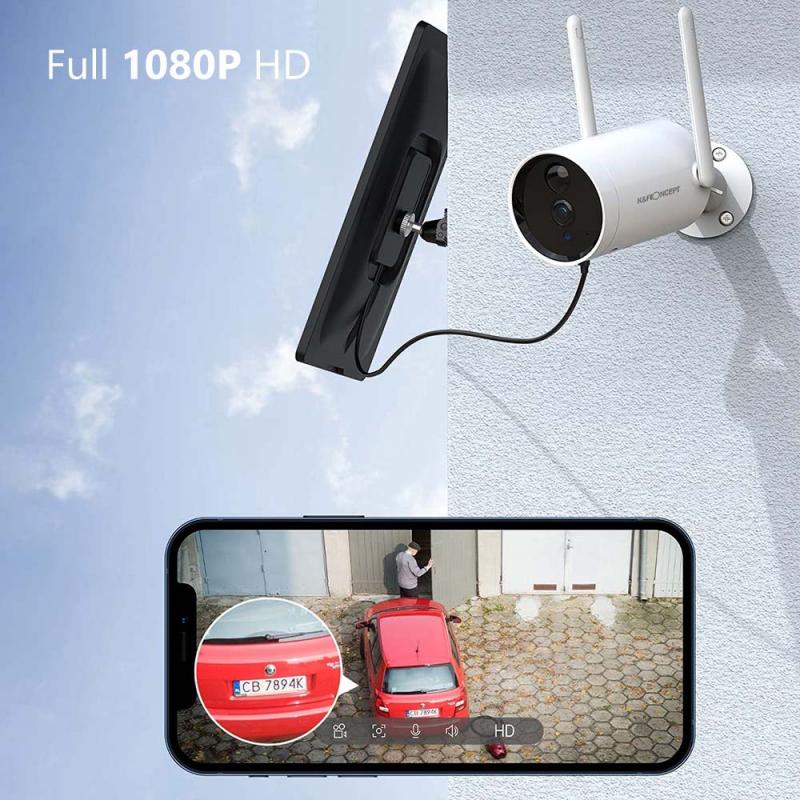
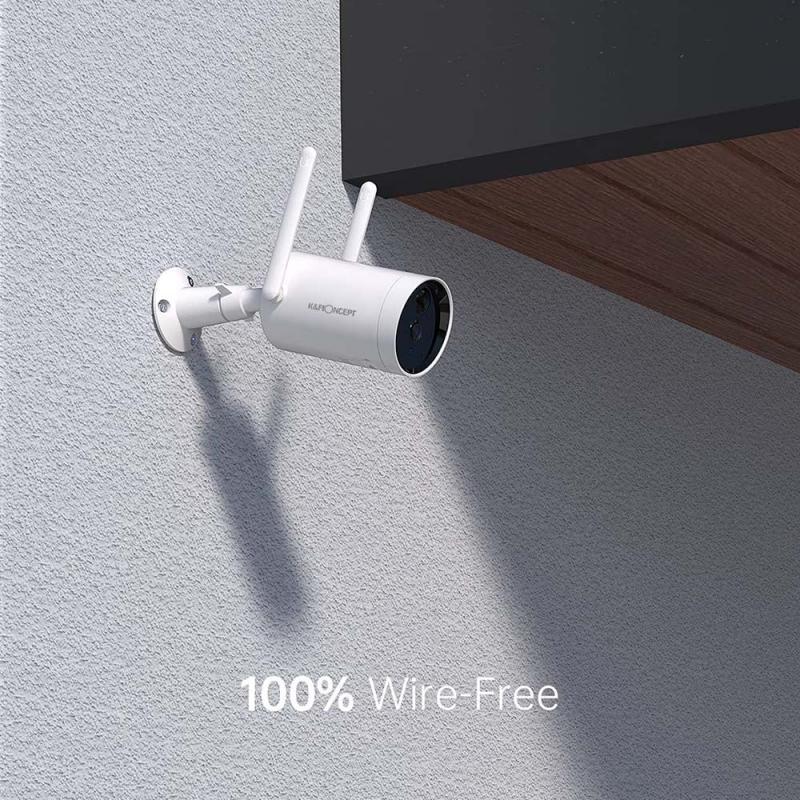
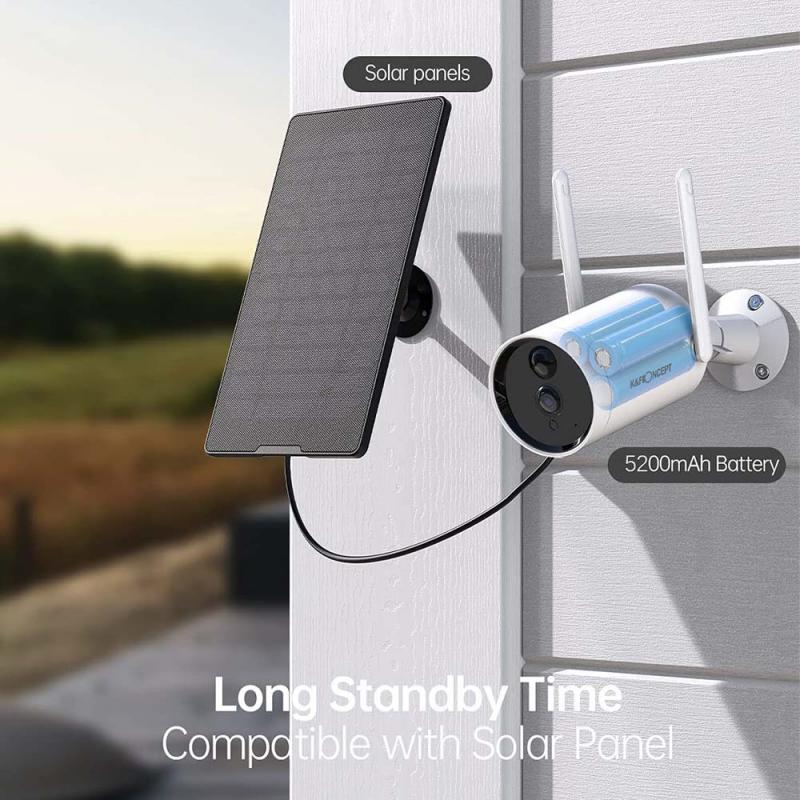
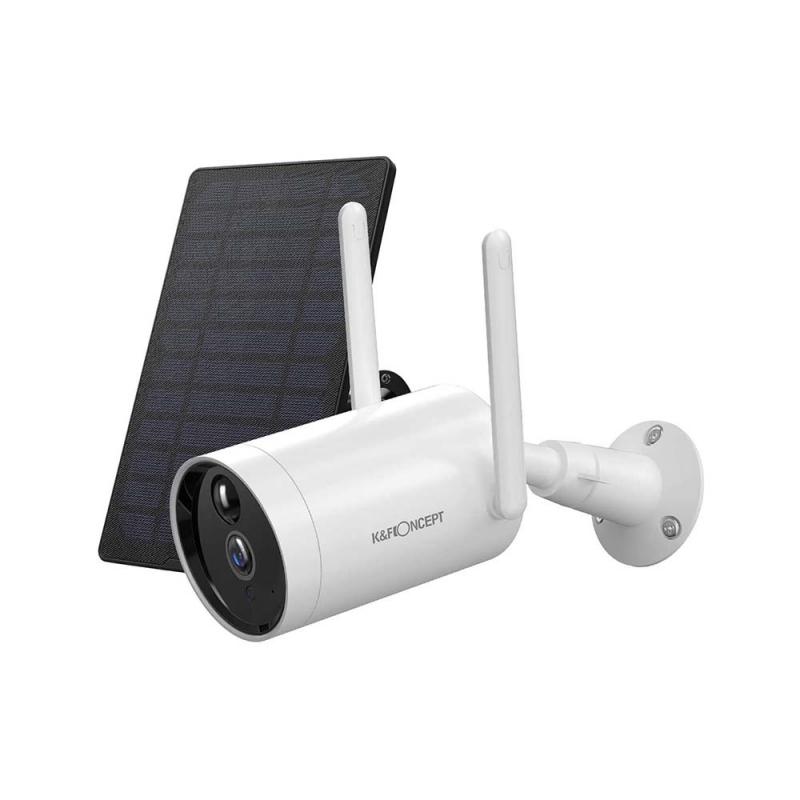
Before diving into installation, it’s important to familiarize yourself with the specific Ring camera model you have since each unit may slightly differ in terms of features, mounting requirements, and setup processes. Common models include the Ring Stick-Up Cam or the Spotlight Cam, both of which are designed for outdoor use and work wirelessly. Wireless connectivity typically means that the device connects via Wi-Fi, and most outdoor models are battery-powered or solar-powered, eliminating the need for direct wiring. Review your Ring camera’s user manual for important details regarding the specifications.
Key Considerations Before Installation
1. Location Placement:
- Decide where you want to install your Ring camera. Ideal locations include entrance doors, driveways, backyards, or areas with heavy foot traffic.
- Choose a spot that is elevated (approximately 8-10 feet above ground) to provide a wide field of view and protect the device from tampering.
- Ensure that the camera is in range of your Wi-Fi router for a stable connection, and check that no major obstacles (like large walls or fences) block the signal.
2. Weather Resistance:
- Most outdoor Ring cameras are weather-resistant, but it’s still advisable to place them under an eave or sheltered area for additional protection from extreme weather conditions.
- Verify that the camera is rated for outdoor use, as indoor models may not withstand rain, snow, or significant temperature fluctuations.
3. Power Source:
- If your camera is battery-powered, fully charge the battery before installation to avoid interruptions during setup.
- If you're using a solar-powered camera, ensure that the solar panel will have adequate exposure to sunlight.
4. Tools and Materials:
- Gather basic tools needed for installation, including a Phillips screwdriver, mounting bracket, screws (usually provided), a level, and possibly a drill for hard surfaces.
- Confirm that you have access to the Ring app on your smartphone or tablet for setup.
Step-by-Step Installation Guide
1. Set Up Your Ring Camera in the App
- Start by downloading the Ring app if you haven’t already. This app is available for both iOS and Android devices.
- Create a Ring account or log in with your existing credentials.
- Follow the app’s on-screen instructions to add your camera. This includes selecting the specific device, scanning the QR code located on the camera or device packaging, and connecting it to your home Wi-Fi network.
- Test the camera indoors to ensure it’s working properly before taking it outside for installation.
2. Choose and Prepare Your Mounting Location
- Walk around your property to identify the best location for your camera, based on security needs and Wi-Fi connectivity.
- If possible, test the camera in the desired spot by holding it in place and checking the app to see the field of view and video quality.
- Use a pencil to mark the spots where screws will need to be drilled for the mounting bracket.
3. Install the Mounting Bracket
- Most Ring cameras come with a mounting bracket that allows you to securely attach the device to a surface. Use the provided screws or anchors for installation.
- If you’re mounting the camera on a hard surface like brick or concrete, you may need to drill pilot holes and use wall anchors.
- Ensure the bracket is level before tightening the screws completely.
4. Attach the Camera
- Secure the camera onto the mounted bracket, following the device-specific instructions.
- Check that the camera is tightly fixed and adjust its angle to your desired orientation.
- Use the Ring app’s live view mode to confirm the camera’s field of view. Adjust the tilt or pan of the camera accordingly to eliminate blind spots.
5. Power On the Camera
- If your camera is battery-powered, insert the fully charged battery into the device. Most Ring cameras feature battery compartments that are easy to access.
- If using the solar-powered option, connect the solar panel to the camera and test it to ensure proper functionality.
6. Test Connectivity
- Walk back inside and open the Ring app. Check the camera’s live view, motion detection, and notification settings to ensure the device is functioning smoothly.
- Run a signal test to verify that your camera is receiving a strong Wi-Fi signal in its installation spot. If the signal is weak, consider a Ring Chime Pro or Wi-Fi extender.
7. Customize Settings
- Configure motion zones through the Ring app to focus surveillance on specific areas, such as your driveway or porch. Adjust the sensitivity to avoid false alerts triggered by nearby movement (e.g., tree branches or passing cars).
- Turn on real-time notifications to get prompt alerts for motion detected by the camera.
- Activate audio functionality if your camera has a built-in speaker and microphone. This feature enables you to speak with visitors through the app.
Installation Tips for a Successful Setup
1. Maintain Line of Sight:
- Keep the camera at least 20 feet away from the area you want to monitor to capture a clear view of people and objects.
2. Check Battery Status Regularly:
- For battery-powered cameras, monitor the battery percentage and recharge as needed. Depending on usage, the battery may last several weeks before requiring a recharge.
3. Update Firmware:
- Ensure that your Ring camera software stays updated through the app. Regular firmware updates often include performance improvements and security enhancements.
4. Consider Adding Additional Cameras:
- For robust outdoor security, you may want to install multiple cameras to cover all vulnerable areas. Ring cameras work seamlessly together on the same account, allowing you to toggle between views in the app.
5. Use Floodlights or External Lighting:
- If your camera lacks an integrated light source, installing a floodlight nearby can ensure better visibility during nighttime recordings.
Troubleshooting Common Issues
Even though Ring cameras are built with user-friendliness in mind, you may encounter occasional challenges during installation. Below are solutions to common problems:
Weak Wi-Fi Signal: If the camera struggles to maintain a stable connection, reposition your router closer to the installation point or use a Wi-Fi extender.
Poor Video Quality: Ensure your internet speed meets the minimum requirements for Ring camera streaming. Additionally, clean the camera lens and adjust its positioning if necessary.
Motion Sensitivity Problems: Fine-tune the motion detection settings through the app to minimize false alarms while ensuring reliable monitoring.
Final Thoughts
Installing a Ring camera outdoors is a manageable DIY project that significantly enhances your home security. By following the above steps and tips, you can ensure that your setup is efficient, functional, and tailored to your specific needs. Once properly installed, these devices provide peace of mind, allowing you to monitor your surroundings day and night from virtually anywhere. A little planning and preparation go a long way toward achieving seamless surveillance and gaining full control over your outdoor security.
Your new Ring camera will serve as a valuable tool for protecting your property, whether you’re warding off intruders, keeping an eye on package deliveries, or checking in on your home while you’re away. With wireless technology, the convenience of setup and use makes the Ring camera an excellent choice for modern outdoor security solutions.


")


