
How To Create A Powered Outdoor Wireless Camera?
Creating a powered outdoor wireless camera is an exciting project that blends technology and practicality. Whether you're looking to add a layer of security to your property or want to keep an eye on wildlife in your backyard, this DIY tutorial can help you meet your needs. In this article, I will explore step-by-step guidance and considerations for building your own powered outdoor wireless camera setup.
Understanding the Core Components
Before diving into the build, it’s essential to understand the key components required for constructing a functional outdoor wireless camera.
1. Camera Module – You'll need a camera module capable of capturing high-quality footage. Popular choices include Raspberry Pi Camera Modules or specialized security camera modules with Wi-Fi connectivity. Some modules also have night-vision capabilities for enhanced functionality.
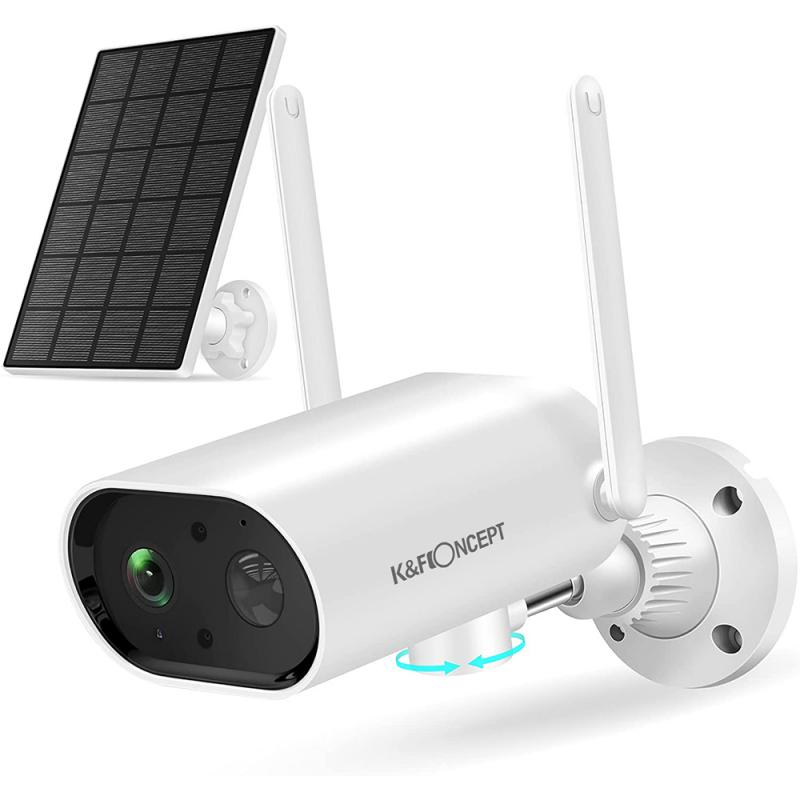
2. Power Source – Since the camera is outdoor, you need a reliable power source. Options include a rechargeable battery, solar panels, or a connection to the existing electrical system on your property.
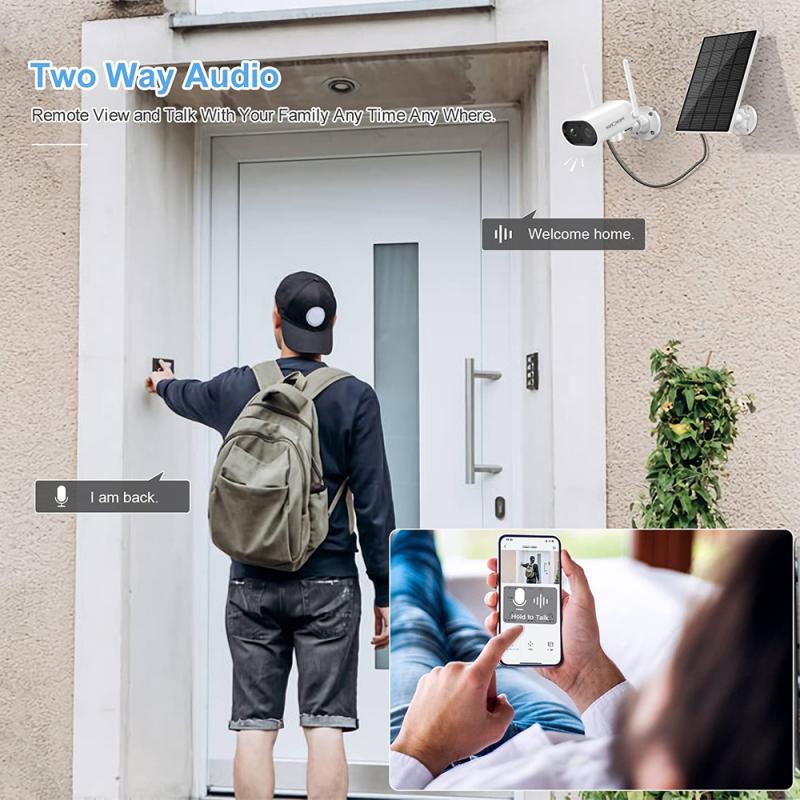
3. Wireless Connectivity – A Wi-Fi-enabled camera allows you to view footage remotely via a smartphone, computer, or cloud platform. Ensure the module has a built-in Wi-Fi interface or add an external one.
4. Weatherproof Housing – Outdoor cameras must withstand harsh weather conditions. Invest in a case that protects your components from rain, dust, and extreme temperatures.
5. Memory Storage – Depending on the intended purpose, you may need local storage like a microSD card slot or cloud storage options for saving footage.
6. Mounting Accessories – The setup must include mounting brackets or hardware to securely attach the camera to a wall, tree, or other surfaces.
Step-by-Step Guide to Building a Powered Outdoor Wireless Camera
Step 1: Determine the Purpose and Location

First, identify the primary use of the camera—security monitoring, wildlife observation, or other needs. This will help you decide the features required. Also, evaluate the location for the camera, ensuring it has strong Wi-Fi connectivity and access to power. Consider placing the camera at a higher elevation for wide coverage and minimal tampering.
Step 2: Gather the Necessary Materials
Here’s a comprehensive list of items you’ll need:
- Wireless camera module (e.g., Raspberry Pi Camera or a preassembled IP camera)
- Raspberry Pi or Arduino (if DIY configurations are required)
- Weatherproof enclosure
- Rechargeable battery or solar panel (for solar-powered systems)
- Electrical wiring and connectors
- Wi-Fi router (or a signal extender, if necessary)
- Mounting brackets and screws
- Tools: screwdriver, drill, wire cutters, etc.
Step 3: Assemble the Camera Module
If you're using a Raspberry Pi and associated camera module, you’ll need to assemble the electronic components. Connect the camera to the board using the ribbon cable or other appropriate connectors. Configure the software (such as Raspbian OS) to enable camera functionality and wireless communication.
Many retail wireless cameras come pre-assembled and preconfigured, which can save time. Simply follow the user manual to set up the camera’s connectivity and power options.
Step 4: Add Power Supply
The next step is to hook up the power source. Choose one of the following options based on your outdoor setup availability:
Rechargeable Battery System: Install a high-capacity lithium-ion battery that provides several hours of power without requiring frequent recharges. Check voltage compatibility with the camera module.
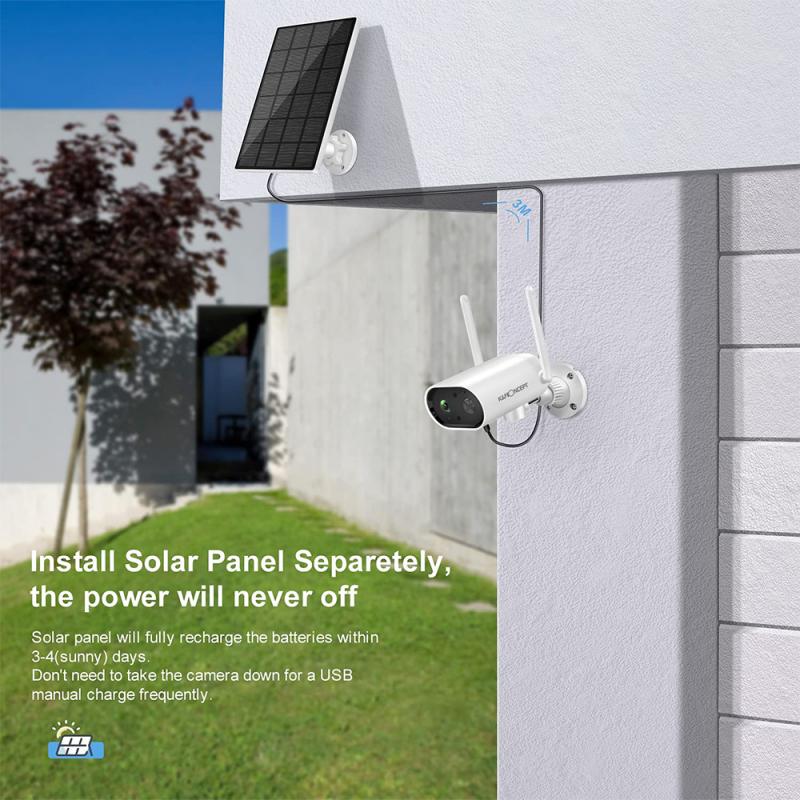
Solar Panel: If prolonged use is necessary, integrate a solar panel to keep the battery charged during daylight hours. Pair the solar panel with a charge controller to regulate charging and ensure consistent performance.
Electrical Wiring: If outdoor power points are accessible, install electrical wiring for a continuous power supply.
Once the power source is connected, test the camera module to ensure proper operation and power delivery.
Step 5: Ensure Weatherproofing
Outdoor cameras are exposed to unpredictable environmental conditions, making weatherproofing a critical step. Stow the camera and its electronic components inside a durable waterproof case. Use rubber seals around cable holes to prevent water ingress. Additionally, add a UV-resistant coating to prevent material degradation from sunlight exposure.
Step 6: Mount the Camera
Select a sturdy mounting location with optimal visibility. Use screws or brackets to install the camera securely. Ensure the angle of the lens covers the desired area and adjust it accordingly. Many camera modules come with adjustable mounts that make this process easier.
Step 7: Configure Wireless Connectivity
If the camera is Wi-Fi enabled, connect it to your mobile phone or computer. For DIY systems like Raspberry Pi, you’ll need to set up software like MotionEye or similar platforms. Configure the camera to detect motion, alert you through email or phone notifications, and store footage in a cloud platform or local memory storage.
If the Wi-Fi signal in your outdoor area is weak, consider using a range extender to enhance connectivity.
Step 8: Test the System
It’s crucial to test the system thoroughly before regular use. Check the camera’s field of view, monitor the footage quality, and confirm the stability of the wireless connection. Test it under different lighting conditions, including nighttime, to verify functionality. Ensure the power source delivers uninterrupted energy to the system.
Advantages of a DIY Powered Outdoor Wireless Camera
Building your own outdoor wireless camera offers several benefits:
1. Cost Savings – Commercial security systems can be expensive, but DIY setups allow you to select cost-effective components customized to your needs.
2. Customization – Tailor features to your specific requirements, whether it’s adding motion sensors, night vision, or cloud storage.
3. Learning Experience – A DIY project enables you to deepen your understanding of electronics, software integration, and renewable energy systems.
Common Challenges and Solutions
1. Wi-Fi Connectivity Issues – Outdoor areas may face Wi-Fi signal challenges. Solving this problem may involve installing a repeater or positioning the router closer to the camera location.
2. Insufficient Power – Batteries may drain faster than expected, particularly in cold weather. Opt for solar panels or consider installing larger backup batteries.
3. Weather Damage – Prolonged exposure to extreme weather conditions can degrade your equipment. Invest in high-quality enclosures and perform regular inspections.
Practical Application Scenarios
A DIY wireless outdoor camera can serve various purposes, including:
Home Security – Monitor your yard, driveway, or entrances for unauthorized activity.
Wildlife Observation – Capture footage of animals visiting your property or nearby areas.
Remote Monitoring – Watch over second homes, vacation properties, or farm areas from afar.
Business Surveillance – Protect outdoor business spaces with custom-built surveillance systems.
Final Thoughts
Creating a powered outdoor wireless camera combines innovation and practicality, allowing you to build an affordable and fully functional surveillance system tailored to your needs. By following the steps outlined in this guide, you can design an effective solution while enjoying the learning experience.
Whether you aim for seamless property security or an innovative wildlife tracking setup, this project is a rewarding venture into the realm of electronics, automation, and sustainable energy options. Take your time, test thoroughly, and make adjustments as needed to achieve the best results. After all, the end goal is a reliable outdoor camera system that meets your ambitions perfectly!


")


 Variable ND Filter and CPL Circular Polarizing Filter 2 in 1 for Camera Lens No X Spot Weather Sealed Nano-Xcel")
")


