How To Record Clear Audio Without A Microphone?
choose the best device for recording audio
audio quality is one of the most important aspects of video production, but not everyone has access to a dedicated microphone or a professional sound setup. however, that doesn't mean you have to settle for poor or noisy audio in your videos.
- the first step is to choose the best device for recording audio among the ones you have.
- for example, if you have a smartphone, a tablet, a laptop, and a camera, you might want to compare their audio capabilities and see which one has the best built-in microphone, the lowest noise level, and the highest sound resolution.
- you can also use a free app or software to test the audio quality of each device and adjust the settings accordingly.
whether for youtube or any other use, your cell phone probably has a more than capable audio recorder. you can even download third party apps that may take advantage of high quality audio settings your phone is already capable of.
then it all comes down to how to use it properly as a an audio recorder. i have often had to take impromptu interviews and ended up using my phone and gotten excellent results.
- know where your phone’s microphone is located
- use the phone almost like a hand-held mic when using voice recording apps
- get to know the optimal distance needed from your mouth
- you can cover the phone with a loose sock which functions as a pop filter
- experiment and play around with ways to use your phone as a mic. you’d be surprised how handy it is!
some smart phones have decent mics and can be put closer to the narrator (hidden in shot). test it out!
reduce the background noise
the second step is to reduce the background noise as much as possible before you start recording.
- this means finding a quiet location, closing the windows and doors, turning off any fans or appliances, and asking anyone else in the room to be silent.
- you can also use some acoustic materials, such as blankets, curtains, carpets, or foam panels, to absorb the sound and prevent echo or reverb.
- if you can't eliminate all the noise, you can use a noise reduction tool or filter in your editing software to remove it later.
find the quietest place or quietest time to record. try different rooms and record a short sample clip until you find the room that sounds best. become familiar with where the camera mic is on the camera and do similar tests to see how moving closer and farther away affects your sound. try to find a natural looking way to speak as loudly as possible.
speaking of background noise, minimalise this as much as possible. don't know what your videos are, but if you are outside, try and film in relative shelter from the wind and away from busy roads. if you're inside, find a quiet room and stop anybody else (including pets etc) come in.
- an echo-ey room, or a room with a lot of background noise will always sound bad.
- even the best microphone can sound crappy if not used properly, and in a good sounding room.
- and a mediocre microphone can sound surprisingly good if used properly and in the right environment.
record in a room with soft furnishings like carpets, curtains, and cushions to absorb sound.
you can get excellent professional sounding podcast style voice audio if you record in your closet filled with clothes. the soft fabric will absorb all reverb and noise.
any vocalist or voiceover artist who doesn't have a studio will tell you that we all have a kind-of-a-studio in our homes; our wardrobes.put the recording device in front of the hanging cloths and speak in the direction of the cloths. they will work as acoustic treatments, reducing noise, reverb and echo. in such an environment, you'll also end up with sound that has more depth and is richer to the ear.
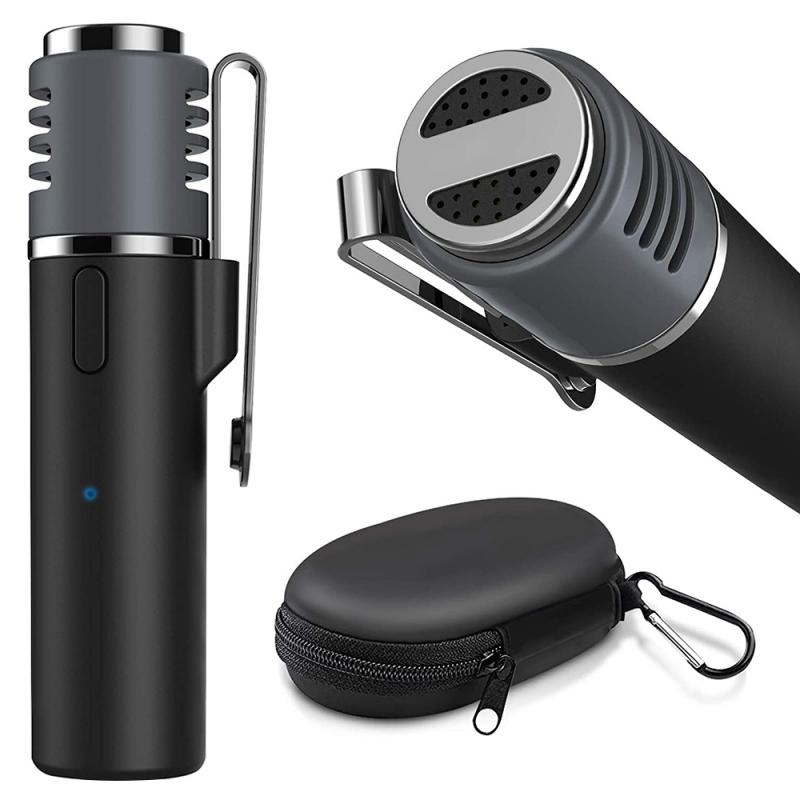
position the device close to the sound source
the third step is to position yourself correctly in relation to the device you're using.
- ideally, you want to be as close as possible to the microphone, without being too loud or distorted.
- you also want to avoid any movement or interference that could affect the audio quality, such as touching the device, covering the microphone, or bumping into something.
- you can use a tripod, a stand, or a mount to stabilize the device and keep it at a consistent distance from your mouth.
for optimal audio without a dedicated microphone, position your recording device close to the sound source, minimize background noise, and consider using external audio recording apps.
while a dedicated microphone is ideal, you can still capture decent audio using your smartphone's built-in microphone. ensure a quiet environment, get the device close to the sound source, reduce background noise, you can also use softwares and tools that enhance your audio quality.
never hesitate to test the sound in various enclosed spaces and listen to whether the sound is diffused correctly. it's important to be as close as possible to the voices, while preparing your camera to pick up correct sound by manually adjusting the audio in the menu.
maintain a consistent distance:
- importance: varying distances from the microphone can result in inconsistent audio levels.
- tip: keep a consistent distance (6-12 inches) from your device’s microphone and speak directly into it.
get closer to the mic. use audacity to remove bg noise. put some fuzzy fabric over mic to cut down on wind noise peeking. save money for a mic.
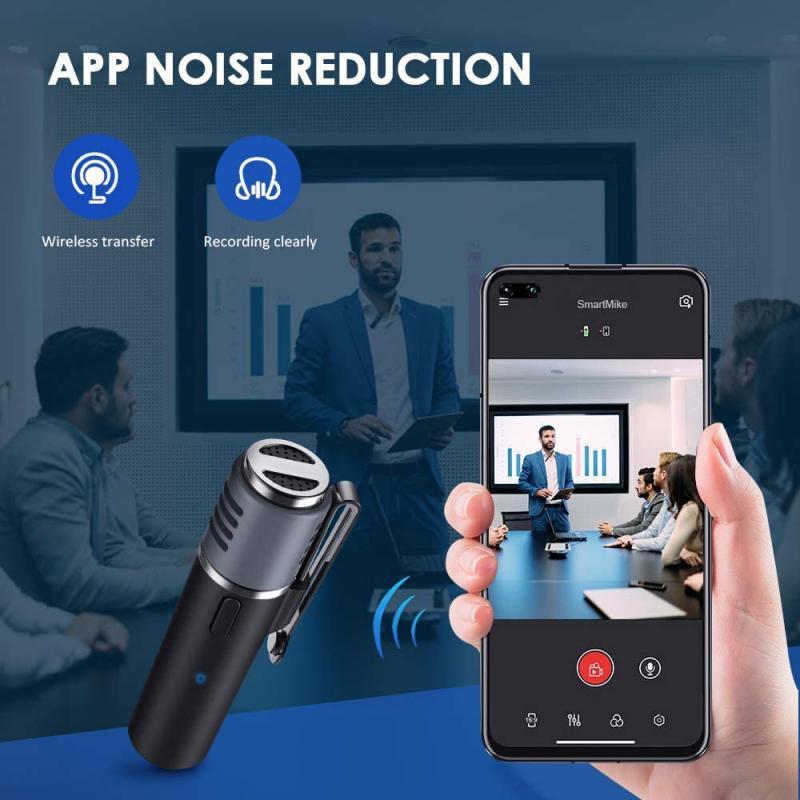
use headphones or earbuds as a makeshift microphone
the fourth step is to use a headphone or earbud as a makeshift microphone.
- this is a simple and effective way to improve your audio quality, especially if you don't have a good built-in microphone on your device.
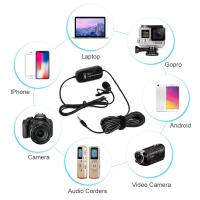
- all you have to do is plug the headphone or earbud into the device's audio jack, and then clip it to your shirt or collar, near your mouth.
- you can also use a splitter or an adapter to connect two headphones or earbuds, one for listening and one for speaking.
earbud is still a very good optionget the cheapest wired earphones from the market and keep it near to your neck.have a silent room, and this is all you need to get started.use regforgeii or any voice recorder, but record separately and then synchronize
to create a makeshift microphone using headphones, choose a pair with an inline or built-in mic. plug the headphones into the microphone jack of your recording device. position the inline or built-in microphone close to your mouth to capture clearer audio. adjusting the input settings on your recording device and testing different distances and angles for the headphone's microphone help optimise the audio quality for your specific recording situation.the audio quality might vary based on the headphone's specifications and the recording environment.
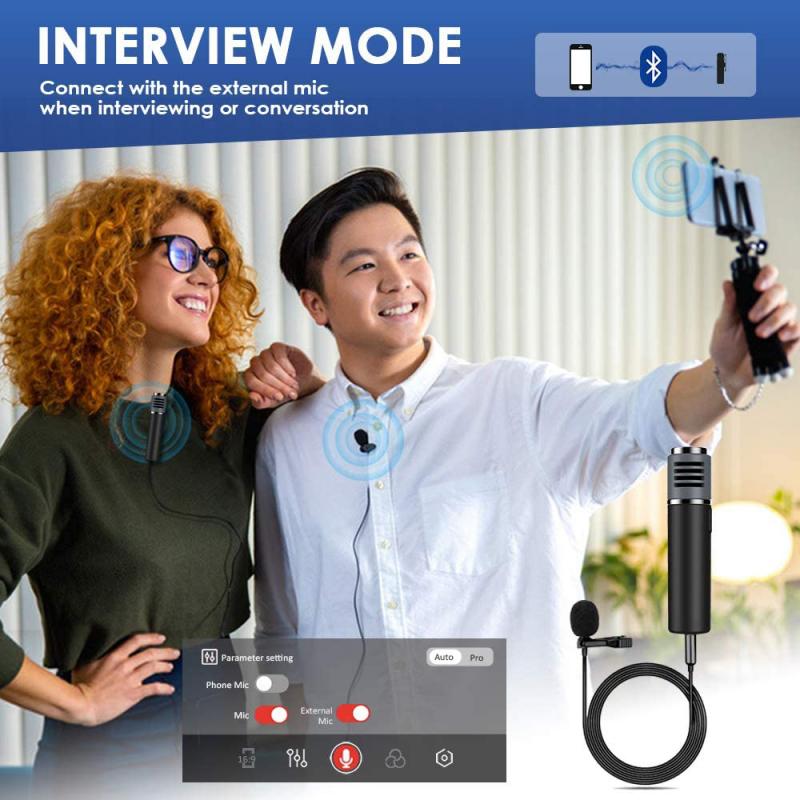
record a test audio
the fifth step is to record a test audio before you start filming your video.
- this will help you check the audio quality, the volume level, the clarity, and the noise level of your recording.
- you can also listen to the test audio with headphones or speakers, and make any adjustments or corrections if needed.
- you can also use this opportunity to practice your script, your tone, your pace, and your pronunciation.
tips for recording clear voice audio
- choose a quiet environment: importance: background noise can severely affect the quality of your recording.tip: find a quiet space and reduce potential noise sources such as fans, air conditioners, and open windows.
- optimize your device settings: importance: proper settings can enhance the clarity of your recording.tip: ensure your device’s microphone sensitivity is adjusted to an appropriate level to avoid clipping and distortion.
- maintain a consistent distance: importance: varying distances from the microphone can result in inconsistent audio levels.tip: keep a consistent distance (6-12 inches) from your device’s microphone and speak directly into it.
- use soft surfaces: importance: hard surfaces can create unwanted echoes and reflections.tip: record in a room with soft furnishings like carpets, curtains, and cushions to absorb sound.
- speak clearly and at a moderate pace: importance: clear enunciation and a steady pace improve the intelligibility of your recording.tip: articulate your words and avoid speaking too fast or too slow.
- monitor your audio: importance: monitoring helps identify issues during the recording process.tip: use headphones to listen to your recording in real-time and make necessary adjustments.
edit and enhance your audio
the final step is to edit and enhance your audio after you finish recording your video.
- you can use a free or paid software to trim, cut, splice, or merge your audio clips, as well as to apply some effects or filters, such as equalization, compression, normalization, or amplification.
- you can also use a software to sync your audio and video tracks, and to add some background music, sound effects, or voice-overs if you want.
not editing audio is a big mistake a lot of people make. i'm assuming it's coming straight out of the camera, so you may need to adjust some levels and do some noise reduction to get rid of background noise.
and as others have said get an audio program (audacity's free) and learn how to extract your audio from your video and run your audio through a denoise filter and reattach it to your video.
if you use obs then you can add in a noise filter to remove the background noise.
you can get rid of some of the noise with audacity.
enhance post-production with noise reduction tools and equalization for improved audio quality in video production.
popular audio noise cancellation software includes audacity, adobe audition, sony vegas and pro tools. these tools offer features to reduce or eliminate background noise and enhance overall audio quality.
phone recording track
vocal dialogue tip: if you don't have a boom mic, lapelle, or another audio recording device. use your phone's microphone to record all your voice dialogue. close to your mouth with no bg noise. then you can simply add that audio recording track to your timeline and line it up with the speech. voila. bonus tip: it's likely that the audio recorded on your smartphone won't be 'radio' quality, so add some eq, compression, and make sure the track is mono not stereo. this way the voice cuts right through the middle.