
How To Put Camera Sd Card Into Computer?
In today’s digital age, transferring photos and videos from your camera to your computer is a common task. Whether you’re a professional photographer or a casual user, knowing how to properly insert your camera’s SD card into your computer is essential for managing and backing up your media files. This guide will walk you through the process step by step, ensuring you can complete the task efficiently and without any risk of damaging your equipment or losing your data.
Step 1: Check Your Computer for an SD Card Slot
The first step is to determine whether your computer has a built-in SD card slot. Many laptops and desktop computers come with an SD card reader, which is typically located on the side of a laptop or the front panel of a desktop tower. The slot is usually labeled "SD" or has a small icon resembling an SD card.
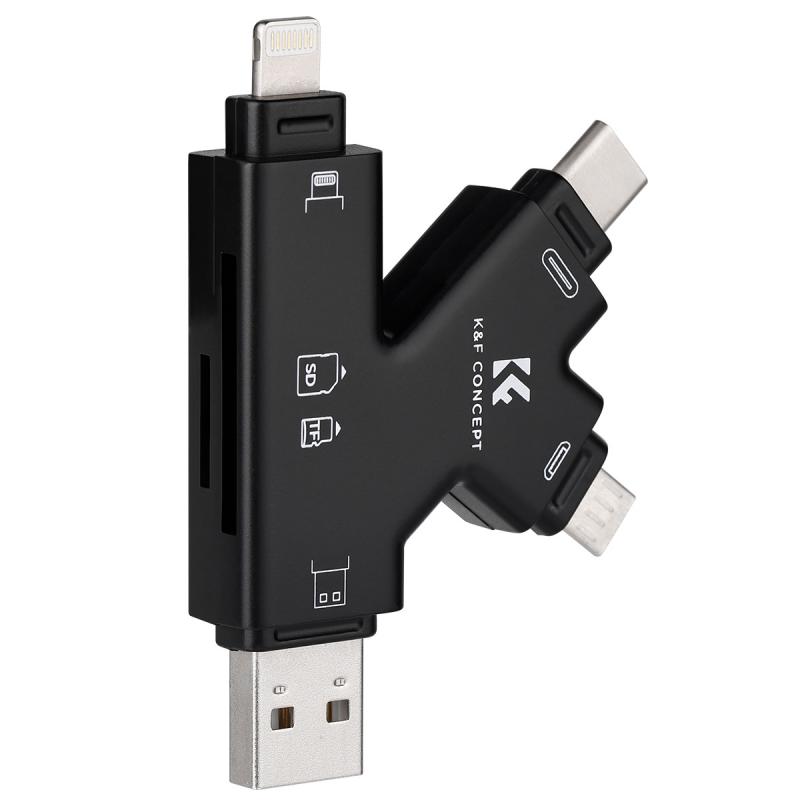
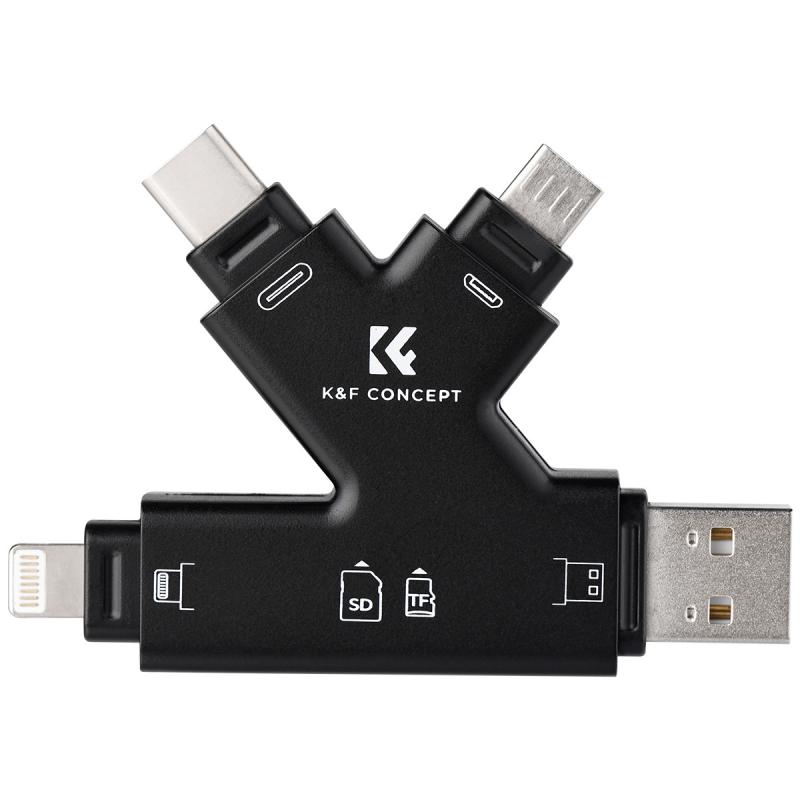
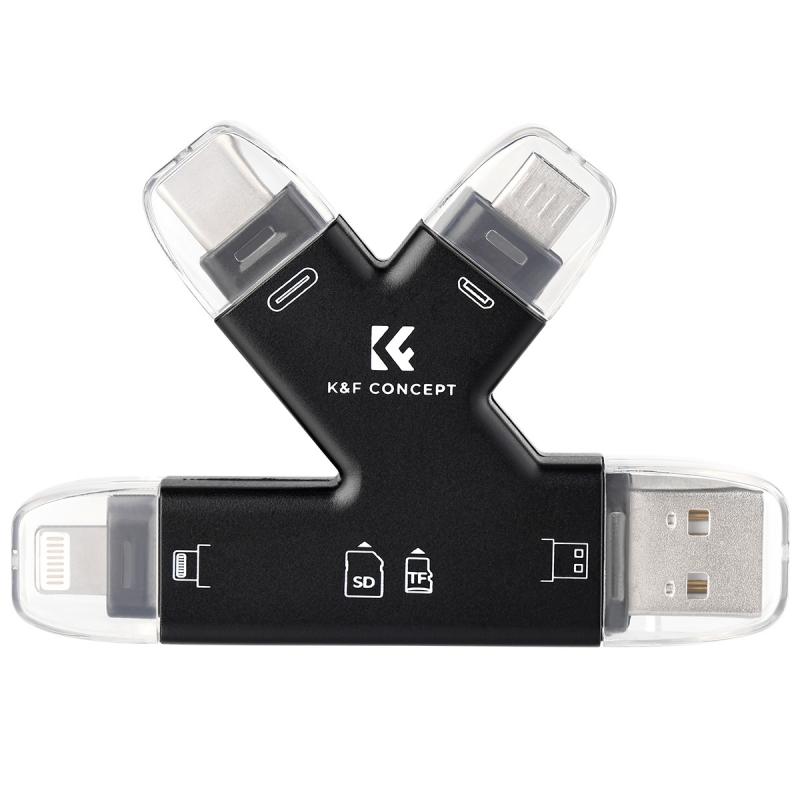
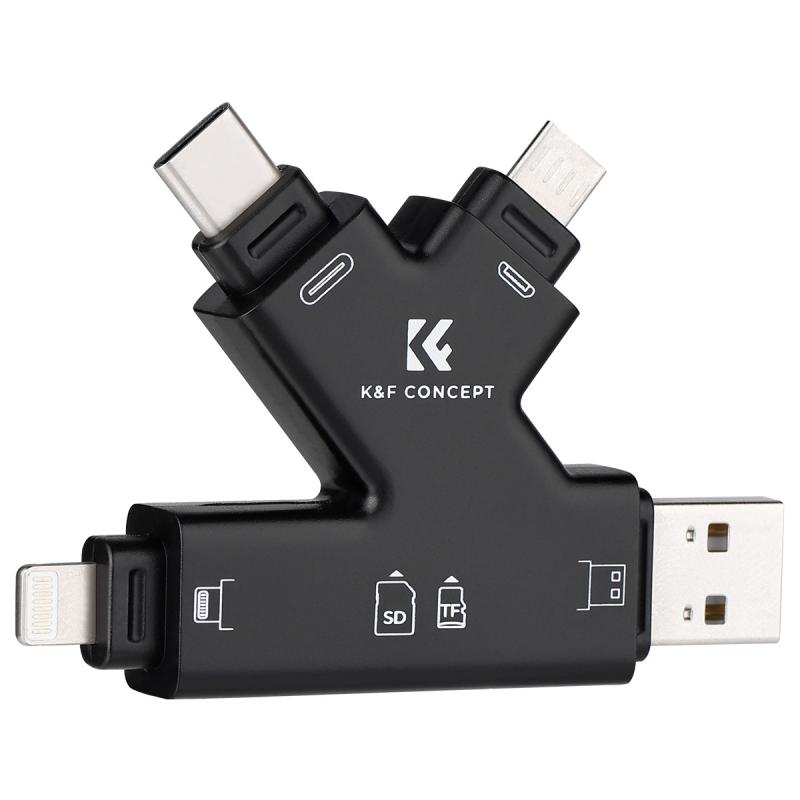
If your computer does not have a built-in SD card slot, don’t worry. You can purchase an external SD card reader that connects to your computer via USB. These devices are affordable, widely available, and compatible with most operating systems.
Step 2: Locate the SD Card in Your Camera
Before removing the SD card from your camera, make sure the camera is turned off. This prevents any potential data corruption or damage to the card. Locate the SD card compartment on your camera, which is often found on the side or bottom of the device. Open the compartment carefully, and gently press on the SD card to release it. The card will pop out slightly, allowing you to pull it out with ease.
Step 3: Insert the SD Card into the Computer
Once you have the SD card in hand, identify the correct orientation for inserting it into your computer or external card reader. Most SD cards have a label on one side and metal contacts on the other. The label side typically faces up when inserting the card into a laptop or external reader, but this can vary depending on the device. If you’re unsure, consult your computer’s user manual or look for a small diagram near the SD card slot.
Gently push the SD card into the slot until it clicks into place. Avoid forcing the card, as this could damage both the card and the slot.
Step 4: Access the SD Card on Your Computer
After inserting the SD card, your computer should automatically recognize it and display a notification. On Windows, the SD card will appear as a removable drive in File Explorer. On macOS, it will show up as an external drive on the desktop or in the Finder sidebar.
If the SD card does not appear, ensure it is properly inserted. You may also need to check your computer’s drivers or troubleshoot the card reader.
Step 5: Transfer Your Files
Once the SD card is recognized, you can access its contents by opening the drive. Navigate through the folders to locate your photos and videos. Most cameras store media files in a folder named "DCIM" or something similar.
To transfer files, simply drag and drop them from the SD card to a folder on your computer. For large files or multiple items, consider copying and pasting instead of moving the files directly. This ensures you have a backup in case something goes wrong during the transfer.
Step 6: Safely Eject the SD Card
After transferring your files, it’s important to safely eject the SD card to avoid data corruption. On Windows, right-click the SD card drive in File Explorer and select "Eject." On macOS, click the eject icon next to the SD card in Finder or drag the drive icon to the Trash.
Wait for the notification that it is safe to remove the card, then gently pull it out of the slot.
Troubleshooting Common Issues
If you encounter any issues while inserting or accessing your SD card, here are some common problems and solutions:
1. SD Card Not Recognized: Ensure the card is properly inserted and check for any physical damage. Try using a different card reader or computer to rule out hardware issues.
2. Corrupted Files: If your files appear corrupted, use data recovery software to attempt to retrieve them. Always back up your files regularly to avoid losing important data.
3. Card Reader Not Working: Update your computer’s drivers or try using an external card reader. If the problem persists, the card reader may need to be replaced.
4. Wrong Orientation: Double-check the orientation of the SD card before inserting it. Forcing the card in the wrong way can damage the slot.
Tips for Maintaining Your SD Card
To ensure the longevity of your SD card and the safety of your data, follow these best practices:
- Handle with Care: Avoid touching the metal contacts on the card, as oils and dirt from your fingers can interfere with its functionality.
- Store Properly: Keep your SD card in a protective case when not in use to prevent physical damage.
- Format Regularly: Periodically format your SD card in your camera to maintain its performance. Be sure to back up your files before formatting.
- Avoid Overloading: Do not fill the card to its maximum capacity, as this can slow down performance and increase the risk of data corruption.
Inserting a camera SD card into your computer is a straightforward process, but it’s important to handle the card and your devices with care. By following the steps outlined in this guide, you can safely transfer your photos and videos, troubleshoot common issues, and maintain the health of your SD card for future use. Whether you’re a seasoned photographer or a beginner, mastering this simple task will make managing your digital media much easier.
")


 Cards, 2 Nano SIM, 2 Micro SIM and 1 SIM Card")

")
 Lens Filter Waterproof Scratch Resistant with 18 Layers of Nano-coating Nano-Klear Series (Shipped only to the USA)")
 Variable ND Lens Filter 2 in 1 with 28 Multi-Layer Coatings Nano-Xcel Series")
")

")
 HD Hydrophobic VND Filter for Camera Lens No X Cross Nano-Xcel")


