How To Remove Uv Filter From Nikon Lens?
How to Safely Remove a UV Filter from Your Nikon Lens
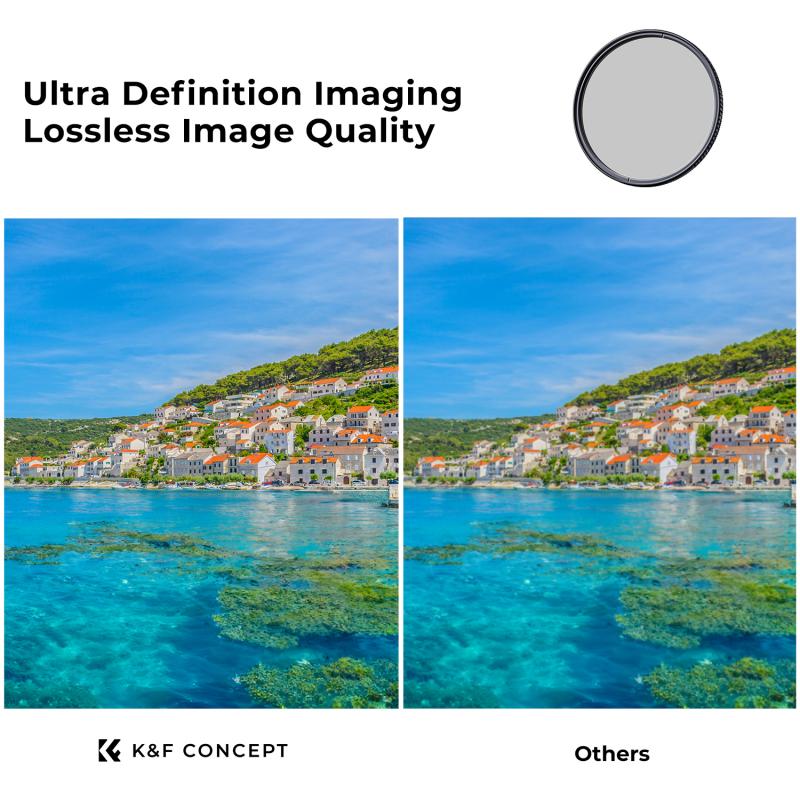
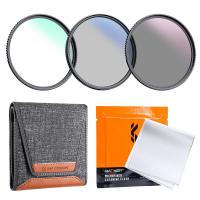
When it comes to using a camera, especially a DSLR or mirrorless model like Nikon’s, the addition of accessories such as UV filters can significantly enhance the image quality and protect your lens. UV filters are often used to block ultraviolet light, which can cause haziness or a bluish tint in photographs, particularly in outdoor conditions at higher altitudes. Additionally, UV filters serve as a protective layer to shield the lens from dust, scratches, and other physical damages. However, there are scenarios where you might want to remove the UV filter from your Nikon lens, either for image quality reasons, for aesthetic preferences, or to switch filters.
Removing a UV filter might seem like a simple task, but it can occasionally be tricky, especially if the filter is tightly screwed onto the lens or has become stuck over time. This article will guide you through the steps to safely and effectively remove a UV filter from your Nikon lens, explain why you might want to do so, and provide tips on preventing issues when doing so in the future.
Why You Might Want to Remove the UV Filter
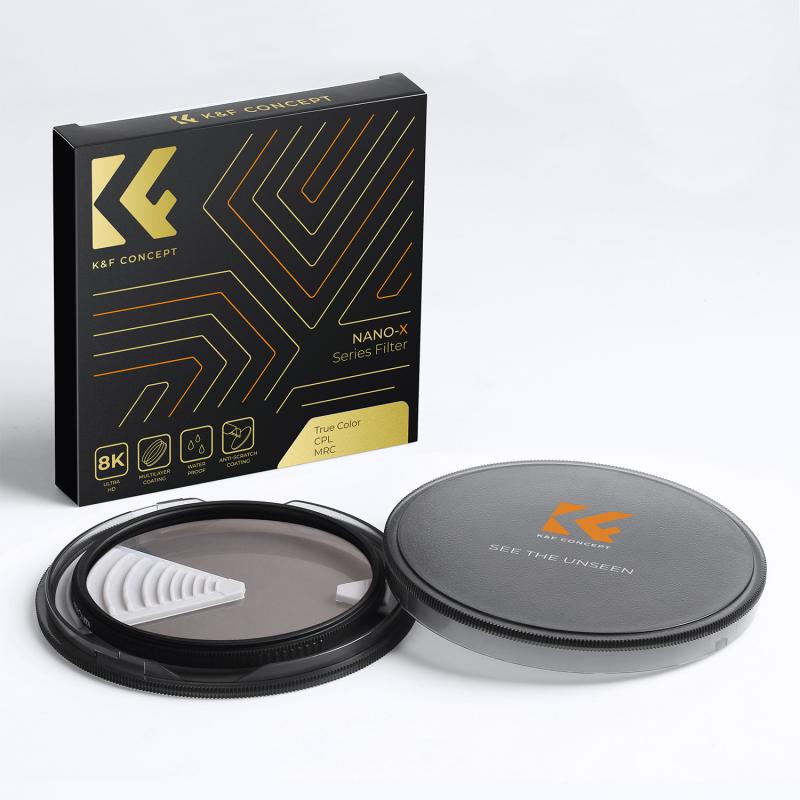
1. Image Quality Concerns: While UV filters are typically very thin, they can affect the sharpness or contrast of your images. If you notice a decline in image quality when using a UV filter, such as a slight loss of detail or noticeable flare under certain lighting conditions, removing the filter may improve your results.
2. Increased Lens Performance: Some photographers find that removing the filter provides better overall lens performance. This is particularly true for high-quality lenses that have specialized coatings designed to minimize lens flare and chromatic aberrations. Removing any extra layers, like a UV filter, can sometimes improve optical performance.
3. Cleaning and Maintenance: Over time, UV filters can accumulate dirt, dust, or even become scratched. If you have a scratched or dirty UV filter, it may impact the image quality or give the lens a haze. This is an obvious reason for removing and cleaning or replacing the filter.
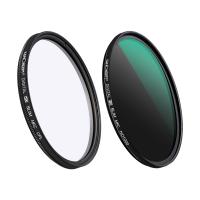
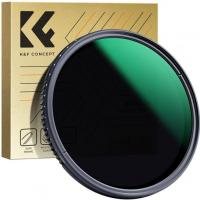
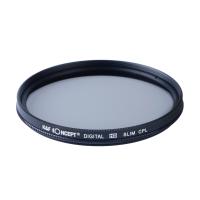
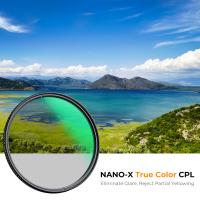
4. Use of Other Filters: Sometimes, you might want to replace the UV filter with another type of filter, like a polarizer or ND (neutral density) filter, depending on the situation. If you want to use a different type of filter for specific shooting conditions, you'll need to remove the UV filter first.
5. Lens Aesthetic: Some photographers prefer the aesthetic look of their lenses without any filters attached. A UV filter, while practical, can sometimes make the lens appear bulkier or less visually appealing, particularly if it's a slim, high-quality lens.
Step-by-Step Guide to Removing a UV Filter
Now that you understand the reasons behind removing a UV filter from your Nikon lens, let's walk through the process to ensure it's done safely without damaging the lens or filter.
1. Ensure You Have the Right Tools
To remove a UV filter, you typically don't need many tools, but having the right equipment can make the process much easier. You should have the following:
- Clean Hands or Gloves: Handling lenses and filters can leave smudges or oils from your skin. It's a good idea to wear gloves or make sure your hands are clean to avoid transferring fingerprints or oils onto the filter or lens surface.
- Lens Cloth: To clean any fingerprints or smudges that might occur during the process.
- Rubber Jar Opener or Filter Wrench: If the filter is stuck and can't be removed by hand, a rubber jar opener or specialized filter wrench can help you get a better grip on the filter.
2. Hold the Lens Steadily
Place your Nikon lens on a clean, soft surface, such as a microfiber cloth or lens cleaning pad. It's important to keep the lens stable so that you can apply gentle pressure without stressing the lens or filter.
3. Try to Unscrew the Filter by Hand
The simplest way to remove a UV filter is to twist it off by hand. This method is most effective if the filter is not too tight.
- Grasp the filter firmly, but without applying excessive pressure. Hold the lens barrel with one hand to stabilize the lens and twist the filter counterclockwise with the other hand.
- Avoid using excessive force. If the filter is difficult to remove, stop and proceed to the next step. Applying too much force might crack the filter or damage the lens mount.
4. Use a Rubber Jar Opener or Filter Wrench
If the UV filter is stuck and doesn’t come off easily with your hands, a rubber jar opener can provide the extra grip you need. Alternatively, if you have a filter wrench (a tool designed specifically for removing filters), use it to gain better leverage.
- Place the rubber jar opener or the filter wrench on the edge of the filter.
- Apply gentle, consistent pressure while twisting the filter counterclockwise.
- Be careful not to twist too aggressively, as you don’t want to damage the lens or filter.
5. Use Heat (As a Last Resort)
If the filter is extremely stuck due to dirt, adhesive residue, or simply because it has been on for too long, applying a small amount of heat can sometimes help loosen the filter. Heat should only be used as a last resort to prevent damage to the lens.
- Use a hairdryer or heat gun at a low setting to warm the filter for a few seconds. Hold the dryer about 6–8 inches away from the lens to ensure you don’t overheat the glass.
- The heat expands the metal and can make it easier to unscrew the filter.
- After applying heat, try twisting the filter off again with your hand or a filter wrench.
6. Clean the Lens and Filter
Once the filter is removed, it's a good opportunity to clean both the lens and the filter.
- Use a microfiber cloth or lens cleaning tissue to wipe the lens gently. Always wipe in a circular motion, starting from the center and working your way out.
- If there’s any dirt or dust on the filter, clean it as well with a blower brush or a gentle wipe with a microfiber cloth.
7. Check the Lens for Damage
Before putting your camera back into use, take a moment to check the lens for any signs of damage that might have occurred during the filter removal. Ensure there are no scratches or residue left behind from the filter that could affect your photography.
8. Store the UV Filter Safely
If you plan to reuse the UV filter in the future, store it in a clean, dry place. Filters are delicate and can scratch easily, so it's best to keep it in a protective case to avoid damage. If the filter has become scratched or dirty and cleaning doesn’t help, it may be time to replace it.
Tips for Preventing Issues with UV Filters
- Be Gentle: Always handle your lens and filter gently to avoid cross-threading the filter or damaging the filter threads on the lens.
- Use a Lens Cap: When the UV filter is removed, be sure to replace the lens cap to protect the lens from dust and debris.
- Check Filter Regularly: Inspect your UV filter regularly for dust, scratches, or residue that could affect your image quality.
- Use a Filter Case: When not in use, store filters in a proper filter case to prevent damage.
Removing a UV filter from your Nikon lens doesn’t have to be a daunting task, but it’s important to proceed carefully to avoid damaging your lens or filter. Whether you’re swapping filters for a different effect, cleaning a scratched UV filter, or improving image quality, following the right steps will help ensure that you don’t run into problems. Remember, taking your time and using the right tools can make a world of difference when working with delicate camera equipment. And most importantly, always prioritize the protection of your lens, as it’s the core of your photography experience.
By understanding the reasoning behind UV filter use and the steps to remove and maintain them properly, you can continue capturing high-quality images while keeping your equipment in top shape. Happy shooting!

