
How To Install Ip Camera With Solar Panel?
The integration of IP cameras with solar panels is gaining popularity, especially in areas where electrical infrastructure is limited or where setting up a wired power connection is not feasible. Solar-powered IP cameras provide an environmentally friendly and sustainable way to monitor remote locations while reducing dependency on traditional power sources.
This article will serve as a detailed guide on how to install an IP camera with a solar panel, with practical advice and actionable steps to make your installation seamless. The guide will cover equipment selection, system design, installation procedures, and troubleshooting tips.
Step 1: Understand the Basics of Solar-Powered IP Cameras
Before starting the installation, it's important to have a foundation of knowledge about the system you're about to set up. A solar-powered IP camera system typically comprises the following components:
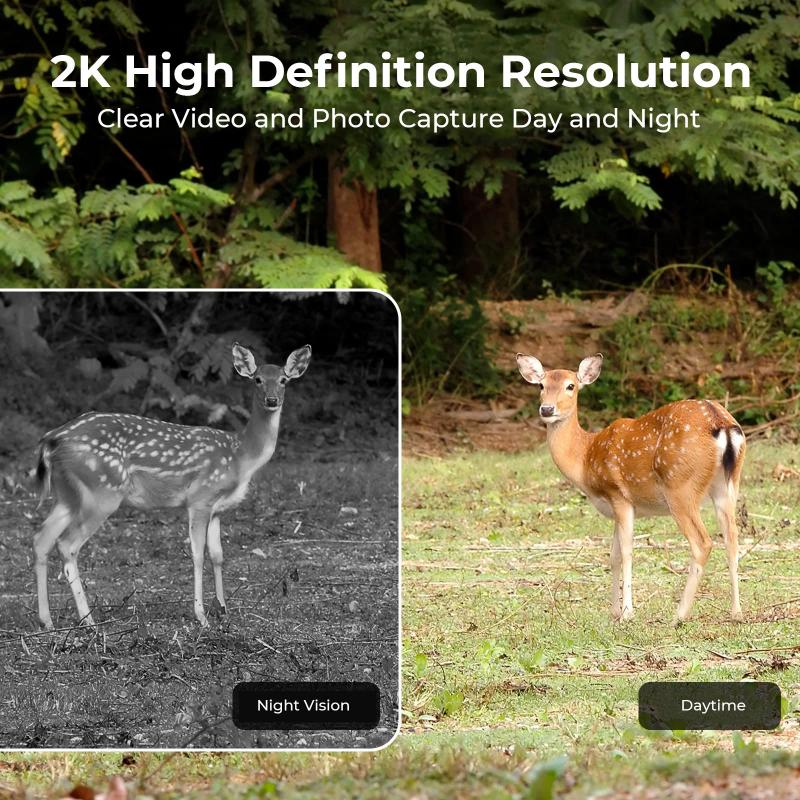
1. IP Camera: The main surveillance device used for capturing and transmitting video footage. Choose one with low power consumption to make it more compatible with solar setups.
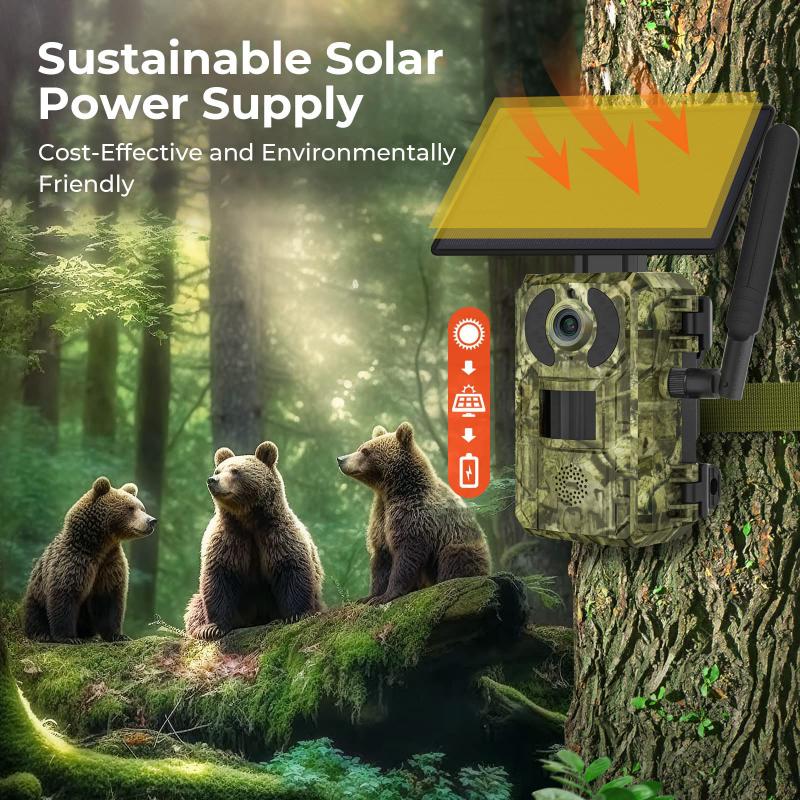
2. Solar Panel: Used to convert sunlight into electricity, which powers the system and charges the battery.
3. Battery: Stores energy generated by the solar panel to power the camera during nighttime or cloudy weather.
4. Solar Charge Controller: Regulates the voltage and current going to the battery to prevent overcharging or discharging.
5. Mounting Hardware: To secure the solar panel and camera in place.
Knowing the components ensures you can assemble the right items for your setup. Proper planning at this stage will prevent potential compatibility and performance issues later.
Step 2: Choose the Right Equipment
When designing your IP camera with solar panel setup, selecting the correct equipment is critical. Here are key considerations for each component:
1. IP Camera
Power Requirements: Ensure the camera's voltage and wattage requirements align with your solar panel and battery system. Many solar-powered installations use IP cameras with 12V DC input.
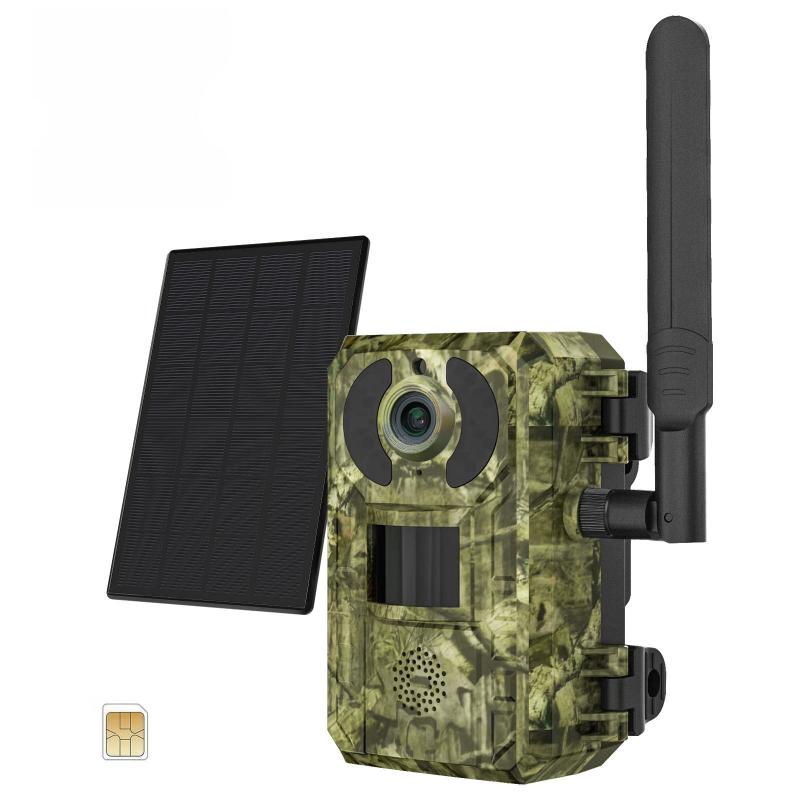
Connectivity: Decide whether you will use Wi-Fi, a SIM card for 4G/LTE connectivity, or a wired connection based on your location.
Features: Look for cameras with motion detection, power-saving modes, and weather resistance (IP66 or higher rating for outdoor use).
2. Solar Panel

Power Output: Estimate the energy consumption of your IP camera and choose a solar panel that can consistently generate enough energy to sustain it, even in low-sunlight conditions.
Panel Size: Determine a panel large enough to accommodate energy needs while considering available space for mounting.
3. Battery
Capacity: Choose a battery (measured in mAh or Ah) that can store enough energy for at least 1–2 days of operation without sunlight. Lithium-ion batteries are preferred for their efficiency and longevity.
Voltage: Ensure the battery voltage matches the system's power requirements (commonly 12V for IP cameras).
4. Charge Controller
- Invest in a reliable solar charge controller to protect your battery and regulate the current flow. A Pulse Width Modulation (PWM) or Maximum Power Point Tracking (MPPT) controller can optimize solar panel output.
Step 3: Design the System Layout
Now that you have the right equipment, it's time to plan the system layout. Start by inspecting your location and deciding where components will be installed.
1. Identify the Camera's Surveillance Field: Select the optimal area for the camera to cover. Consider height, viewing angles, and obstructions.
2. Assess Solar Panel Placement: Install the panel in a location where it receives maximum direct sunlight, preferably facing south (or north in the southern hemisphere) at an angle equal to your latitude.
3. Set Up the Battery: Place the battery in a weatherproof container to protect it from the elements.
4. Cable Routing: Plan how you'll route cables to connect the solar panel, camera, and battery. Try to conceal cables for both aesthetic and security reasons.
Step 4: Install the Solar Panel and IP Camera
Follow these steps for proper installation:
1. Mount the Solar Panel
- Use the provided mounting brackets to secure the solar panel on a pole, rooftop, or wall.
- Adjust the angle and orientation for maximum sunlight exposure.
2. Install the Charge Controller and Battery
- Position the battery in a secure location, ensuring it’s shielded from weather and excessive heat.
- Connect the solar panel to the charge controller, then connect the charge controller to the battery. Follow the manufacturer’s wiring instructions for precise setup.
3. Place and Configure the IP Camera
- Mount the camera in the desired location using screws and brackets.
- Connect the camera cable to the output terminals of the battery (via charge controller, if required).
- If your camera supports wireless connectivity, sync it to your Wi-Fi network or insert a SIM card for 4G/LTE.
4. Test the System
- Check the battery charge level and ensure that the camera powers on.
- Use a monitoring app or desktop software (if applicable) to verify that the camera is recording and transmitting video footage as expected.
Step 5: Enhance the System for Long-Term Performance
To ensure your solar-powered IP camera system runs efficiently, follow these tips:
1. Monitor Power Usage
Use a power meter to calculate your system's daily energy consumption. If you notice frequent power shortages, consider upgrading the battery capacity or solar panel power.
2. Regular Maintenance
Solar Panel: Wipe the panel clean of dust, leaves, and debris to maintain its efficiency.
Battery: Check for signs of wear, such as swelling or leakage, and replace it if necessary.
Camera: Periodically review footage to determine if the camera angle, focus, or placement needs adjustment.
3. Weatherproofing
Inspect your cables, connections, and sockets to ensure they remain weatherproof. Use electrical tape or waterproof casing if necessary to seal vulnerabilities.
4. Integrate Additional Features
Consider adding elements such as motion sensors or alarms that send alerts based on detected activity, enhancing the security value of your system.
Troubleshooting Common Issues
Even with a well-installed system, challenges can arise. Here’s how to troubleshoot some common problems:
Frequent Power Outages: This could indicate insufficient sunlight reaching the panel. Check the panel's orientation or consider expanding the solar array.
Intermittent Camera Performance: Ensure the battery provides consistent power and that the charge controller is functioning correctly.
Connectivity Problems: Verify that your Wi-Fi signal is strong or that the SIM card has adequate mobile coverage.
Setting up an IP camera with a solar panel may initially seem complex, but careful planning and step-by-step execution can make the process straightforward and rewarding. Such systems are especially advantageous for remote areas, eco-conscious users, or environmentally challenging climates.
By following this guide, you'll not only achieve a fully functional solar-powered surveillance system but also contribute to a greener, energy-efficient approach to modern security. Optimize your setup continuously by monitoring power demand and maintaining your equipment regularly to ensure long-term performance. Start your solar-powered IP camera journey today and experience the benefits of off-grid security solutions!


 Neutral Density Filter + CPL Circular Polarising Filter 2 in 1 for Camera Lens, Ultra Clear Super Slim Waterproof")


")
 with 28 Multi-Layer Coatings Nano-Xcel Series")

 Light Reduction, Polarizing Daily Protection Lens Filter, Multi-Coated HD Optical Glass")


