
Can I Set Up One Outdoor Security Camera?
Setting Up an Outdoor Security Camera: A Comprehensive Guide
In today’s world, ensuring the safety and security of your home is more important than ever. Outdoor security cameras have become a popular and effective solution for monitoring your property, deterring potential intruders, and providing peace of mind. If you’re considering setting up one outdoor security camera, you may have questions about the process, the equipment needed, and how to make the most of your investment. This article will guide you through the steps to set up an outdoor security camera, address common concerns, and provide practical tips to ensure your camera operates effectively.
Why Install an Outdoor Security Camera?
Before diving into the setup process, it’s important to understand the benefits of installing an outdoor security camera. Here are some key reasons why homeowners choose to install one:
1. Deterrence of Criminal Activity: A visible security camera can discourage potential burglars or vandals from targeting your property.
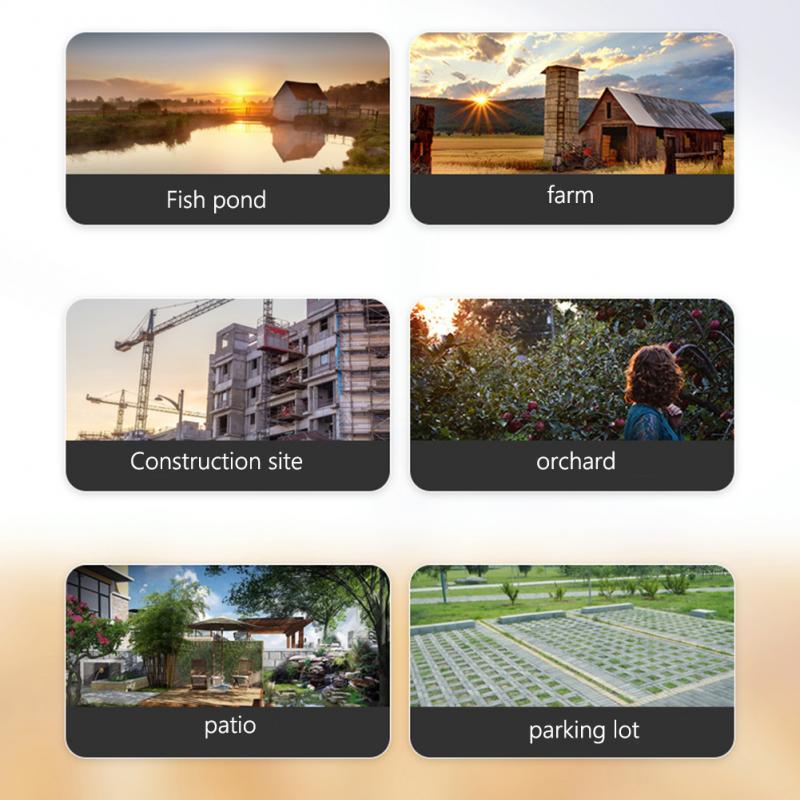
2. Monitoring Your Property: Whether you’re at home or away, an outdoor camera allows you to keep an eye on your surroundings in real-time.
3. Evidence Collection: In the event of a security incident, recorded footage can serve as valuable evidence for law enforcement or insurance claims.
4. Peace of Mind: Knowing that your home is being monitored can provide a sense of security and reduce anxiety.
Step-by-Step Guide to Setting Up an Outdoor Security Camera
Setting up an outdoor security camera may seem daunting, but with the right guidance, it can be a straightforward process. Follow these steps to ensure a successful installation:
1. Choose the Right Camera
The first step is selecting a camera that meets your needs. Consider the following factors when making your choice:
- Wired vs. Wireless: Wired cameras require a physical connection to a power source and, in some cases, a recording device. Wireless cameras, on the other hand, connect to your Wi-Fi network and are easier to install but may require regular battery changes.
- Resolution: Opt for a camera with high-definition (HD) resolution (1080p or higher) to ensure clear and detailed footage.
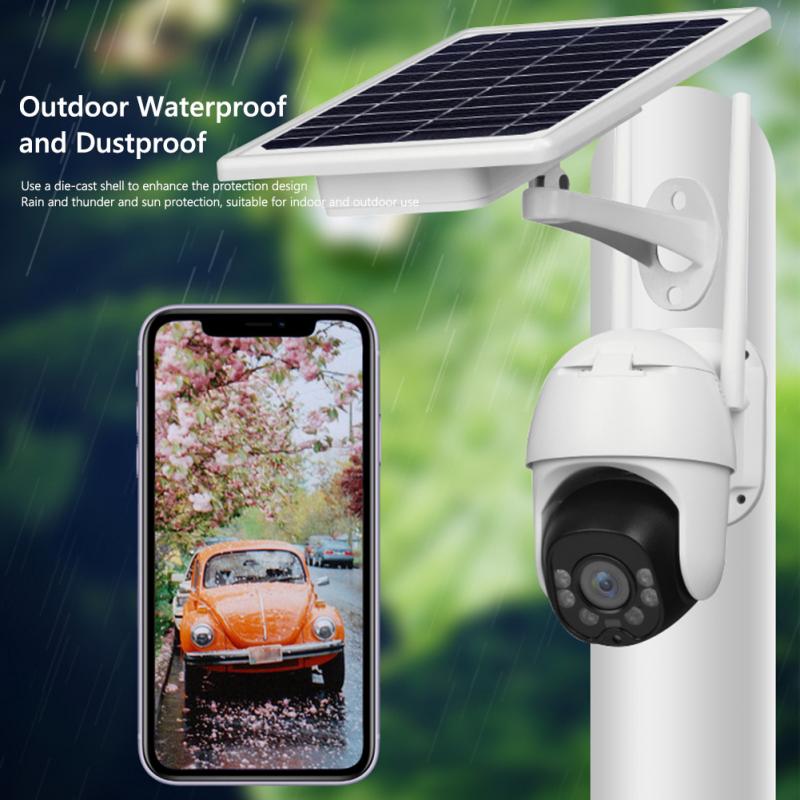
- Weather Resistance: Since the camera will be exposed to the elements, choose one that is weatherproof and designed for outdoor use.
- Night Vision: Look for a camera with infrared or color night vision to capture clear footage in low-light conditions.
- Field of View: Consider the camera’s viewing angle to ensure it covers the desired area.
2. Determine the Best Location
The placement of your camera is critical for effective monitoring. Here are some tips for choosing the right location:
- Entry Points: Install the camera near main entry points, such as front doors, back doors, or garage doors, as these are common access points for intruders.
- Height: Mount the camera at a height of 8-10 feet to prevent tampering while still capturing clear footage.
- Lighting: Ensure the area is well-lit or that the camera has adequate night vision capabilities.
- Avoid Obstructions: Make sure there are no obstacles, such as trees or walls, blocking the camera’s view.
3. Prepare for Installation
Once you’ve chosen the camera and location, gather the necessary tools and equipment. Depending on the type of camera, you may need:
- A drill and screws for mounting
- A ladder for reaching high areas
- A power source (for wired cameras)
- A smartphone or computer for setup and configuration
4. Install the Camera
Follow the manufacturer’s instructions to install the camera. Here’s a general overview of the process:
- Mount the Camera: Use the provided mounting bracket and screws to secure the camera to the chosen location. Ensure it is stable and angled correctly.
- Connect to Power: For wired cameras, plug the camera into a power outlet. For wireless cameras, insert the batteries or connect to a solar panel if applicable.
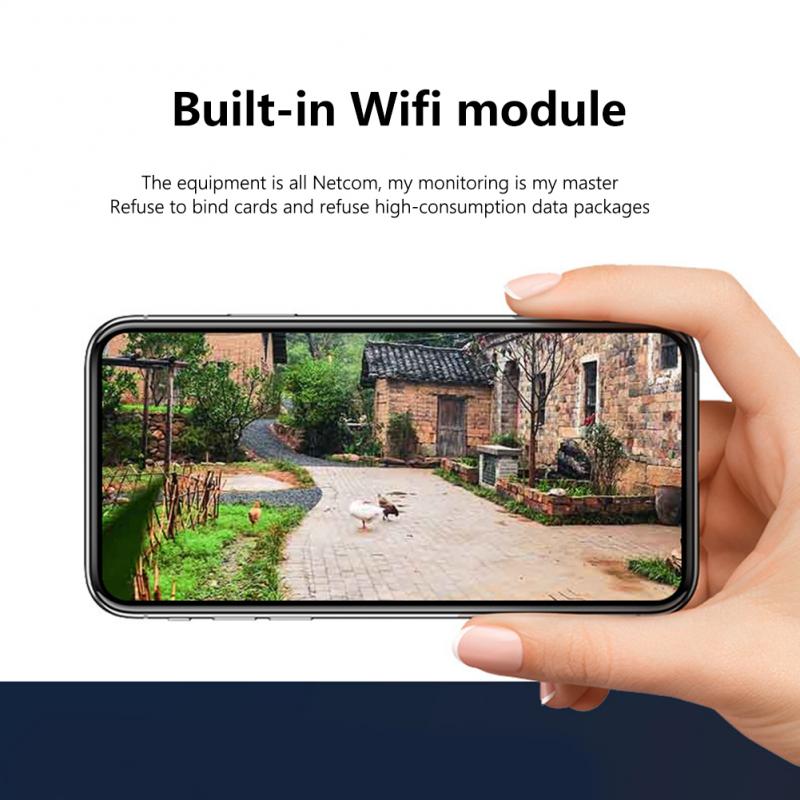
- Connect to Wi-Fi: If the camera is wireless, follow the setup instructions to connect it to your home Wi-Fi network. This typically involves downloading the camera’s app and following the on-screen prompts.
5. Test the Camera
Before finalizing the installation, test the camera to ensure it is functioning properly. Check the following:
- Live Feed: Access the live feed through the camera’s app or software to confirm that the camera is capturing clear footage.
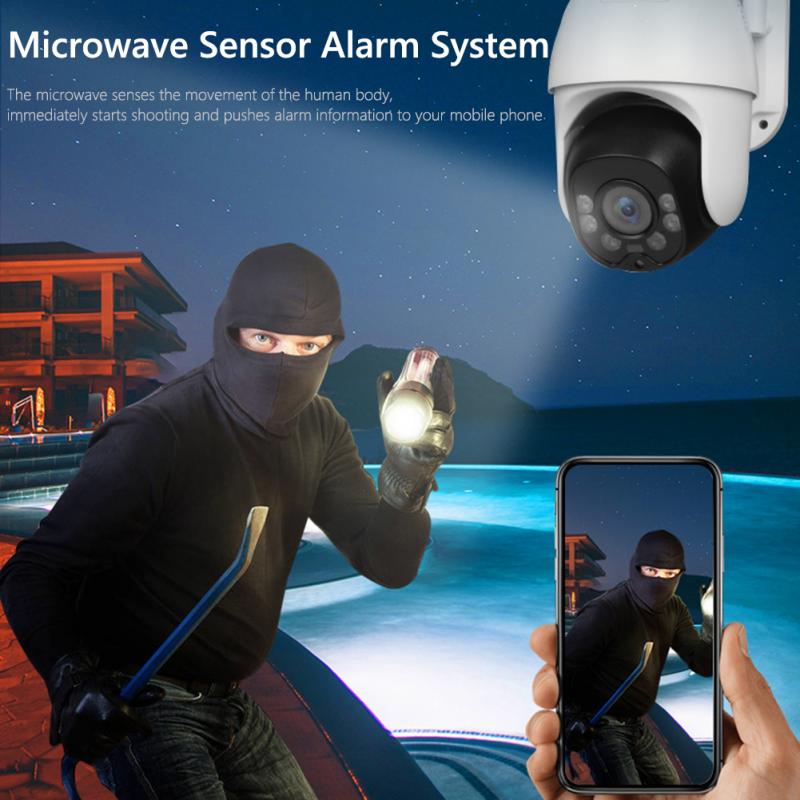
- Motion Detection: Test the motion detection feature to ensure it triggers alerts or recordings as expected.
- Night Vision: If the camera has night vision, test it in low-light conditions to verify its performance.
6. Secure the Camera
To prevent theft or tampering, take steps to secure the camera:
- Use tamper-proof screws or a security mount.
- Position the camera out of reach or in a concealed location.
- Consider using a camera with built-in anti-theft features, such as an alarm.
7. Set Up Alerts and Notifications
Most modern security cameras come with apps that allow you to customize alerts and notifications. Set up the following:
- Motion Alerts: Receive notifications on your smartphone when the camera detects motion.
- Recording Schedule: Configure the camera to record continuously or only during specific times.
- Cloud Storage: If the camera offers cloud storage, set up an account to save and access footage remotely.
Tips for Maintaining Your Outdoor Security Camera
Once your camera is installed, regular maintenance is essential to ensure it continues to operate effectively. Here are some tips:
- Clean the Lens: Dust, dirt, and water spots can obstruct the camera’s view. Clean the lens periodically with a soft cloth.
- Check the Power Source: For wired cameras, ensure the power connection is secure. For wireless cameras, replace or recharge the batteries as needed.
- Update Firmware: Keep the camera’s firmware up to date to ensure it has the latest features and security patches.
- Inspect for Damage: Regularly inspect the camera for signs of wear or damage, especially after severe weather.
Common Questions About Outdoor Security Cameras
Can I Install the Camera Myself?
Yes, most outdoor security cameras are designed for DIY installation. However, if you’re uncomfortable with the process or need to install multiple cameras, consider hiring a professional.
Do I Need Wi-Fi for the Camera to Work?
Many modern security cameras rely on Wi-Fi for remote access and cloud storage. However, some cameras offer local storage options, such as SD cards, and do not require Wi-Fi.
How Much Does It Cost to Install an Outdoor Security Camera?
The cost varies depending on the type of camera and whether you install it yourself or hire a professional. DIY installation is typically more cost-effective, with cameras ranging from $50 to $300.
Is One Camera Enough for My Property?
The number of cameras needed depends on the size and layout of your property. One camera may be sufficient for monitoring a specific area, such as the front door, but additional cameras may be needed for comprehensive coverage.
Setting up an outdoor security camera is a practical and effective way to enhance the security of your home. By choosing the right camera, selecting an optimal location, and following the installation steps outlined in this guide, you can ensure your camera operates efficiently and provides the protection you need. Regular maintenance and proper configuration will help you get the most out of your investment, giving you peace of mind and a safer home environment. Whether you’re a first-time user or upgrading your security system, an outdoor security camera is a valuable addition to your home security toolkit.


")


