What Do You Use A Tripod For?
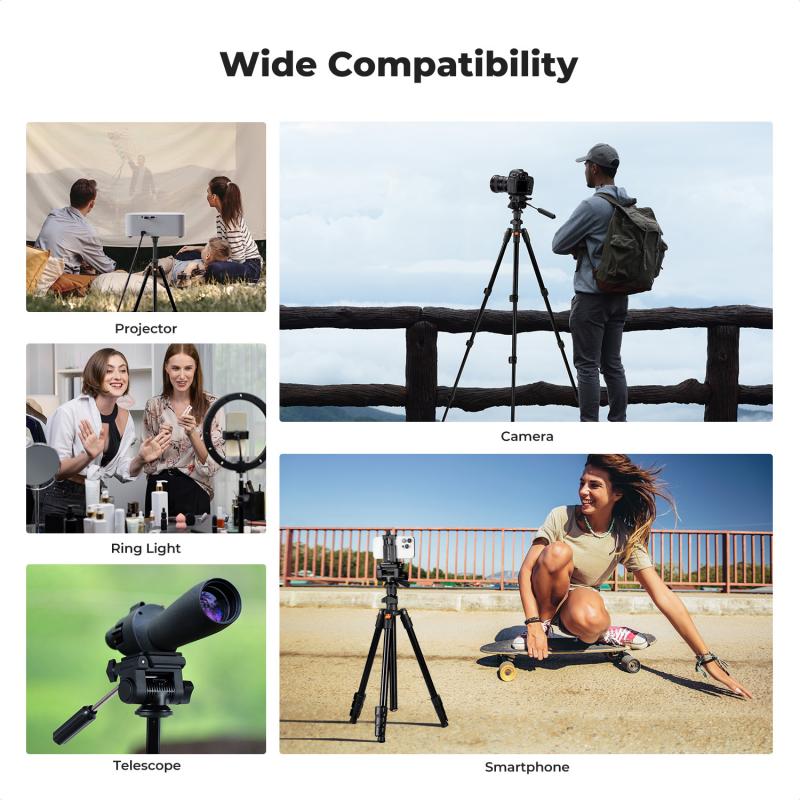
A tripod is a three-point support device that provides a very stable base for photography equipment. It is used most often by photographers and enthusiasts who are concerned about the weight of their equipment, wish to master professional landscape photography, or need to move the camera from hand to other places.
Photography Applications That Require a Tripod
- Long exposures: The tripod is a must-have for long-exposure shots. If you have a long-exposure shot — more than even 2–3 seconds, especially with a DSLR or mirrorless camera — you have to have the camera perfectly still that entire time. Even the slightest move can cause the shot to blur where you don't want it to.
- Time-lapse photography: Time-lapses 100% require a tripod.
- HDR photography: HDR photography relies heavily on having a solid tripod. If there's motion in the photo, you'll end up with some weird patchy ghosting that Lightroom and Photoshop might not be able to remove. And if the details aren't fully lined up, solid lines turn into an unsharp mess.
- Panoramas: When shooting a panorama, photos will be stitched together with a number of holes if taken handheld. Using a tripod with a pan and tilt head allows you to easily keep the camera in line while panning left to right.
- Exposure bracketing: To get the maximum dynamic range, a tripod ensures that every single shot comes from the same position with no ghosting in post-processing.
- Self-portraits and group photos: Set it up, point it and focus it, then you can step away from the camera and direct the model or subjects.
- Macro photography: Perfect for macro where you need minimal camera movement to avoid out-of-focus or camera shake.
- Astrophotography and fireworks: Used frequently for fireworks and astrophotography shots.
- Moon photography: For the same reason as macro — minimal camera movement.
- Wildlife photography: Wildlife photographers often use a gimbal mounted on their tripods so they can move the camera freely without having to hold its weight.
When Shutter Speed Determines Tripod Use
The determining factor for when you need to use a tripod comes down to shutter speed. The slower your shutter speed is, the more likely you need the tripod. But the shutter speed that determines when a tripod is required depends on the lens you are using.
Every lens is different. Wider-angle lenses can get away with slower shutter speeds, but when it's longer, you're going to need to use a faster speed. As a general rule, the minimum shutter speed recommended is one that's twice as fast as the focal length on your lens. That means if you're shooting with a 35mm lens, you need a shutter speed faster than 1/70th of a second to get tack sharp photos handheld. If it's a 400mm lens, then you need 1/800 of a second. Any slower, and it's time to use a tripod.
In the good old days, there was a rule of thumb that you could handhold a camera at a shutter speed of 1/focal length (e.g., 1/100th sec with a 100mm lens). Nowadays we have image stabilisation on many cameras and lenses, allowing you to handhold at much slower shutter speeds. However, cameras today have sensors with higher resolutions, and higher resolution means they are also more likely to capture motion blur. For example, you'll notice motion blur much less on a cell phone than you will on a Nikon D850.
Benefits of Using a Tripod
- Consistent framing and composition
- Framing can improve with a tripod because you have to set it up and have time to adjust the shot for good lines and composition. It's so much easier to compose with precision when the camera isn't trying to move around.
- No holding strain
- No holding strain while waiting for best light, action, or subject framing. If you are using a heavy lens, a tripod can stop you having to physically hold the lens for a long time.
- Higher or lower angles
- A tripod allows higher or lower angles than you can achieve handheld.
- Reduced camera shake
- A tripod removes as much camera shake as possible. The benefit is that it holds the camera steady — most important when using a slower shutter speed, although it will also benefit photos taken with moderate shutter speeds.
- Landscape photography quality
- Tripods make landscape photography much more enjoyable because they allow you to create higher quality images in every scenario. Even at daylight you can have trouble getting the best aperture for the spot so everything is sharp and the ISO is low.
- Time to think creatively
- For landscape photography, it's not necessarily a bad thing that your process is slowed down. It can give you valuable time to think about ways to add creative value into your shots, such as adding an environmental feature to frame the shot.
Drawbacks of Using a Tripod
- Less variance in framing and composition, as you tend to pick an angle and "camp."
- Lots of shots from the same angle to go through in post.
- Calls attention to you from subjects and security — for street photography where you need to be discreet, a tripod is the de facto sign that somebody is taking your photo right now.
- Can take a while to set up.
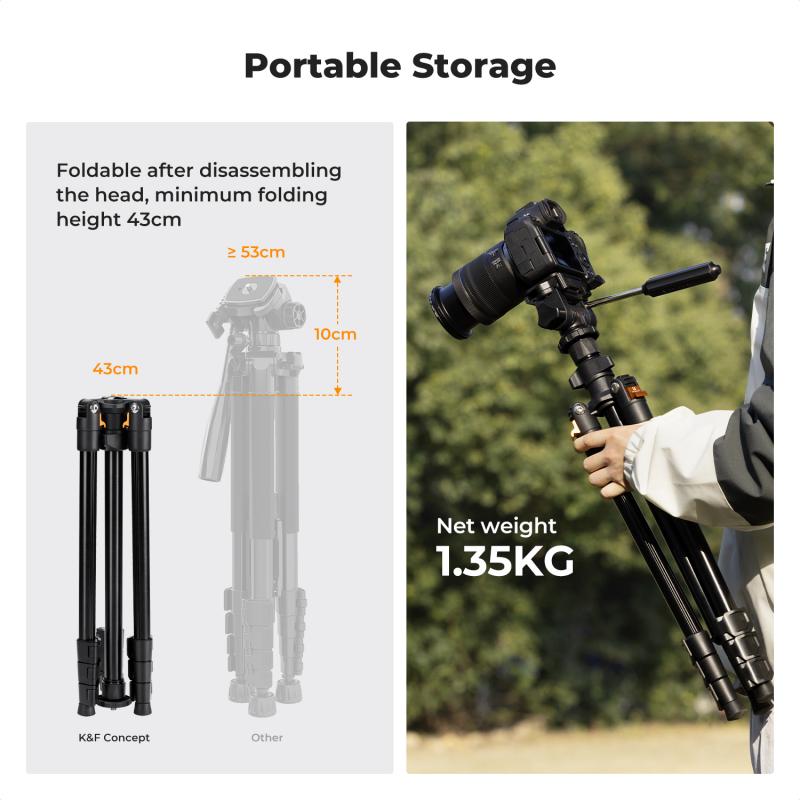
- You have to carry it about — it's heavy and needs lugging around even if you aren't using it.
- Not convenient when you need to track moving subjects or be quick with changing compositions.
- A tripod can limit the creativity.
How to Properly Use a Tripod
- Walk around, explore the scene, and take some test shots before deploying the tripod. Get high, get low, find your angle — then set up. The key is not to set the tripod up too early.
- Ensure the tripod is firmly footed so you don't get inadvertent movement. This may mean attaching a weight hanging from the centre of the tripod to stop it being blown in the wind.
- Do not extend the tripod to its maximum height. If you keep the tripod lower to the ground, you're using only the sturdiest parts, which will better resist vibrations.
- Set the height of the tripod to get the camera in the best position for the shot — this may be low down, high up, at eye level, or at the height most comfortable for you.
- Make sure the camera is firmly fixed to the tripod — this may be with a screw that fits your camera or using a quick release plate. A QR quick release plate is useful as it helps mount and dismount your camera quickly.
- To avoid any camera shake, turn image stabilisation off and use a remote shutter release, or a 2-second delay. Even pressing the shutter while the camera is on the tripod will introduce camera shake.
- Anything loose dangling from the camera can introduce shake — get rid of them. If it's too windy, try blocking the wind with your body, or find a small alcove to get out of it.
- For night photography using manual focus, use live mode and zoom in on the area with the most contrast, or the brightest star in the sky to set focus precisely.
Tripod Head Types
There are a number of different ways to make pointing the camera in the desired direction:
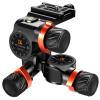
- Ball head: The most compact and allows you to point the camera in almost any direction.
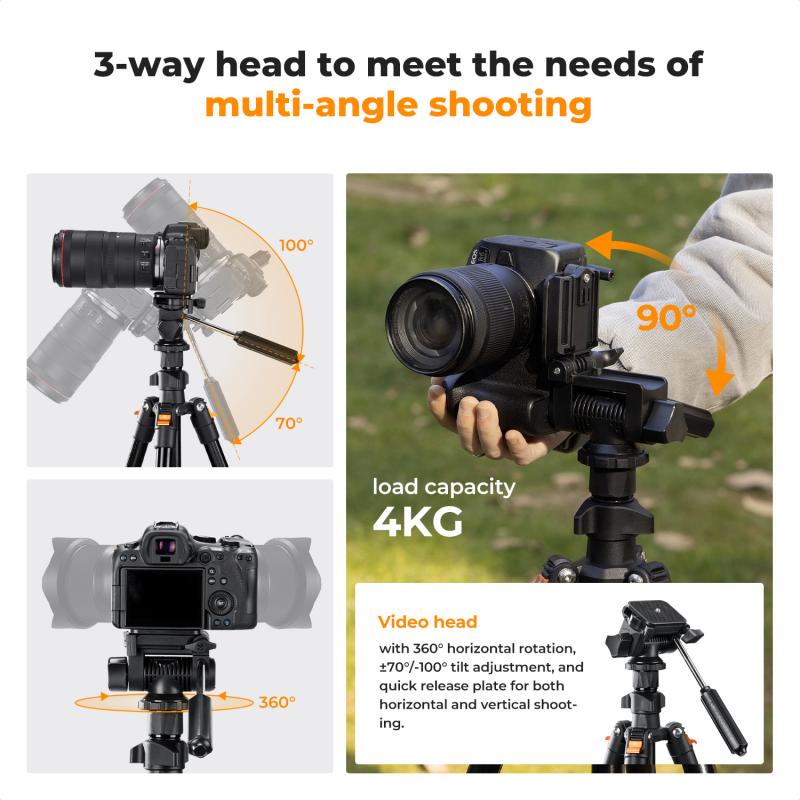
- Pan and tilt head: Has a long screw lever which allows movement up/down or horizontally.
- Fluid head: Does the same thing as a pan and tilt head, but much more smoothly — great for video.
- Gimbal head: Much more bulky and takes time to set up accurately, but once done it allows you to move the camera quickly to track movement and doesn't move once you leave it alone. With this type, you attach the lens to the tripod rather than the camera body.
Choosing and Investing in a Tripod
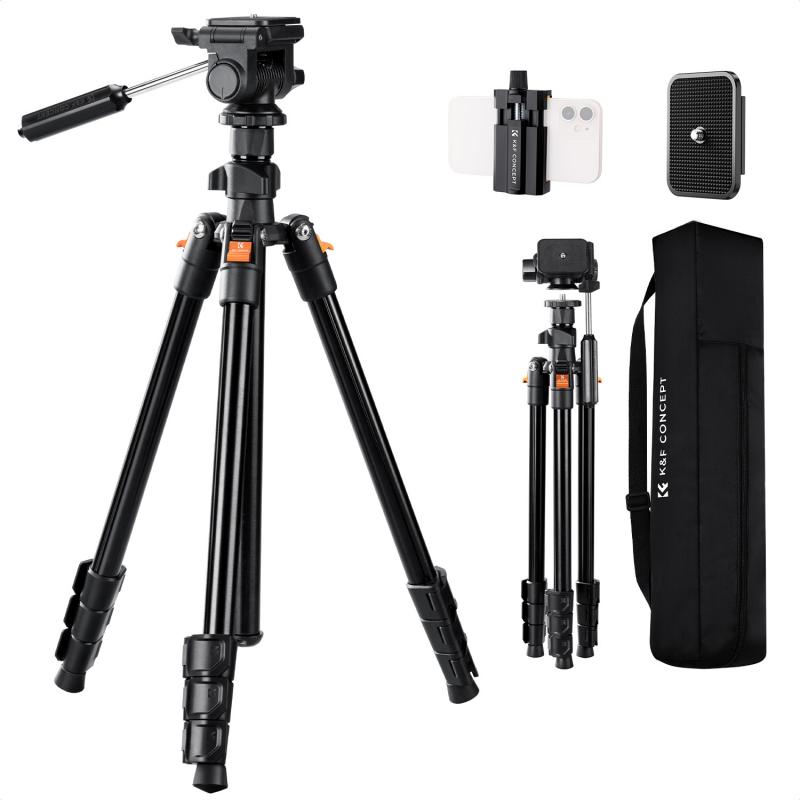
Buying a cheap tripod will hold you back in the long run. A cheap tripod takes forever to adjust to be just right; a nice tripod does exactly what you want it to, the first time. Unlike camera bodies, tripods don't degrade over time — one that's solid today will still be solid in 20 years. If you're just starting out, get a tripod that you can grow with, and you'll always find more uses for it and be thankful you spent the money early.
Use a top quality tripod with a broad head at least as thick as your camera body. Some tripods also have a hook on the bottom for attaching a weight or sandbag. If you're hiking, you can always just attach your photo bag with the lenses in it. You can also use your tripod as a monopod without spreading its legs — it takes no time and reduces shakiness.