
How To Play With Light In Photography?
2026-06-30 00:50:10
0 Comments
light is the key for photography
- there are many important factors to consider when it comes to photography, but none more important than light.
- light determines how bright or dark your images will be, but also the overall tone, mood and total atmosphere of a photo.
- “in the world of photography - light really is everything,” says professional photographer tim northey.
- “understanding light and knowing exactly how to use it is a fundamental skill for mastering photography.”
- lighting is one of the most powerful tools a photographer has. it shapes mood, emphasizes texture, and guides the viewer’s eye.
- counterintuitively, good lighting is often more about the shadows than the highlights.
- we perceive shape, depth, and texture in a photograph largely through how light and shadow interact.
- two key qualities to master are light quality (hard vs. soft) and light direction.
natural light
- natural light is the most accessible and can be used in many different types of photography, from landscape to portraits, from wildlife to street photography.
- during daylight you have one large source of light to work with - the sun.
- due to its sheer size, sunlight typically bounces and reflects off buildings and other objects, often giving it multiple layers.
- this helps give natural light dynamic characteristics that can be hard to replicate artificially, especially when using a single light source.
- the easiest and most accessible way to get started is by experimenting with natural light.
- for all types of photography harsh sunlight during the middle of the day can often be the most difficult to work with.
direction of light
- remember to always consider the direction of light.
- when the sun is slightly lower in the sky, experiment by taking photos with the sun directly behind you.
- this should light up most of the scene, making it clear and bright.
- when the sun is slightly off to one side, it should add more character or contrast by causing slight shadows and highlights to appear.
- to play more with shadows and silhouettes, shoot more directly towards the sun.
- for a more diffused light, experiment during cloudy weather.
- here the direction may be less important, but it will give your photos more of a moody atmosphere with flatter colours.
- ultimately consider the look you are after and how light conditions may assist with this.
diffused light

- whether artificial or natural, another key component to light is how direct or intense it might be.
- “softer or more diffused light can be easier to work with and achieve a more balanced result,” says northey.
- “this is why using harsh bright sunlight in the middle of the day can be more challenging, contending with bright contrast.”
- different techniques and types of equipment are available to help diffuse light.
- an example is soft boxes which are frequently used to diffuse bright artificial light sources.
- “if working indoors, a simple way to diffuse natural light is by taking portraits next to a window,” northey says.
- “the opening of a window can help filter light and create a flattering effect on lighting your subjects.”
hard and soft light
- when learning the types of light in photography, one of the most important distinctions is between hard and soft light.
- understanding how light behaves — whether it’s casting sharp shadows or wrapping gently around a subject — can help you shape mood, texture, and emotion in your photos.
- hard light comes from a small or direct source, like midday sun or a bare bulb.
- it creates sharp, defined shadows and high contrast.
- this emphasizes shape and texture, making it perfect for dramatic portraits or bold graphic compositions.
portrait lighting techniques
- portrait photography, both natural and artificial sources are frequently used. often even in combination.
- portrait lighting techniques, the two most frequently used options are called loop or butterfly lighting.
- with these, the direction of light is key, as they both get their name from the shape of the shadow created by the nose.
- they involve placing the light in front of or just off to the side of the subject, slightly higher than their eyes, angled down at varying degrees to create a slight shadow.
- “you can play around with this by moving the light closer or further away and by adjusting the angle,” says northey.
- these techniques can also be used to help understand natural light.
- often portraits will be taken when the sun is slightly lower in the sky, which puts the sun’s light at an angle above the subjects’ eyes.
- these hours during daylight can be slightly easier to work with, creating a more flattering and balanced light.
artificial light
- artificial light gives you the ultimate control
- it is easy to experiment with artificial light in the same way.
- this can be done at home taking self-portraits with a single artificial light and a self-timer.
- begin with the light directly in front of you, just above your eyeline.
- then move the light around, varying its angle and intensity by moving it closer or further away.
- see how this changes the result.
- a good starter would even be to use some always on direction lights, vs strobes.
- move them around your subject, see how they change the scene.
studio lighting practice
- learn studio lighting. your images start totally black with no light at all, and you then build the light up yourself.
- once you can do that and get reasonable results, you've understood how light works.
- the next step up is to "read" the light in other peoples' photos.
- guess how to replicate the same light.
- it helps you judge your own photos, too.
- and, it enables you to analyze "found" light better, and spot more opportunities on how to use it to your advantage.
- you need a space where you have total control over lightning.
- just playing with a strobe outside doesn’t give you the full experience.
- but a cheap mannequin on amazon or something and spend hours playing with the lighting.
- learn how it affects facial features, mood, etc…
test shoots and moving lights
- play with the lights you have by setting up some test shoots.
- set up a shoot specifically to come up with some dynamic lighting schemes.
- take a few photos, move lights around and take more.
- write down what your lights are doing as you're doing it.
- make a journal of your favorite setups and you'll feel way more confident.
- connect the camera to a computer, move lights around and fire then evaluate the images.
light painting photography
- light painting photography- the art of creating photos by setting long exposure times on a camera and using a moving light source to "paint"
- mill falls in logan, ohio. the main source of light for this scene was the street lights on the bridge over the river, but i used light painting to take the image to the next level.
- i light-painted the bridge with a high-powered spotlight.
- i also added light to the rocks in the foreground.
- the exposure was 69 seconds, and i set the aperture to f/14 to maximize the starburst on the street lights.
- schoolhouse in the snow. this was a long, 170-second exposure, shot at f/8 (for depth of field) and iso 100.
- notice the light coming from inside the schoolhouse, added from the outside by shining a flashlight through windows at the back of the building.
- a light-painted photo of a barn. note how i used the light source to keep the building, the tree, and a strip of foreground grasses well-lit.
- however, i avoided lighting other portions of the frame – and as a result, the image is a lot more dramatic!
- this vase was backlit with a candle, and i painted the flowers with a small penlight.
- a 30-second exposure at iso 800.
- for this image, i increased the iso to shorten the exposure to 30 seconds, because a longer exposure would cause a noticeable blur on the stars.
- light painting was applied from the front of the subject, without letting the light shine directly back at the camera.
camera settings for light
- when it comes to understanding how light changes the result of your photos, one of the most important factors to consider is your camera settings.
- “if you aren’t familiar with the exposure triangle this would be the perfect place to start,” says northey.
- apertureshutter speediso.
- consider a well-lit scene like shooting outdoors on a bright sunny day.
- here, you could use a faster shutter speed, usually somewhere between 1/200 to 1/4000 and a lower iso number, typically iso 100.
- this will ensure your photo is not overexposed or too bright.
- when it comes to aperture, you might be restricted to using a narrower aperture or a larger f-stop number.
- shooting at night has its challenges, but it also opens opportunities to experiment in other ways by using slower shutter speeds.
equipment for light photography
- flash photography
- the most used light in photography would be a flash, which is essential when it comes to event photography.
- when using a flash, always consider that it can be very bright and direct, so diffusing the light is key.
- to achieve this, you can add a diffuser to your flash.
- if shooting indoors with a lower ceiling, aiming your flash slightly upwards and bouncing it off the ceiling is a great way to diffuse a flash more evenly.
- light box photography
- a light box is often a go-to for product photography.
- it has a white background, an opening at the front and a light source.
- by placing the product inside the box, the light bounces in all directions, eliminating shadows and clearly showing all the product’s detail.
- while they are simple to use and suitable for all photography skill levels, their use in product photography means that they have a very specific use.
- ring light photography
- the ring light may be the best light for a beginner photographer, as it is often quite budget friendly and easy to work with.
- as the name suggests, the light is in the shape of a circle which helps provide a very diffused source of light, meaning there is no need for additional equipment like a soft box.
- these lights can be used for macro photography, headshots, weddings or even beginner youtube set-up.
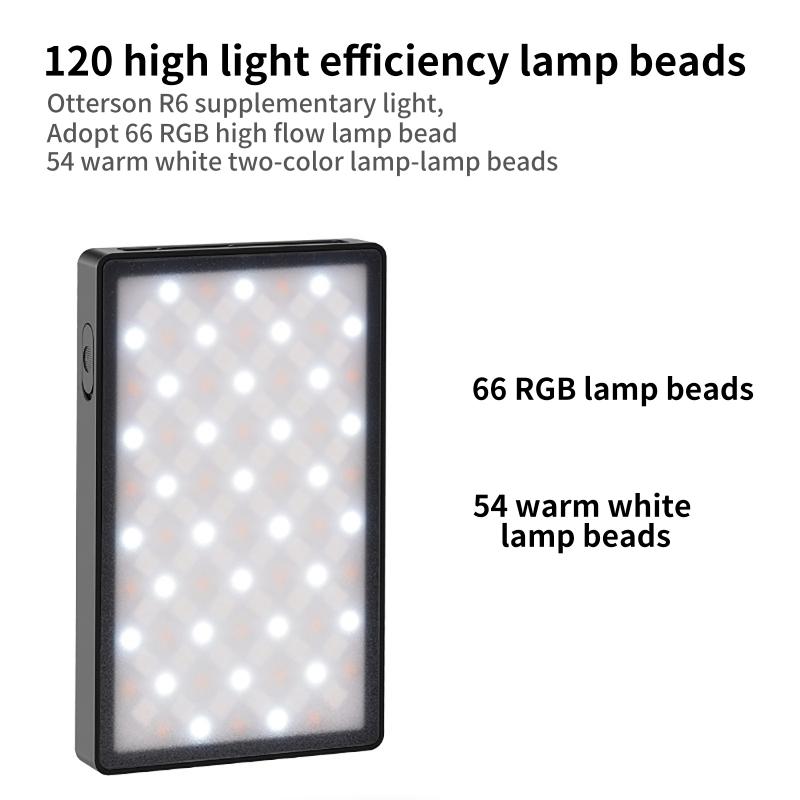
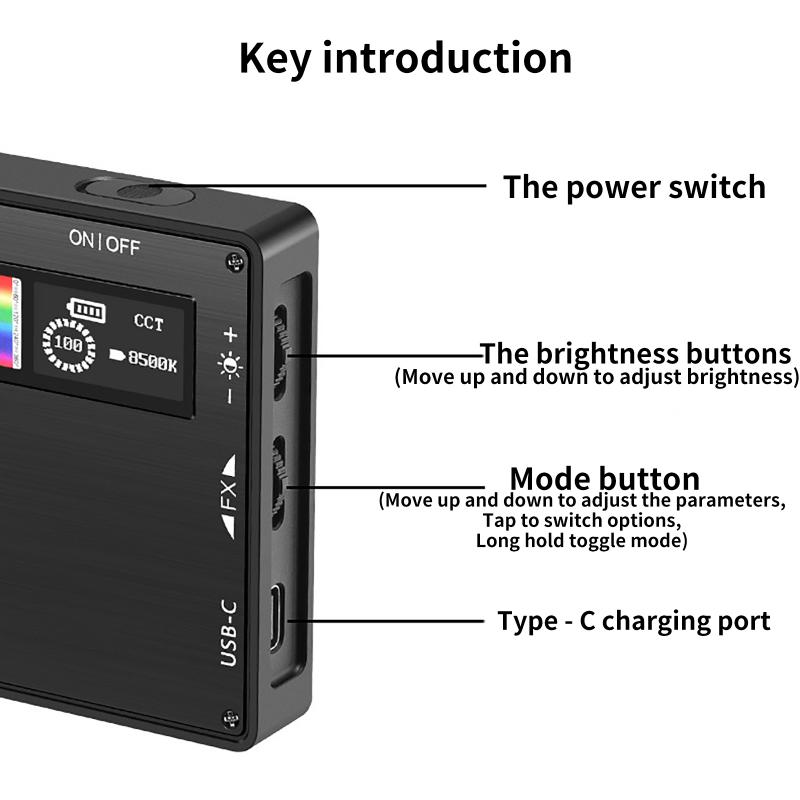
- led light photography
- led is the umbrella term for many different types of lights used in photography.
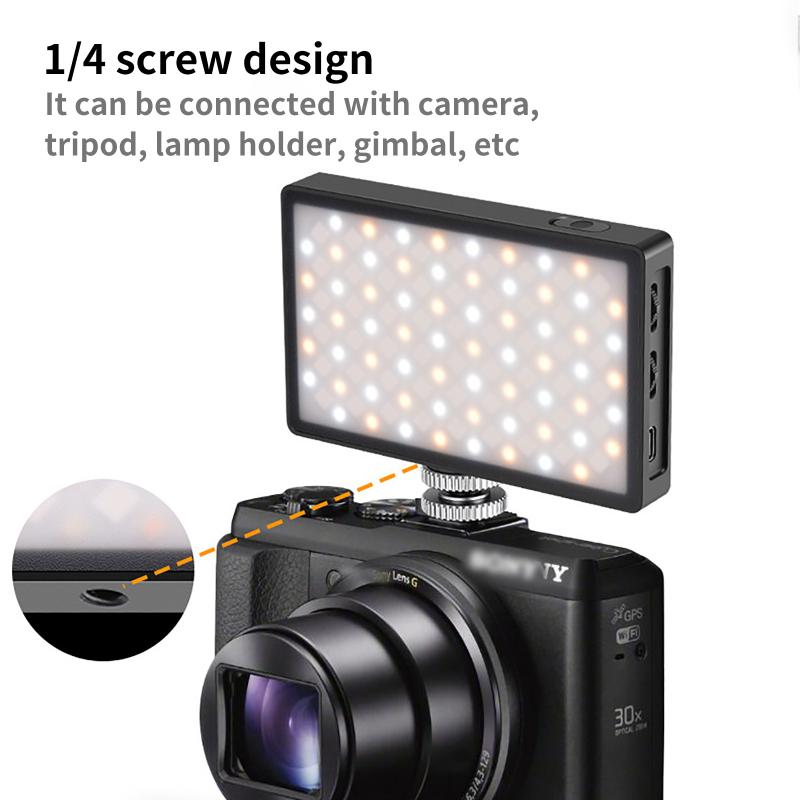
- led lights are great for different skill levels and budgets.
- led lights can come in portable options which can be used anywhere.
- there are also different colour options, making them super versatile and a great option for getting creative by adding a splash of colour to a scene.
practice with light
- “although there is no right or wrong way to use light, you’ll soon find out what works and what doesn’t work for your style of photography. so, experimentation really is key,” says northey.
- aim to get outside during the hours just after sunrise or just before sunset.
- “this is a good place to start, but don’t be afraid to really explore all types of conditions to help you fully grasp how light works,” says northey.
- the only way to learn is to do it (videos and websites are good for pointing you in the right direction).
- one of the first assignments we were given in my hs photo class was to use a desk lamp and bounce card to light a variety of objects.
- that’s as good a place as any to start.
- i’m a visual/practical learner so watching videos will get me started but i need to go and actually do the thing and make some mistakes to learn for myself
- ultimately there are lots of guides and vids but you have to do it to learn.
- it is a doing thing so choose something you’re interested in and getting practicing!
Leave your comment
Note: HTML is not translated!

 (Shipping only available to the UK, AU)")


 Ring Light with 78.7 inch (200cm) Tripod and Phone Holders, 3 Color Modes, Bluetooth Remote Control Photography Lighting (Only Ship to US)")

")
")


 Neutral Density Lens Filter with 28 Multi-Layer Coatings Hydrophobic/Scratch Resistant Nano-Xcel")


