How To Improve Microphone Quality?
Improving microphone quality involves several factors: proper room treatment, correct microphone technique, appropriate gain settings, and post-processing with software tools. Whether you're recording for voice acting, podcasting, or video content, the same core principles apply.
Room Treatment and Recording Environment
Room treatment will be the biggest thing. When you speak into a microphone, your voice goes into the mic, but it also bounces around the room off of any hard, flat, parallel surfaces like walls, ceilings, hardwood floors, and desks, and that reverberation also ends up in the mic. Sound treatment is the act of preventing those reverberations from getting back to the mic by reducing the amount of hard parallel surfaces in your space.
- Be in a quiet space. Treated (acoustic tiles or panels) is ideal, but heavy drapes, blankets, and rugs can help a lot.
- If you can build a small booth for yourself, that will also help.
- Most of the time, you'll see people with those spiky or egg-shell foam squares on their walls, but anything that isn't a hard flat surface will work, even stuff like mattresses, carpets, blankets, etc. (also why people suggest a closet full of clothes if you can't treat your walls).
- Remove sources of noise from your space and treat the walls to reduce reflections.
- Spend time removing sources of noise. The tick-tock of a clock suddenly becomes reminiscent of an Edgar Allan Poe short story. The notification from a mobile device is startling. That seemingly quiet unscrewing of a metal water container takes over the audio.
The common thread is: if the mic picks up anything besides your voice directly (like the reverberation in your room), it will necessarily dilute your signal. To be honest, when it comes to your setup, the mic is one of the least important things that factor into whether you sound good. Having a $1000 mic in an untreated space won't take you near as far as having a $100 mic in a properly treated space.
Microphone Technique and Positioning
Proper technique makes a significant difference regardless of the microphone you are using. The following practices apply to most setups:
- Set your mic for cardioid ("heart" shaped setting on rear) if available.
- Turn down the gain knob till it's comfortable and not distorted.
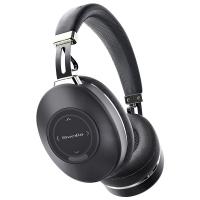
- Plug your headphones in and give yourself enough gain (volume) to really hear what you're doing. Sealed back headphones sound best as they don't leak.
- Use a pop filter. Keep your mouth 6–8 inches from the pop filter, and keep the pop filter an inch or so away from the mic.
- Aim the mic slightly above or below your mouth to avoid some of the noises your mouth makes.
- Put the mic closer to the source being recorded. In a recording, the only thing that separates the desired source from the noise is their relative amplitudes.
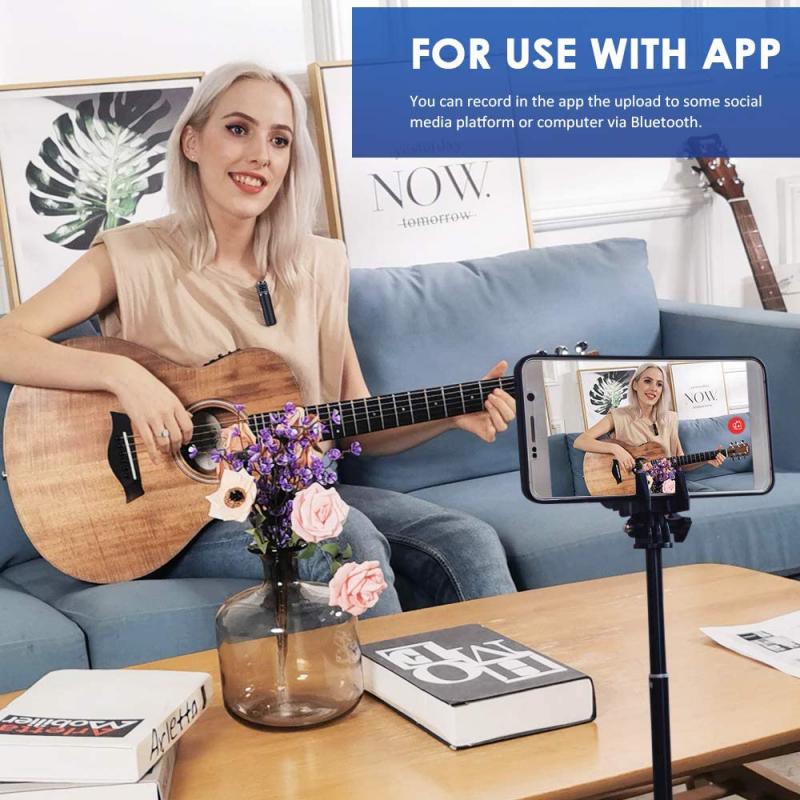
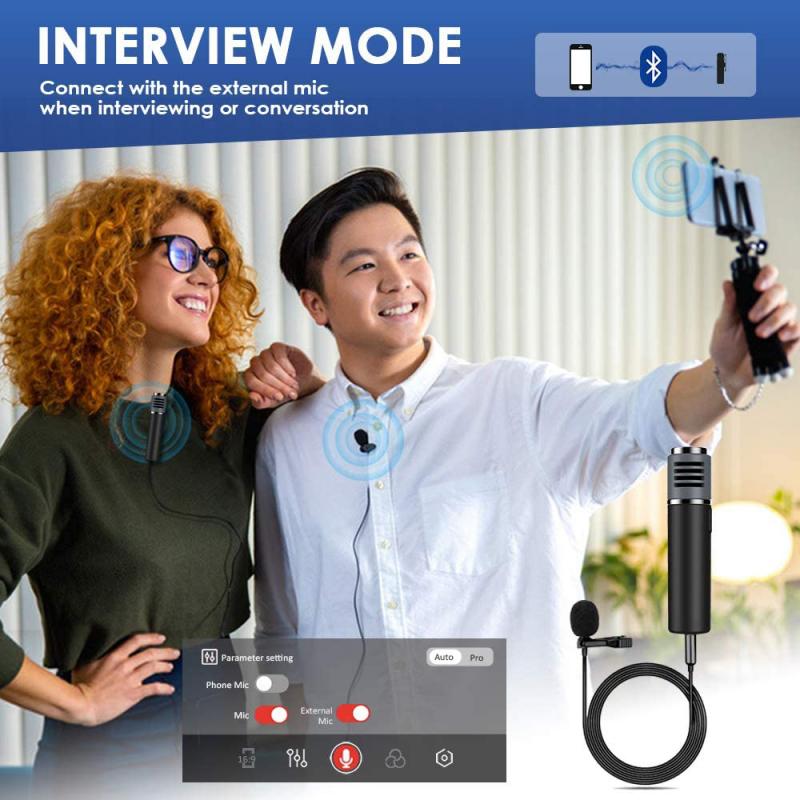
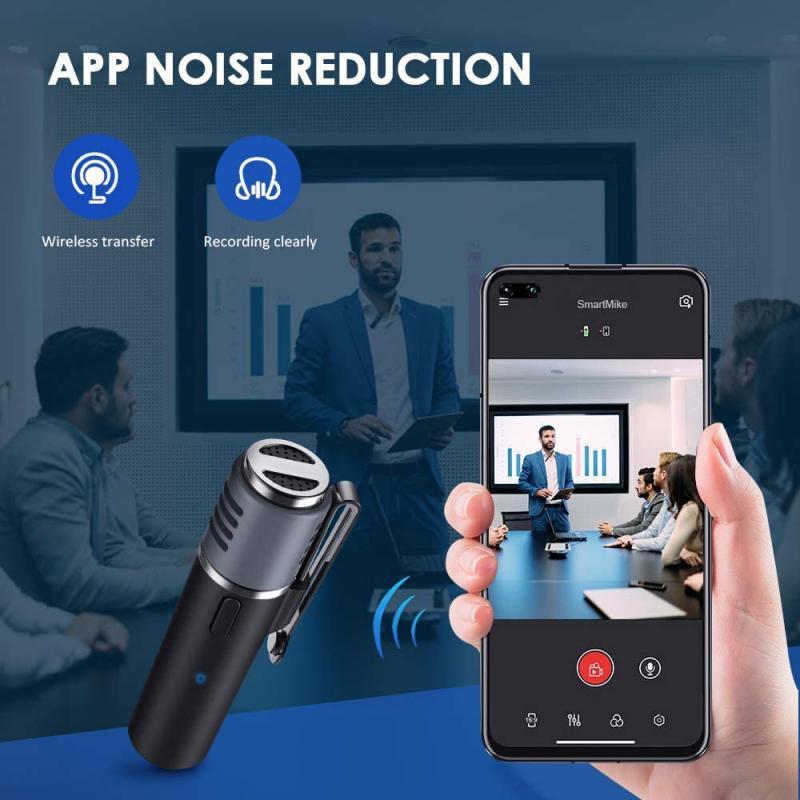
- For recording videos, get a good lavalier mic (wired or wireless, your choice). Clip it to your collar or somewhere close to the front of your neck where it will pick up your voice the best.
A simple foam windscreen will reduce "plosive" sounds. A "furry" windscreen for outdoors on windy days — these are sometimes called "dead cats" or "dead rats." Headphones will prevent the audio you are hearing from feeding back into your microphone. This feedback can result in distracting echo, or worse.
Gain and Input Settings
Gain management is a critical step that is often overlooked. Turn down the gain as much as possible. The microphone is quite sensitive and can pick up background noise quite easily, so excessive gain amplifies everything in the room, not just your voice.
- Input Volume
- Adjust the input volume in your system sound settings. Go to Settings > Sound and scroll down to the input section to adjust the input volume and change the format quality.
- Format Quality
- Change the format quality in your input device settings and test your microphone to see if it improves the result.
- Driver Updates
- Outdated drivers can sometimes cause problems, so make sure your audio drivers are up to date. In the Device Manager, look for the "Sound, Video and Game Controllers" category and expand it to see the list of audio devices, then go to the manufacturer's website for each device and download the latest driver.
- Dedicated Microphone
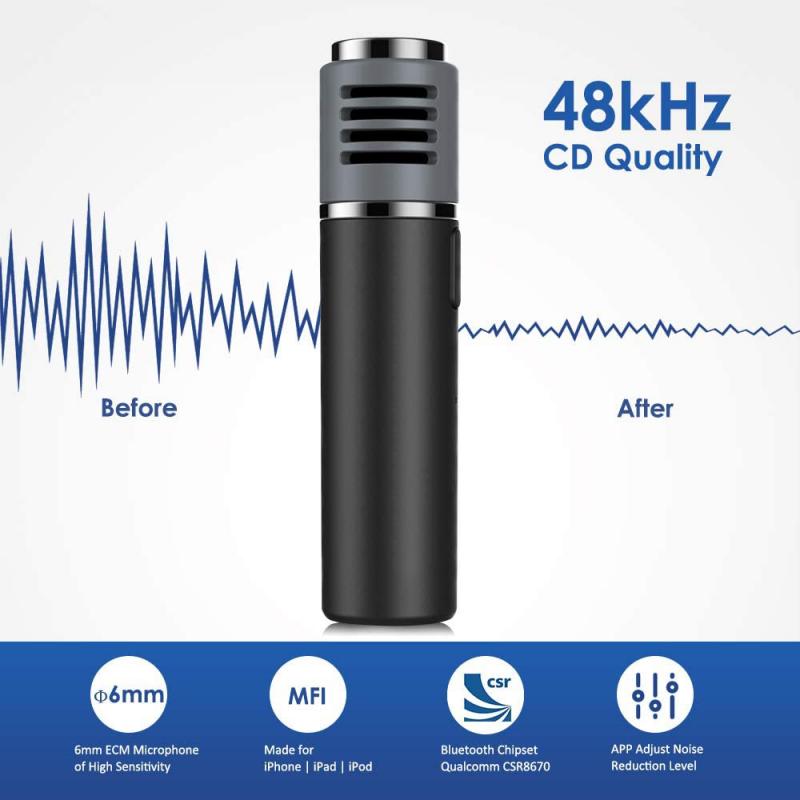
- Many laptops have low-quality built-in microphones. Try plugging in a dedicated microphone or headset into your PC. Wireless microphones are almost always unacceptable. Most personal wireless mics use Bluetooth, which is not nearly as reliable as wired systems. Also, many Bluetooth microphones compress your audio to fit into the Bluetooth wireless protocol bandwidth, making your audio sound worse.
Equalizer Settings
An equalizer (EQ) is basically just a series of volume levels. It breaks your sound into different frequency ranges from low to high and puts each of them in a column with a slider to adjust how loud that frequency is. The stuff on the left is low frequencies starting with ones so low that they're barely audible. Going rightward it gets higher with each slider until you hit the top range of human hearing and beyond.
- Use a parametric EQ. Subtractive EQing (pulling frequencies down) is recommended as a starting point.
- To find the ugly frequencies, drag the EQ point up and sweep back and forth until you hear the "ugly" or "boxy" sound, then pull it down a few dB — try between 3 and 6 dB below the center line.
- If you want a little "air" because the mic sounds dull, put a shelf EQ starting at 1.5k to 2k and bring it up just a little until you can hear the voice crisper and clearer.
- Reaper's equalizer can let you massage your audio a bit without making it clip. For example, using some high and low shelf points for a personal streaming setup can make your recorded voice sound more how you sound in your head.
- Select an EQ preset that suits your voice to get started, then adjust as needed.
There are lots of good tutorials out there that can help figure out how that sort of stuff works. It is usually suggested to pick through two or three different ones to get a few different explanations on things.
Compression and Noise Reduction in a DAW
Once your recording is in a DAW, a little EQ, a little compression, and maybe a little noise reduction will get you most of the way there. A recommended plugin chain order is as follows:
- Noise Reduction: Use a noise reduction plugin to eliminate microphone background noise — little background noises, airplanes overhead, your heat kicking on. The Waves ClarityVX is one option available for $40. If you have a good, quiet recording, a noise reduction plugin isn't necessary as it can make things sound dull if used too much.
- EQ: Apply subtractive EQ as described above to remove problem frequencies before boosting anything.
- Compression: Only use compression if the subject was very dynamic — if they go from quietly talking to yelling about something. Set your compressor's threshold just above where it catches the sound when they're talking normally. Set the ratio to 2.5/1 to start, maybe 3/1. Use the gain (or makeup gain) sparingly. It will push the mid range frequencies, so the voice will be more prominent, but if there's noise, lots of makeup gain will make it worse.
Denoise in your DAW for background noise, and Voicemeeter compression may also help if you aren't able to control noise physically. You can also use the free version of WavePad and use noise reduction. Finally, listen to some good sounding examples of what you want to do and try to get your project to sound like that.
Microphone Choice and Hardware Upgrades
A lot depends on getting the appropriate microphone for the job. Condenser mics are very sensitive, so every sound will come in crystal clear, whether you want it to or not. That's why recording in a sound-treated space is so important with condenser microphones. A dynamic microphone will usually pick up less background noise unless it is a condenser microphone.
- The Samson Q2U is a great value — it's a dynamic mic with USB and XLR connectors.
- For podcasting, the Shure SM7 is one of the broadcast standard mics. Shure is offering the new SM7dB with boom arms and USB adapters for podcasters.
- For recording videos, a good lavalier mic (wired or wireless) allows your hands to be free while you narrate.
- If you're serious about voice acting, drop USB mics and get a legitimate good condenser and a decent interface. The Focusrite Scarlett is great if all you need is a couple of mics for interviews — it comes in a few different models to suit your needs and price point.
- The DBX 286s (also requires an XLR mic and a mixer) can make recordings sound like they were done in an actual studio. It took a while to figure out the right settings, but when finally dialed in, it made a huge difference.
A directional mic is preferred by many because it picks up mainly what you point it directly at, and not a lot of noise from the sides. It is also very valuable to wear headphones — especially until you get the hang of how things work — to pay attention to what sounds you are picking up. Notice what is on the other side of the person you are pointing the mic at, because the mic will pick up whatever is in that direction. If you position your subject so that your mic is not picking up noise behind them, that's a good move. You can also position your mic so that it points past the mouth downward so the person's body is beyond the mic instead of a noise source over the shoulder.