How To Carry Camera In Backpack?
Traveling with a camera in a regular backpack is a common challenge for photographers. Whether you're backpacking for multiple days, taking a city break with carry-on luggage only, or heading out for a day hike, carrying your camera safely in a non-camera bag requires the right approach and the right gear. Here are the most practical methods and products for protecting your camera inside a regular backpack.
When You Might Need to Carry a Camera in a Regular Backpack
- The bag you need to use has a specific niche functionality and purpose for a particular activity — for example, when using a backcountry skiing pack that holds your skis and safety equipment, or a fully waterproof bag for a kayaking trip.
- You only need to carry a minimal amount of camera gear, such as a single camera and lens, amongst a larger amount of non-photographic equipment — for example, when backpacking for multiple days and most of your bag is filled with camping gear, or when flying away for a quick city break with carry-on luggage only.
- Your current non-camera bag has sentimental value and you've been through a lot together.
- You have a limited budget and can't justify buying a big expensive camera bag when you already have a perfectly good bag or backpack.
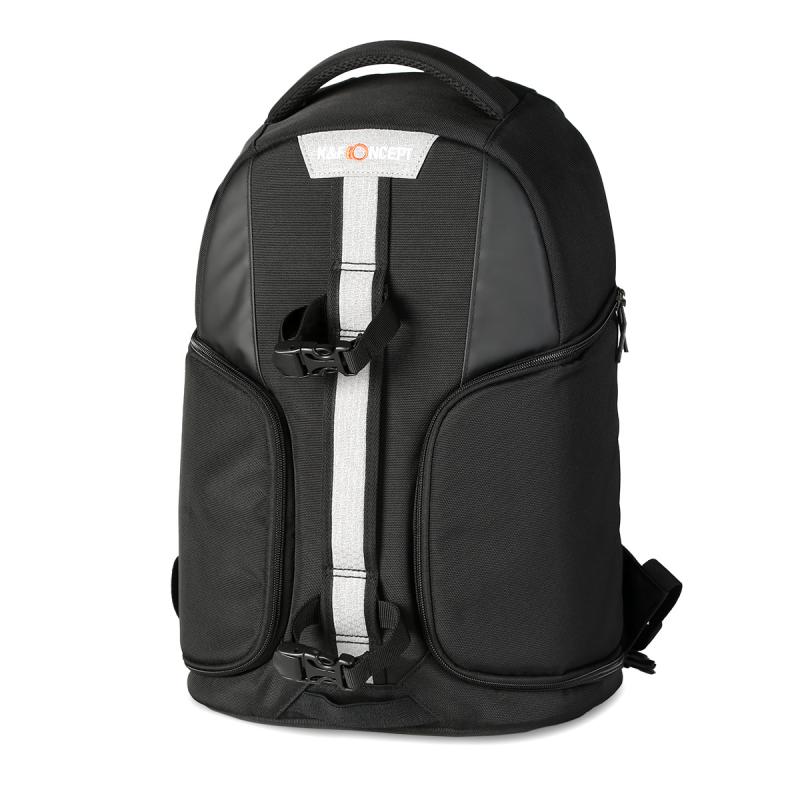
Padded Camera Inserts and Cubes
The best part about using a dedicated camera insert is that it keeps your camera gear together, protected, and easier to access. Without one, your gear would be loosely packed in your bag and more likely to get damaged. Several options are available on the market:
- Think Tank Stash Master
- These are considered the best options for most people looking for a padded camera cube.
- F-Stop ICU (Internal Camera Unit)
- Every ICU has a top handle for easy extraction. If you place the padded cube at the top of your pack, it's little trouble to get your camera. Most large backpacks can accommodate the three smallest ICU sizes — micro tiny, small shallow, and small pro — with the zippered opening facing upwards, allowing fast and easy access to your camera. Those wishing to protect camera gear inside a duffle bag, pelican case, or suitcase will find the large zippered access to the ICUs highly beneficial.
- Shimoda Core Units
- Perhaps the most crucial difference is the lack of top padding on the Shimoda Core Units. While they all come in a removable nylon sleeve to keep gear in the unit, it leaves one side of the cube vulnerable. Packed in a suitcase, pelican case, or duffle bag and surrounded by clothing or other soft items, it's not going to be an issue. In a soft-side hiking pack, it might be.
- Peak Design Camera Cubes
- Despite being cheaper than the F-Stop ICUs, they have more features and feel like a slightly higher-end product. Not only do the cubes open at the top as you would expect, but they also have side openings on both sides, making it possible to use them with a backpack that has a side zipper. Clever origami-style dividers can be folded into shelves to help stack your gear, and an included divider pocket stores batteries and memory cards. There are fewer size options (S, M, L) than the F-Stop or Shimoda ranges.
- Hyperlite Mountain Gear Camera Pod
- This camera pod comes in two different sizes (regular or large). It is made out of a waterproof material, Dyneema® Composite Fabric (DCF), which keeps your camera dry during rain, hail, and snow. It also has an extremely water-resistant zipper. The zipper is positioned at an angle that doesn't face upward toward the sky, so if it rains, water hasn't seeped in. The camera pod weighs just 2.8 oz (regular size) or 3.7 oz (large size). Due to the relatively thin padding offered, it works best when wedging it into your bag amongst softer items such as clothing or a sleeping bag. It is limited to storing your camera with a single lens attached.
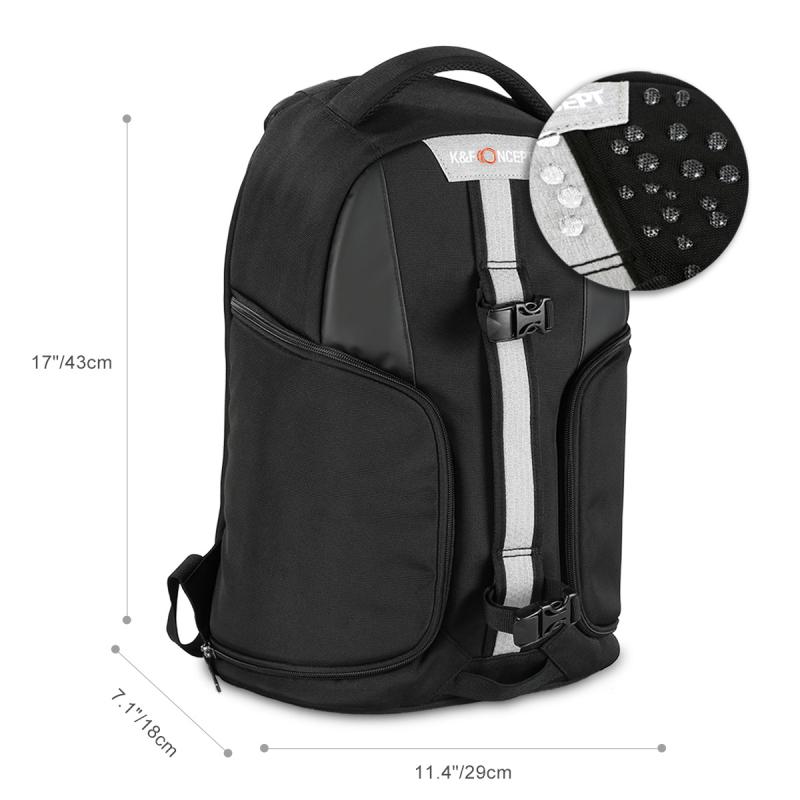
Neoprene Sleeves and Soft Wraps
If you choose not to use a specifically designed camera backpack with padded compartments, you should get a neoprene case or a hard case for your camera and lenses. Neoprene camera cases are available for any sort of camera online, including padded DSLR cases. The neoprene cases will protect your camera fairly well, but they will not protect it from the shock of being dropped. Neoprene cases are also available for individual lenses.
The LensCoat BodyBag and TravelCoat range is another option for when you simply want to drop some camera gear into a bag amongst other equipment without scratching up your lens or camera. The neoprene BodyBag sleeves are available in sizes to suit DSLRs, mirrorless cameras, and pro-sized bodies, either with or without a lens. The TravelCoats are lens-specific.
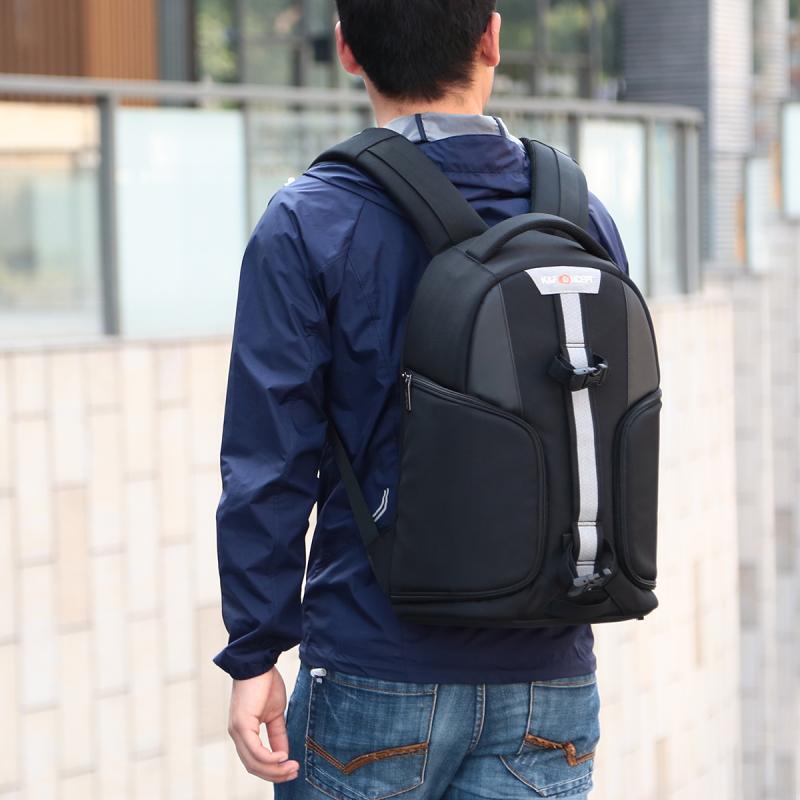
DIY and Budget Solutions
- Wrapping your camera in a t-shirt or towel provides basic padding and is a common approach. An extra shirt or towel works as a perfect wrapper or bedding for your camera.
- Placing the camera in a plastic bag first, then wrapping it in a towel, protects both from bumps and from rain.
- Insulated lunch bags work very well as improvised camera inserts — the insulation provides enough padding and the bag is soft enough to conform to whatever space you have in your backpack. The bags are inexpensive and come in a variety of sizes and shapes.
- For the ultimate camera protection, a small Pelican case, like the Pelican 1120, can be used if you are taking your camera somewhere with the possibility of a complete soaking. The downside of these cases is the bulk and weight, which quickly becomes a problem for larger amounts of camera gear.
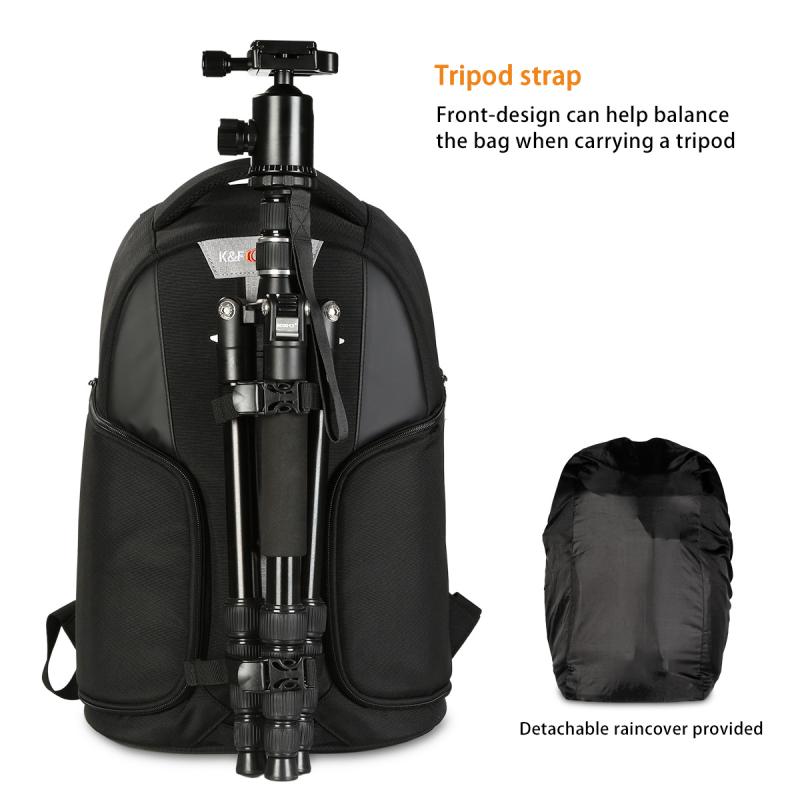
How to Pack a Camera in a Regular Backpack
Once you have your camera gear organized and packed into its camera bag, here are two packing approaches depending on which style of backpack you are using:
- Rear-access backpack: Put the camera pouch in first. Have your camera gear sit towards the bottom of your pack so it's closest to your back from a weight perspective and close to the hip belts so they can support the weight of that gear. Once the camera pouch is packed, add a t-shirt or two to act as some padding, then add your cooking supplies or other gear on top. This lets you unzip the back of the backpack and pull your camera out in one easy action.
- Traditional backpacking bag: Wait to add the camera bag until the end and leave it closer to the top of the pack. Put heavier items like your tent and cooking supplies in first at the bottom, followed by extra clothes and soft goods, then food. Use a puffy jacket to keep the food separated from the back wall of the bag, then place the camera pouch on top of the puffy, pushed as far towards the back of the bag as possible. This keeps heavier items closer to the bottom and your camera accessible near the top.
Lens and Camera Orientation in the Backpack
Carrying the lens pointing down with the camera attached at the top is generally preferred for short trips. For longer trips, separating the camera from the lens is recommended. With a larger lens, the possibility of something twisting in an unexpected way when being carried around is greater. It's always better to carry cameras separate from heavy lenses — carrying a heavy lens on top of the lens mount puts significant strain on the lens connectors. If you have a long telephoto attached to the body and need to put the camera down for a minute, last choice is lens up. The first choice is to lay it flat.
With shorter lenses such as anything up to a 24-120 f/4, keeping the lens attached to the camera body with the lens facing down in a messenger-style bag or lens-on-its-side in a backpack using a camera cube accessed from the side has not caused issues for many photographers. With something longer, like a 100-400, keeping it detached from the camera body when stored in a bag is advisable.
Using Adjustable Dividers Inside the Backpack
- Position every single piece of gear separately inside the large, padded compartment, then install the padded dividers between each item so it fits snugly in its own padded compartment.
- Separating your lenses from cameras allows for more compact packing for extra lenses while protecting those expensive lenses during transport. Store them vertically or horizontally for improved protection and space savings.
- You can also place each lens in loose camera pouches for even more protection while letting you label each lens more clearly.
- To minimize damage to equipment, store smaller items such as loose cords and personal items in separate zippered compartments to avoid things getting lost or scratching your gear.