
How To Upload Youtube Videos From Digital Camera?
Uploading YouTube videos from a digital camera might seem like a daunting task at first, especially if you’re new to video editing and social media platforms. However, the process can be broken down into manageable steps to make it simple and straightforward. If you're looking to share your content with the world but aren't sure where to start, this comprehensive guide will walk you through everything you need to know — from transferring footage from your camera to successfully uploading your videos onto YouTube.
Step 1: Check Your Digital Camera’s Compatibility
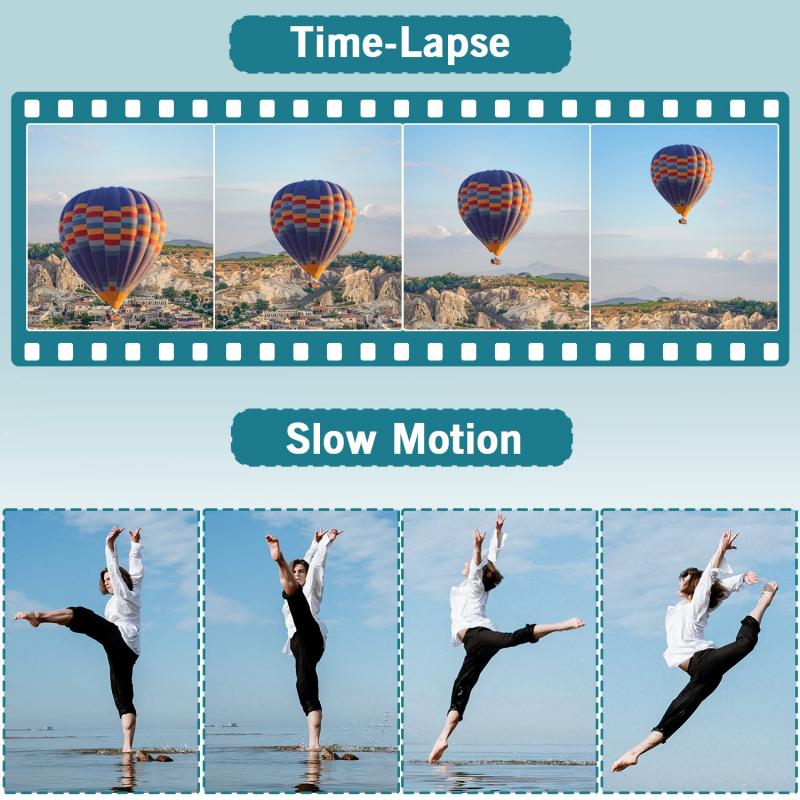
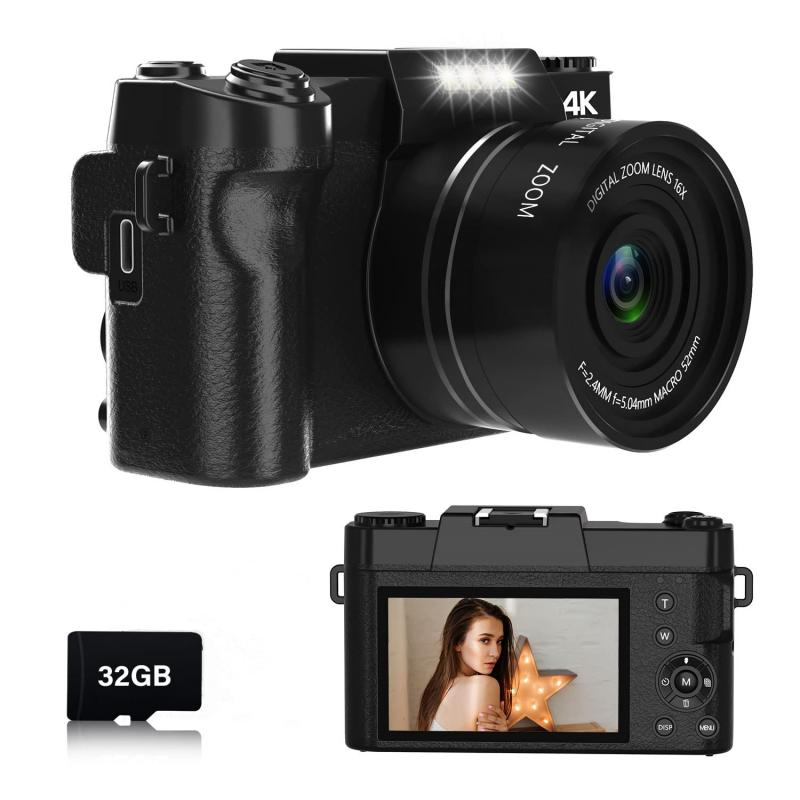
Before you start uploading, ensure that your digital camera is compatible with video recording and supports the format that YouTube requires. Most modern digital cameras record video in MP4, MOV, or AVI, all of which are typically compatible with YouTube. Review your camera settings to confirm the file type and resolution. YouTube supports various resolutions, including 1080p (Full HD) and 4K (Ultra HD), so setting your camera to one of these resolutions will ensure better video quality for your audience.
Step 2: Transfer Video Files to Your Computer
Once you've finished recording your video on your digital camera, you need to transfer the footage to your computer. This process will depend on the type of camera you use, but here are common methods:
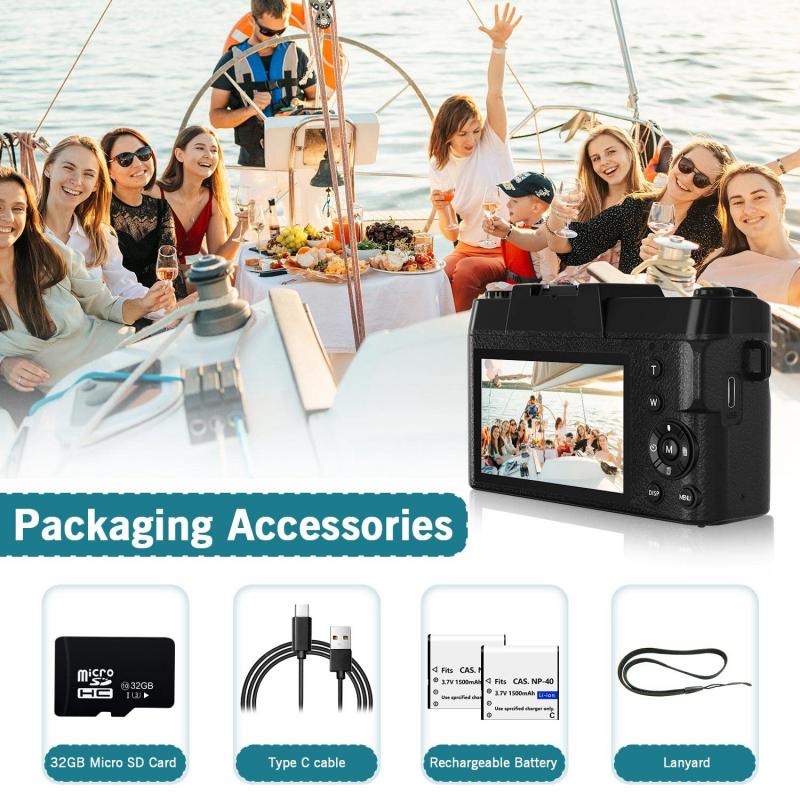
1. Using a USB Cable: Connect your digital camera to your computer using a USB cable. Once connected, the camera should appear as an external device on your system. Open the folder containing the videos and copy the desired files onto your computer.
2. Memory Card Reader: Many digital cameras store files on SD cards. Remove the SD card from your camera and insert it into your computer’s SD card reader. Once the card is detected, locate the folder containing your video files and transfer them to your computer.
3. Wireless Transfer: If your camera supports Wi-Fi or Bluetooth file transfer, check whether it has a mobile app or cloud syncing option. These methods let you transfer files wirelessly to your computer or smartphone.
Make sure to save your videos in a folder where they are easy to find after transferring.
Step 3: Edit Your Video
Raw footage uploaded directly from a camera often needs some editing to look professional and engaging. Editing can involve trimming unnecessary scenes, adding subtitles, transitions, or special effects, and improving audio quality.
1. Choose a Video Editing Software: You can use free editing tools like iMovie (for Mac users), Windows Video Editor, or advanced software like Adobe Premiere Pro or Final Cut Pro. For beginners, software like Shotcut or DaVinci Resolve is user-friendly and feature-rich.
2. Optimize the Content: Focus on creating a captivating introduction to hook viewers instantly. Make sure your video flows naturally and stays relevant throughout.
3. Add Branding Elements: If you’re looking to build a YouTube channel consistently, consider adding branding elements such as a logo, watermark, or outro.
4. Export the Video: After editing, export the video in a format compatible with YouTube, such as MP4. Aim for a resolution of either 1080p or 4K, depending on the original quality of your footage.
Step 4: Set Up Your YouTube Channel
If you don’t already have a YouTube channel to upload your video, you'll need to create one. Here’s a quick guide:
1. Sign in to Your Google Account: YouTube is integrated with Google, and you’ll need a Google account to set up a channel.
2. Create Your Channel: Click on your profile picture in the top-right corner of YouTube, select "Your Channel," and follow the prompts to set up your page.
3. Customize Your Channel: Add details such as a channel name, description, profile picture, and banner art. Take time to format your page so it fits the theme or niche of your content.
Step 5: Start Uploading Your Video to YouTube
Once your video is ready and your channel is set up, it’s time to upload:
1. Log In to YouTube: Open the YouTube website or app and log into your account.
2. Click Upload: Click the camera icon (usually labeled “Create”) at the top-right corner of the screen, followed by “Upload Video.”
3. Drag and Drop Your File: Drag and drop your video file into the upload window or browse to select it from your computer. Ensure you choose the right file — the one you’ve edited for publication.
4. Add Video Details: Fill out the video details, including:
Title: Choose a clear, attention-grabbing title.
Description: Write a detailed description about your video to inform viewers and boost SEO.
Tags: Add relevant keywords as tags to improve discoverability.
Thumbnail: Either let YouTube generate thumbnails automatically or upload a custom thumbnail that best represents your video.
5. Set Privacy: Choose a privacy setting (Public, Private, or Unlisted). To reach the widest audience, select "Public."
6. Publish or Schedule: If you want the video to go live immediately, hit “Publish.” Otherwise, you can schedule it for a later date and time.
Step 6: Optimize Your Video for Better Visibility
Uploading your video is the first step in reaching an audience; the next step is optimizing it so people discover it.
1. SEO-Friendly Content:
- Use keywords in your title and description.
- Add tags relevant to the video topic.
- Include links to other videos or playlists in your description.
2. Engage Your Audience: Encourage viewers to subscribe, like, comment, and share your content.
3. Use Playlists: Group videos on similar topics into playlists to keep viewers binge-watching on your channel.
Step 7: Troubleshooting Common Issues
New creators might face challenges during the uploading process. Here are solutions to common problems:
1. Large File Sizes: If your video file is too large, compress it using software like HandBrake without compromising its quality.
2. Slow Uploads: Upload speeds depend on your internet connection. Try switching to a faster network or uploading during off-peak hours.
3. Format Issues: If your video’s format isn’t compatible with YouTube, use a video converter to change it to MP4 or another accepted format.
4. Copyright Claims: Ensure you own all rights to the video’s elements, such as music or images, to avoid copyright issues.
Final Thoughts
Uploading YouTube videos from your digital camera involves a few essential steps: recording high-quality footage, transferring and editing it, and optimizing it for an audience. With the advent of user-friendly cameras and editing tools, even beginners can create compelling content for their channels. Success on YouTube often comes down to consistency, quality, and understanding what your audience wants. By following this guide, you’ll master the technical aspects of uploading videos and be well on your way to building a thriving YouTube presence. So go ahead, gather some ideas, capture engaging footage, and start sharing your creativity with the world!


 6 Pack Compatible with DJI Avata 2, Drone Accesorries with 28 Multi-Layer Coated")


