How To Make Your Own Bluetooth Earphones?
How to Make Your Own Bluetooth Earphones: A Comprehensive Guide
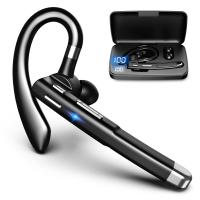
In today’s world, Bluetooth earphones are a staple in our everyday lives. They offer convenience, portability, and a wireless experience for music lovers, audiophiles, and those who enjoy hands-free calls. But what if you could make your own Bluetooth earphones? This article will guide you through the process of creating personalized Bluetooth earphones, from understanding the basic components to assembling everything and troubleshooting along the way. We’ll explore the steps, materials, and tips to help you build a functional and customized pair of Bluetooth earphones.
---
1. Understanding the Basic Components
Before you start, it’s crucial to understand the essential components that make up Bluetooth earphones:
- Bluetooth Module: This is the heart of your earphones. It allows wireless connectivity to your phone, laptop, or other Bluetooth-enabled devices. Common modules for DIY projects include the CSR8635 and Qualcomm QCC3008, which are known for their good audio quality and power efficiency.
- Earphone Drivers: The drivers are responsible for converting the electrical signals into sound. You’ll need high-quality drivers to ensure clear, crisp audio. There are two main types:
- Dynamic Drivers: These are the most common and are usually found in more affordable earphones. They offer good bass response but might lack some detail in the higher frequencies.
- Balanced Armature Drivers: These offer clearer sound and better separation between frequencies, making them a good choice for audiophiles, but they tend to be more expensive.
- Battery: Bluetooth earphones are wireless, so you need a battery to power them. A Lithium-Polymer (LiPo) battery is the most suitable choice due to its small size, light weight, and high capacity.
- Microphone and Control Buttons: The microphone is used for hands-free calling, while the control buttons are for adjusting volume, skipping tracks, or answering calls. Some Bluetooth modules come with an integrated microphone and buttons, but if yours doesn’t, you’ll need to add these separately.
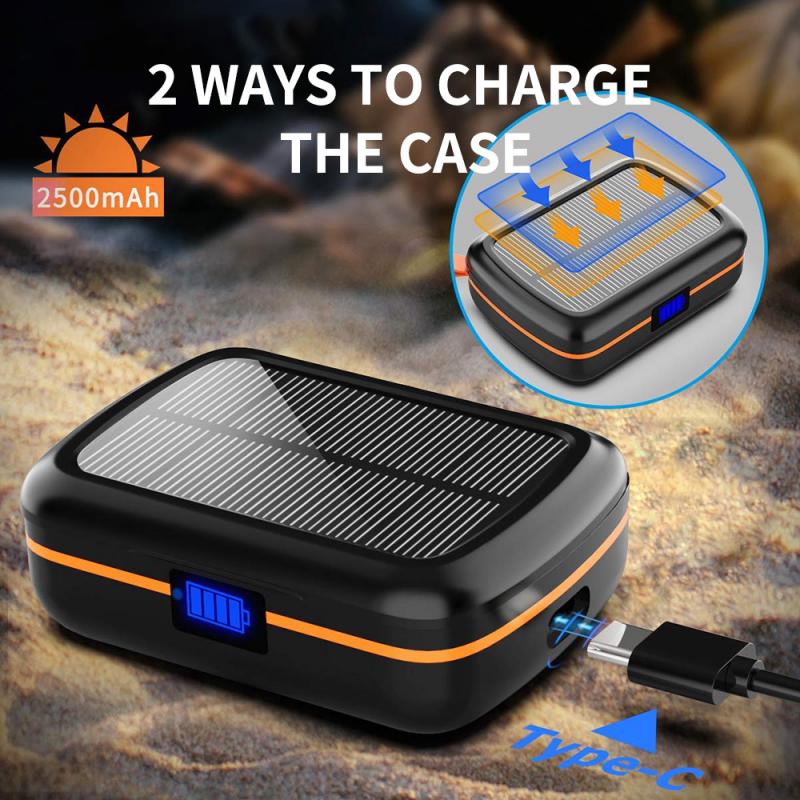
- Charging Port: A micro-USB or USB-C port will be necessary for charging your earphones. This port connects to the battery and allows you to recharge your earphones when the power runs low.
- Enclosure/Design: The outer shell of your earphones serves both protective and aesthetic purposes. It should be lightweight, durable, and comfortable to wear for long periods. You can 3D print a custom design, use a plastic casing, or repurpose old earphone enclosures.
---
2. The Tools You’ll Need
To make your Bluetooth earphones, you'll need a variety of tools and equipment. Here’s a list of what you’ll need:
- Soldering Iron and Solder: A soldering iron is essential for connecting wires, the Bluetooth module, and other components. Use fine-gauge solder and a precision tip for clean, accurate connections.
- Wire Strippers and Cutters: These tools are necessary for stripping the insulation off wires to make electrical connections.
- Tweezers: Tweezers are useful for handling small components like the micro-USB port, buttons, and small wires.
- Hot Glue Gun: This will help you secure the components inside the earphones’ shell and prevent them from moving or rattling.
- Multimeter: A multimeter will help you test the continuity of your circuits and check for any electrical shorts or faults.
- 3D Printer or Plastic Enclosure: A 3D printer allows you to create a custom enclosure for your earphones. If you don’t have access to one, you can repurpose a casing from old earphones.
- Battery Charger Circuit: A charging circuit such as a TP4056 module is essential for recharging the LiPo battery safely.
---
3. Assembly Process
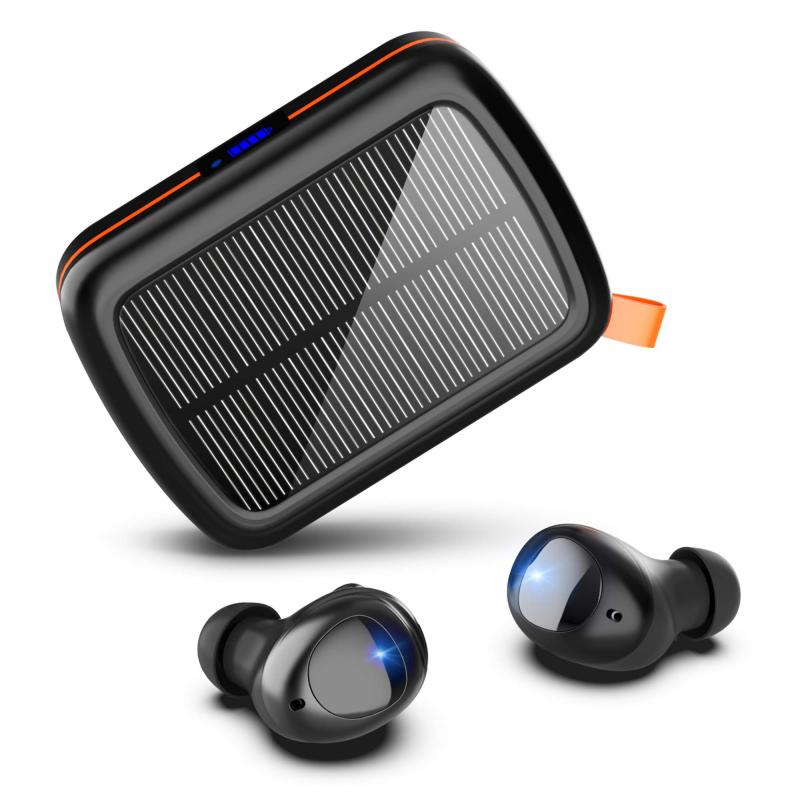
Now that you’re familiar with the components and tools, let’s break down the process of building your own Bluetooth earphones:
Step 1: Design the Circuit
Start by designing the circuit layout that will integrate the Bluetooth module, drivers, battery, microphone, buttons, and charging circuit. If you’re new to circuit design, there are free circuit design software tools like Fritzing that can help you visualize how everything will connect.
You’ll also need to plan where each component will be placed inside the enclosure. The Bluetooth module, microphone, and battery will need secure positions, while the wire connections should be routed in a way that avoids stress or interference.
Step 2: Soldering the Components
Start with the Bluetooth module. Solder the power and data pins to their respective components (such as the battery, earphone drivers, and microphone). For the drivers, make sure the positive and negative wires are connected correctly to avoid phase issues or distortion in the sound.
- Solder the drivers: Use small gauge wires to connect the drivers to the Bluetooth module. This will transmit the audio signal from the Bluetooth chip to the driver.
- Microphone and Buttons: If your Bluetooth module doesn’t have integrated buttons and a mic, you’ll need to solder these in separately. The microphone should be placed near the mouth or in a position that captures sound clearly, while the buttons should be easily accessible for the user.
Step 3: Connect the Battery
The next step is connecting the battery to the Bluetooth module and the charging circuit. The TP4056 charging module is widely used for LiPo batteries and helps ensure the battery is charged safely. Connect the output from the battery to the Bluetooth module and the charging port. Be cautious when handling the battery, as improper connections can lead to overheating or battery damage.
Step 4: Test the Circuit
Once everything is soldered, double-check the connections with a multimeter to ensure there are no short circuits. Power up the Bluetooth module and test the earphones by pairing them with your phone or computer. Test both the audio output and the microphone functionality to ensure everything is working as expected.
Step 5: Enclosure and Assembly
Now that the circuit works, it’s time to assemble the components into the earphone enclosure. If you have a custom-designed 3D print, carefully fit each piece into place. You’ll need to ensure the drivers are securely positioned inside the earphones and that there’s no chance of them moving or vibrating inside the enclosure.
- Secure Components: Use hot glue or silicone to secure the components inside the enclosure. Be careful not to block any vents or audio pathways, as this can affect sound quality.
- Seal the Enclosure: Once the components are secured, carefully seal the earphones. You may need to use screws or snap the parts together, depending on the type of enclosure you have. Make sure everything fits snugly, and the earphones are comfortable to wear.
Step 6: Charging and Final Testing
After assembly, plug in your charging cable and test the charging functionality. Make sure the battery charges properly without overheating. Test the earphones once again, ensuring they connect to your Bluetooth device, produce good sound quality, and have a reliable microphone.
---
4. Troubleshooting Common Issues
Building your own Bluetooth earphones can be a rewarding project, but you may encounter some common issues. Here are some troubleshooting tips:
- No Sound Output: Double-check your soldering connections to ensure the audio path from the Bluetooth module to the driver is intact. Also, ensure the drivers are functioning by testing them with another audio source.
- Weak Bluetooth Signal: If the Bluetooth connection is weak or drops frequently, check for any interference or obstructions. The Bluetooth antenna may not be positioned correctly, or there might be a faulty solder joint.
- Charging Problems: If your earphones aren’t charging correctly, check the connections to the battery and charging module. A faulty LiPo battery or charging circuit can prevent charging.
- Microphone Not Working: If the microphone is not picking up sound clearly, ensure the microphone is correctly connected to the Bluetooth module. Check if there’s any blockage or damage to the microphone.
---
5. Final Thoughts
Making your own Bluetooth earphones is a fun and educational project that allows you to customize your listening experience. With the right tools, components, and a bit of patience, you can build a pair of earphones tailored to your exact needs. Whether you’re looking for enhanced sound quality, a more comfortable fit, or simply want the satisfaction of creating something yourself, this DIY approach offers a rewarding and hands-on way to enjoy wireless audio.
As with any DIY project, the key to success is careful planning and testing. By following the steps outlined above, you’ll be well on your way to crafting your own Bluetooth earphones that are both functional and stylish. Happy building!

