
How To Install Lens Light Filter?
Installing a lens light filter on your camera lens is a straightforward process, but it requires care and attention to ensure that the filter is properly attached and does not damage your equipment. Lens filters are essential tools for photographers, as they can enhance image quality, protect the lens, and allow for creative effects. Whether you're using a UV filter, polarizing filter, or a neutral density (ND) filter, the steps to install them are generally the same. In this article, we’ll walk you through the process of installing a lens light filter, provide tips for proper handling, and address common issues you might encounter.
Understanding Lens Filters and Their Purpose
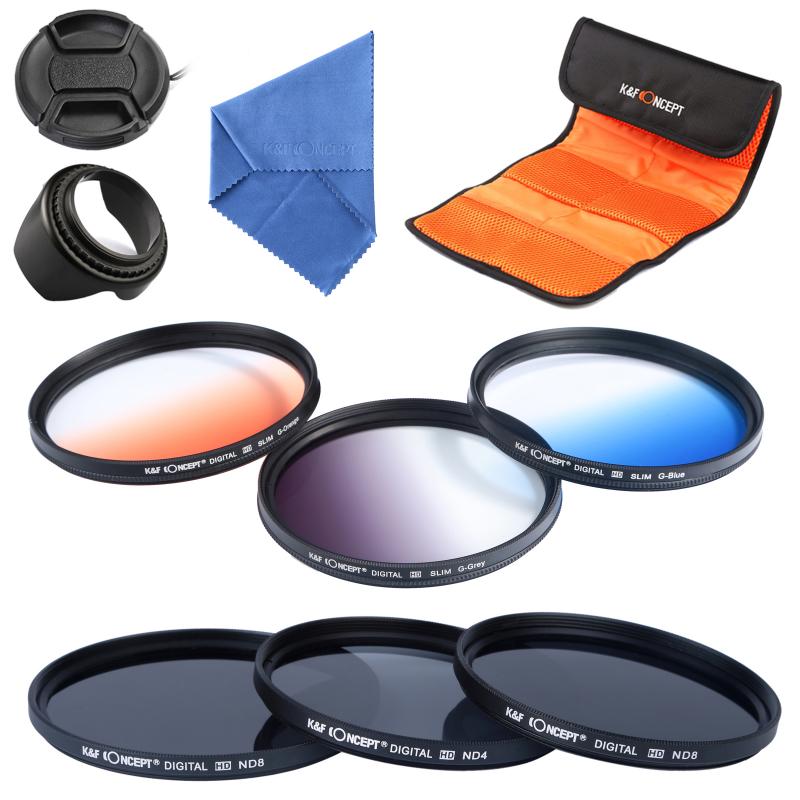
Before diving into the installation process, it’s important to understand why you might want to use a lens filter. Here are some common types of filters and their purposes:
1. UV Filters: These are primarily used to protect the lens from dust, scratches, and smudges. They also reduce ultraviolet light, which can cause haziness in outdoor photography.
2. Polarizing Filters: These reduce reflections from non-metallic surfaces like water or glass and enhance the contrast and saturation of skies and foliage.
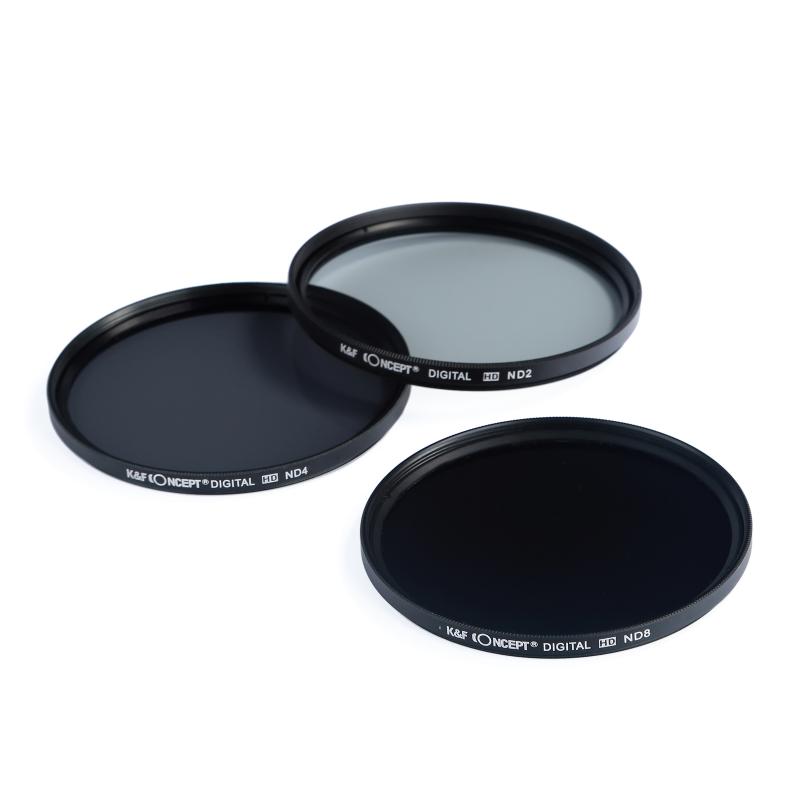
3. Neutral Density (ND) Filters: These reduce the amount of light entering the lens, allowing for slower shutter speeds or wider apertures in bright conditions.
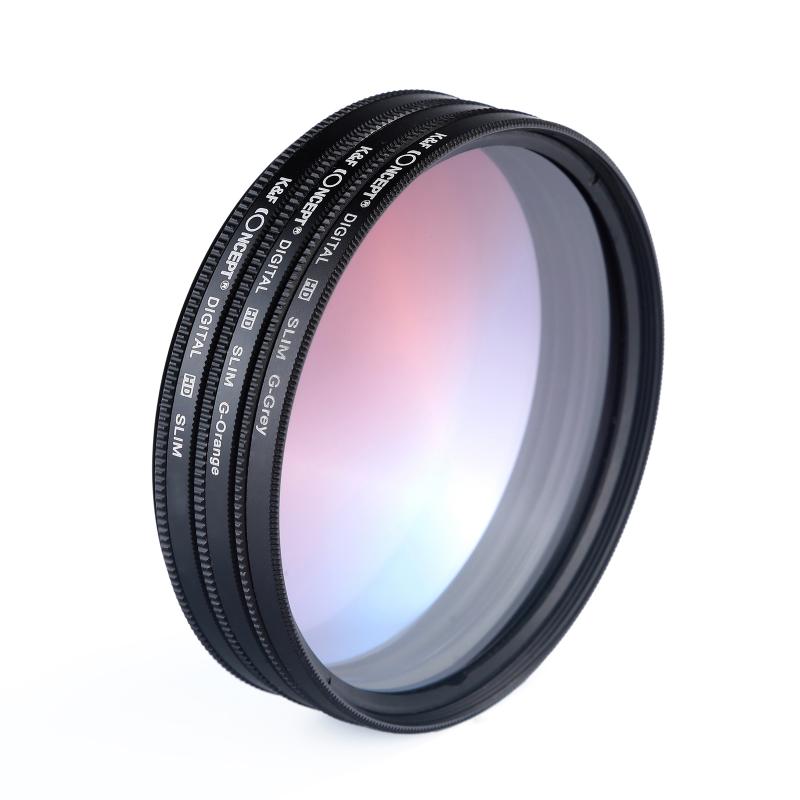
4. Special Effects Filters: These include filters for soft focus, color enhancement, or starburst effects.
Each filter is designed to screw onto the front of your camera lens, and the process of installation is universal across most filter types.
---
Step-by-Step Guide to Installing a Lens Light Filter
Step 1: Check the Filter Thread Size
The first step is to ensure that the filter you’ve purchased matches the thread size of your lens. The thread size is usually indicated on the front or side of your lens and is denoted by a diameter symbol (Ø) followed by a number, such as Ø58mm. This number corresponds to the size of the filter you need.
Step 2: Clean the Lens and Filter

Before attaching the filter, clean both the lens and the filter to remove any dust, fingerprints, or smudges. Use a microfiber cloth or a lens cleaning kit to gently wipe the surfaces. This step is crucial to avoid trapping dirt between the lens and the filter, which could affect image quality.
Step 3: Align the Filter with the Lens
Hold the filter by its edges to avoid touching the glass surface. Align the filter’s threads with the threads on the front of your lens. Most filters are designed to screw on easily, so there’s no need to force them.
Step 4: Screw the Filter Onto the Lens
Gently rotate the filter clockwise (when viewed from the front of the lens) until it is securely attached. Be careful not to overtighten, as this can make it difficult to remove the filter later. The filter should sit flush against the lens without any gaps.
Step 5: Test the Filter
Once the filter is installed, take a few test shots to ensure that it is functioning as expected. Check for any vignetting (darkening of the corners) or other issues that might indicate improper installation.
---
Tips for Proper Handling and Maintenance
1. Avoid Over-Tightening: Filters should be snug but not overly tight. Over-tightening can make removal difficult and may damage the threads on your lens or filter.
2. Use a Filter Wrench if Necessary: If a filter becomes stuck, a filter wrench can help you remove it without damaging the lens or filter.
3. Stack Filters with Caution: While it’s possible to stack multiple filters, doing so can increase the risk of vignetting, especially on wide-angle lenses. Use stacking only when necessary.
4. Store Filters Properly: When not in use, store your filters in a protective case to prevent scratches and dust accumulation.
5. Check for Compatibility with Lens Hoods: If you use a lens hood, ensure that it fits properly with the filter attached. Some filters may interfere with the hood’s installation.
---
Troubleshooting Common Issues
Issue 1: Filter Won’t Screw On
If the filter doesn’t screw on easily, check the threads on both the lens and the filter for damage or debris. Clean the threads with a soft brush or cloth and try again. If the threads are damaged, you may need professional repair.
Issue 2: Filter is Stuck
If a filter becomes stuck, avoid using excessive force to remove it. Instead, use a filter wrench or a rubber band for extra grip. Applying gentle, even pressure is key to avoiding damage.
Issue 3: Vignetting
If you notice dark corners in your images, it could be due to the filter’s thickness. This is more common with wide-angle lenses. To resolve this, consider using a slim-profile filter designed for wide-angle photography.
Issue 4: Image Quality Issues
If your images appear hazy or have unwanted reflections, the filter may be dirty or of low quality. Clean the filter thoroughly and consider investing in a high-quality filter from a reputable brand.
---
Why Proper Installation Matters
Installing a lens filter correctly is not just about protecting your lens; it also ensures optimal image quality. A poorly installed or dirty filter can introduce unwanted artifacts, reduce sharpness, or cause color shifts. By following the steps outlined above, you can avoid these issues and make the most of your lens filter.
---
Frequently Asked Questions
Q: Can I leave a UV filter on my lens all the time?
A: Yes, many photographers leave a UV filter on their lens permanently as a protective measure. However, some argue that it can slightly reduce image quality, so it’s a matter of personal preference.
Q: Do I need a filter for every lens I own?
A: Ideally, you should have a filter for each lens, especially if they have different thread sizes. Alternatively, you can use step-up or step-down rings to adapt filters to lenses with different thread sizes.
Q: Are expensive filters worth the investment?
A: High-quality filters from reputable brands often provide better optical performance and durability. Cheaper filters may introduce unwanted reflections, color casts, or other issues.
Q: Can I use a filter with a lens cap?
A: Yes, most lens caps are designed to fit over filters. However, ensure that the cap is securely attached to avoid accidental detachment.
---
Installing a lens light filter is a simple yet essential skill for any photographer. Whether you’re using a filter for protection, creative effects, or technical adjustments, proper installation ensures that you get the best results from your equipment. By following the steps and tips outlined in this guide, you can confidently attach and use lens filters to enhance your photography. Remember to handle your filters with care, keep them clean, and invest in quality products to achieve the best possible image quality.


 (Shipping only available to the UK, AU)")

 Ring Light with 78.7 inch (200cm) Tripod and Phone Holders, 3 Color Modes, Bluetooth Remote Control Photography Lighting (Only Ship to US)")


")
 Variable ND Lens Filter Neutral Density Filter for Camera Lens NO X Spot Nanotec Ultra-Slim Weather-Sealed")


