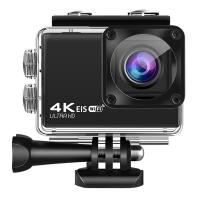
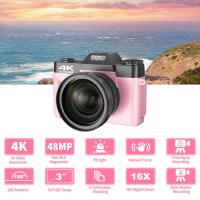
How To Record Video For Action Camera?
getting started: initial setup
unboxing and identifying all components and accessories
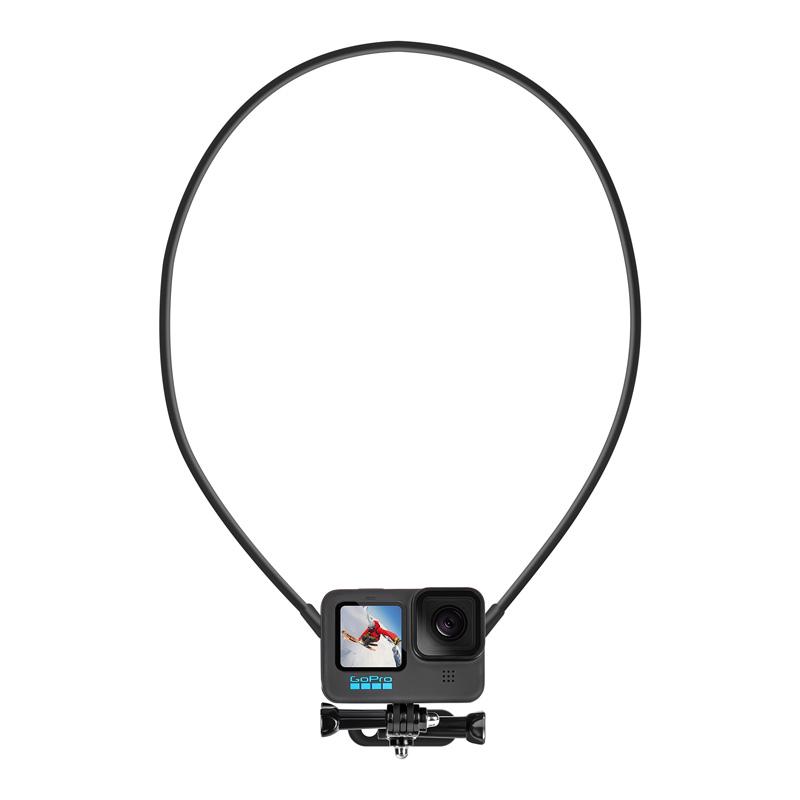
unbox your hd action video camera and lay out all the components to ensure you have everything you need. verify that you have the following:
- the camera itself
- battery
- charger or charging cable (usually usb)
- memory card (if included)
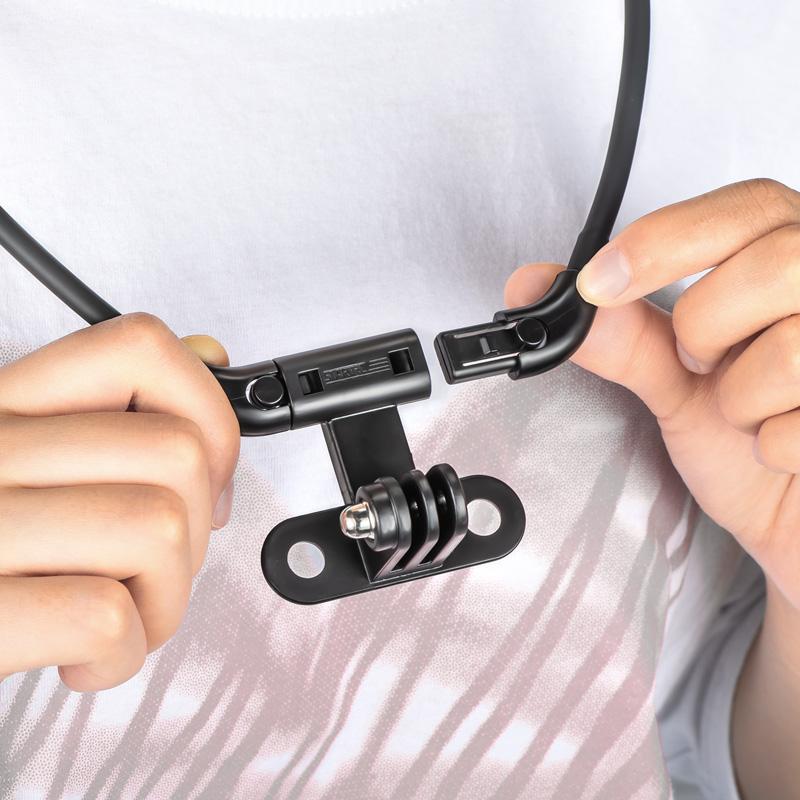
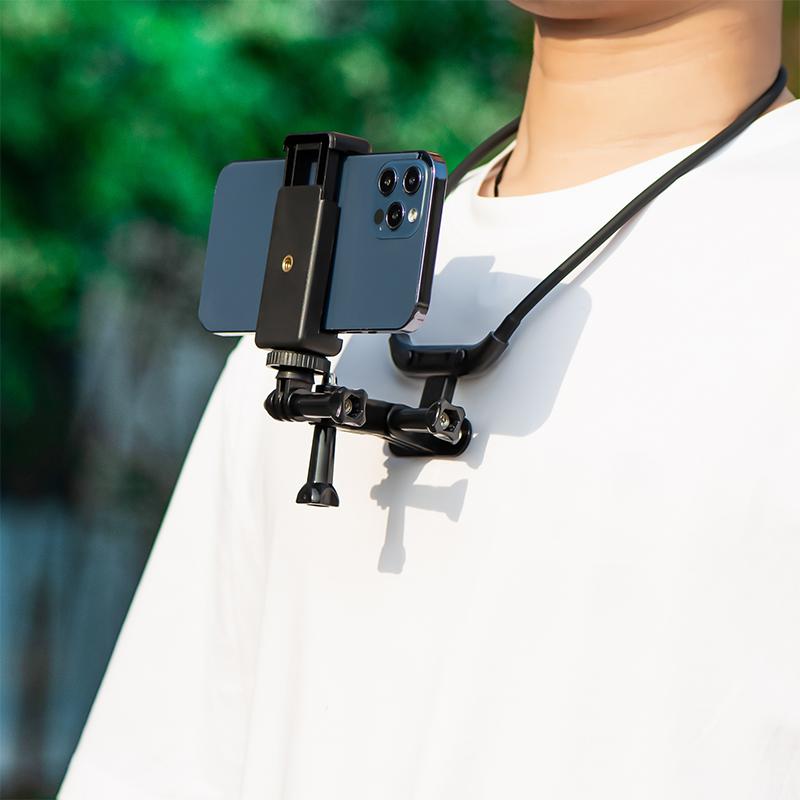
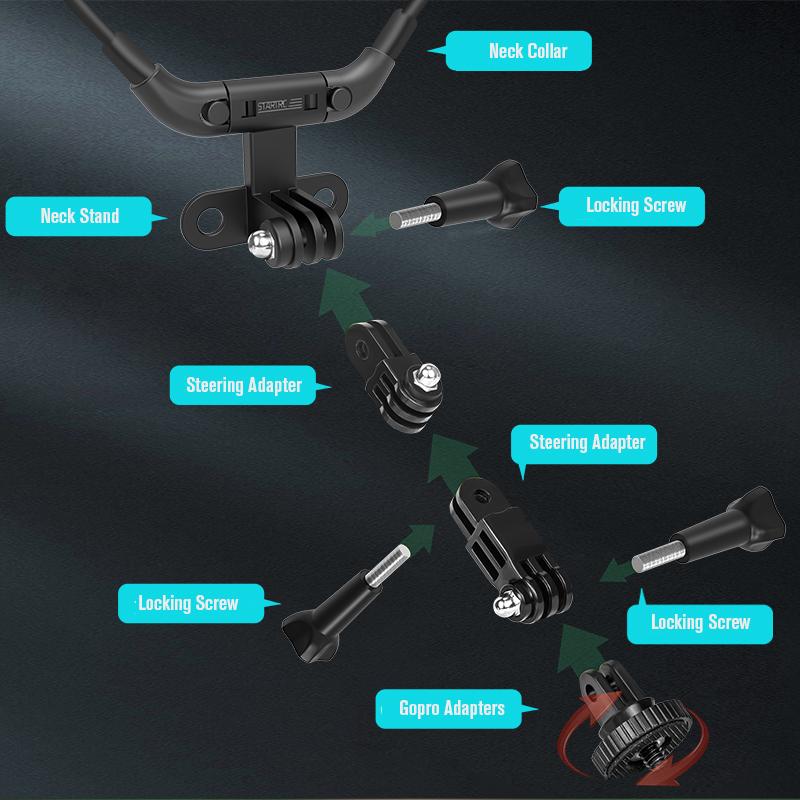
- mounting accessories (e.g., adhesive mounts, clamp mounts)
- user manual and quick start guide
it’s essential to ensure no component is missing or damaged. once verified, you are ready for the next step.
charging the battery for first use
before turning on your camera, charge the battery fully. this ensures you have enough power for the initial setup and testing. follow these steps:
- insert the battery into the camera.
- connect the charger or usb cable to the camera.
- plug the charger into a power outlet or connect the usb cable to a powered device.
- allow the battery to charge fully. this usually takes a few hours.
most cameras display a charging icon or have indicator lights to show charging progress. make sure it reaches a full charge before unplugging.
inserting and formatting the memory card
your camera needs a memory card to store videos and photos. follow these steps:
- locate the memory card slot on your camera.
- insert the memory card until it clicks into place.
- power on the camera.
- navigate to the settings menu and find the “format” option.
- select “format” and confirm. this prepares the memory card for use with your camera.
formatting the card ensures compatibility and maximizes storage efficiency. now, your camera is ready to capture high-quality action footage.
basic camera controls
understanding power button and mode switching
turning on your hd action video camera is the start of your adventure. begin by locating the power button, usually placed prominently on the side or top of the camera. press and hold the power button for a couple of seconds until you see the startup screen. many cameras also have led indicators that light up when the power is on.
switching between modes is straightforward. most cameras come with a dedicated ‘mode’ button, allowing you to cycle through video, photo, and playback modes easily. pay attention to the on-screen indicators, which will confirm the mode you are currently in.
navigating through menu options and settings
once powered up, familiarize yourself with the menu system. access the menu by pressing the menu or settings button, typically marked with a gear icon. use the directional buttons to scroll through the options. the menu may include settings for video resolution, photo resolution, and system setup.
navigating the menu can be intuitive, but take your time to explore each section. when in doubt, refer to the user manual for specific instructions related to your model. ensuring that you understand these options will optimize your camera settings based on your usage needs.
learning essential button functions and shortcuts
each button on your camera is designed for efficiency. apart from power and mode buttons, most cameras feature quick access buttons for video recording, photo capture, and playback. for instance, pressing the record button instantly starts or stops video recording. a dedicated button might facilitate easy switching between different resolution settings without entering the menu.
learning these shortcuts can significantly enhance your shooting experience. many cameras also allow you to customize button functions to suit your preferences. look into the “custom settings” or “shortcut settings” in the menu, and set up your camera to function in the most convenient way for you.
mastering these basic controls will give you the confidence to operate the camera effectively and reduce time spent fiddling with settings during crucial moments.
video recording modes
setting up 1080p at 30fps for optimal quality
you’re now familiar with the basic controls of your hd action video camera. let’s dive into video recording modes, starting with setting up 1080p at 30fps. this resolution and frame rate are ideal for capturing high-quality videos with smooth playback.
- power on your camera and navigate to the main menu.
- select the video settings option.
- choose 1080p resolution.
- set the frame rate to 30fps.
this configuration balances excellent video quality with manageable file sizes, perfect for most recording needs.
exploring different recording modes
your hd action camera offers various recording modes to experiment with:
- creating a fast-motion effect when played back.
- slow-motion: records at a high frame rate, allowing playback at slower speeds for dramatic effect.
to switch modes, go to the recording mode menu and select the desired option. experiment to see which mode best suits your activity.
understanding resolution and frame rate options
beyond 1080p at 30fps, your camera supports various resolutions and frame rates:
- 4k at 60fps: ultra hd resolution with smooth playback, ideal for high-action scenes.
- 720p at 120fps: lower resolution with very high frame rate, perfect for capturing slow-motion footage.
understanding these options helps you choose the best setting based on your recording needs and storage capacity.
your camera settings are now optimized for capturing great videos. up next is enhancing the quality even further with specific camera settings.
camera settings optimization
adjusting exposure and white balance settings
your footage will look professional if you adjust your camera’s exposure correctly. it’s also crucial to set the white balance settings appropriately. begin by accessing your camera’s menu and locating the exposure settings. here, you can manually set the exposure to account for different lighting conditions you’ll be filming in. typically, darker scenes need higher exposure, and brighter scenes require lower exposure.
white balance settings are equally important. these settings allow you to adjust the color temperature in your videos, making sure whites appear true and colored subjects are correctly balanced. most cameras offer presets like sunny, cloudy, tungsten, and fluorescent. select the one that matches your shooting environment or manually fine-tune using the kelvin option for greater control.
configuring field of view and stabilization options
next, let’s look at configuring the field of view (fov) and stabilization options. the fov determines how much of the scene is captured in your frame. a wide-angle view is great for capturing action scenes and landscapes, while a narrow view is useful for focused subjects and minimizing distractions.
stabilization is crucial, especially in action-packed scenarios. modern hd action cameras generally come with electronic image stabilization (eis) or optical image stabilization (ois). enabling stabilization helps reduce shakiness, resulting in smoother footage. make sure to turn this feature on from the menu settings for optimal results.
setting up audio recording preferences
lastly, don’t forget about your audio settings. audio quality can significantly impact your video’s overall production value. navigate to the audio recording preferences in the menu. here you can adjust the microphone sensitivity and ensure that wind noise reduction is enabled if you’re filming outdoors. some cameras also allow you to attach external microphones for better audio capture.
by rightly configuring these settings, you’ll be well on your way to capturing crisp, clear, and professional-looking footage that engages and impresses your audience.
action camera placement for recording
that's going to depend on the camera's field of view (which is typically very wide) and what sort of framing you want. most fitness videos i've seen are head to toe, with extra headroom for when you're doing things like dumbell presses, jumping jacks, or any activity where your hands are overhead.
no one can answer this question for you, just try it out by doing a test shot. review the recording to see if the camera is too far away or too close. adjust and repeat the process until you get a result you are happy with.
many action cameras will connect to a phone so you might not even need to record/review. just connect your phone and move the camera around until you’re happy with it.
nobody can just give you a number.
you need to experiment with placement until you get the coverage and angle you need based on what fitness routine you plan to perform.
far more important is going to be what kind of background you have to shoot and have you got enough light?
storage and battery management
efficient storage and battery management are key to maintaining optimal performance for your hd action video camera. this chapter covers everything you need to know about keeping your camera powered up and making sure you have enough space to store your amazing footage.
backing up and transferring footage
secure your footage and free up camera storage by following these steps:
- back up your files: use external hard drives or cloud storage solutions to store your videos safely.
- transfer files efficiently: utilizing high-speed card readers can expedite the transfer process, saving you valuable time.
recording while charging
yes it is possible. it may depend on the model of action camera you have
many model of cation camera should let you capture video while usb power source is plugged in.
all of my action camera can record while plugged with usb. so at least in my case, i had used my action camera while it was plugged with usb power source to do long recording.
but you have to consult your camera’s manual to see if your action camera can be used while usb is plugged in, or you need other battery adapter to do it.