What To Use A Microscope For?
what is a microscope used for?
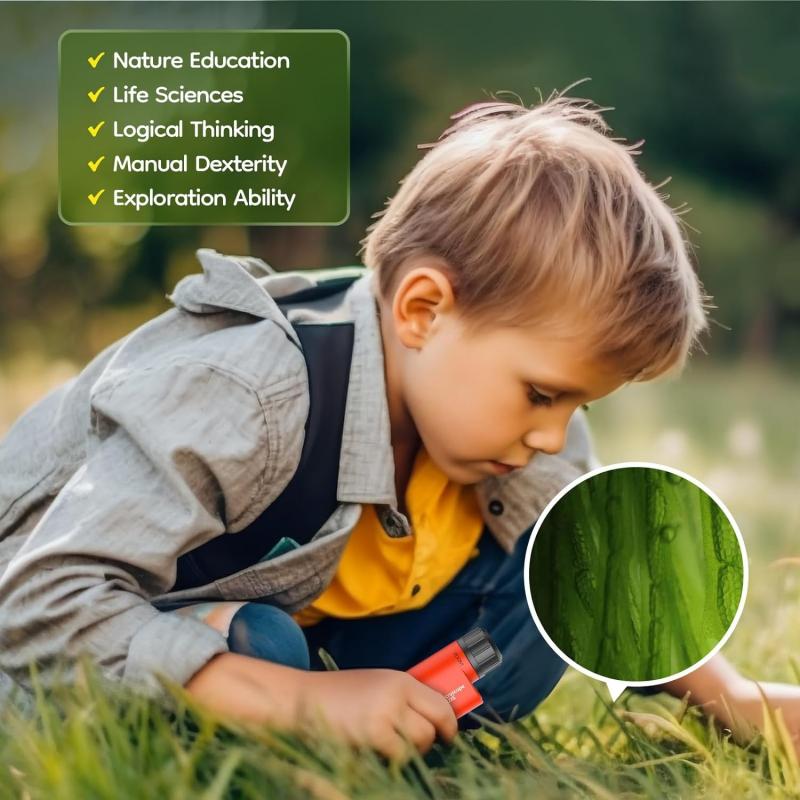
microscopes are used to magnify and observe tiny objects, organisms, and structures that are too small to be seen with the naked eye, allowing scientists and students to explore and understand the microscopic world.
a microscope is an instrument that can be used to observe small objects, even cells. the image of an object is magnified through at least one lens in the microscope. this lens bends light toward the eye and makes an object appear larger than it actually is.
instrument used to view very small objects by making them appear larger.
purpose of a microscope in scientific discovery
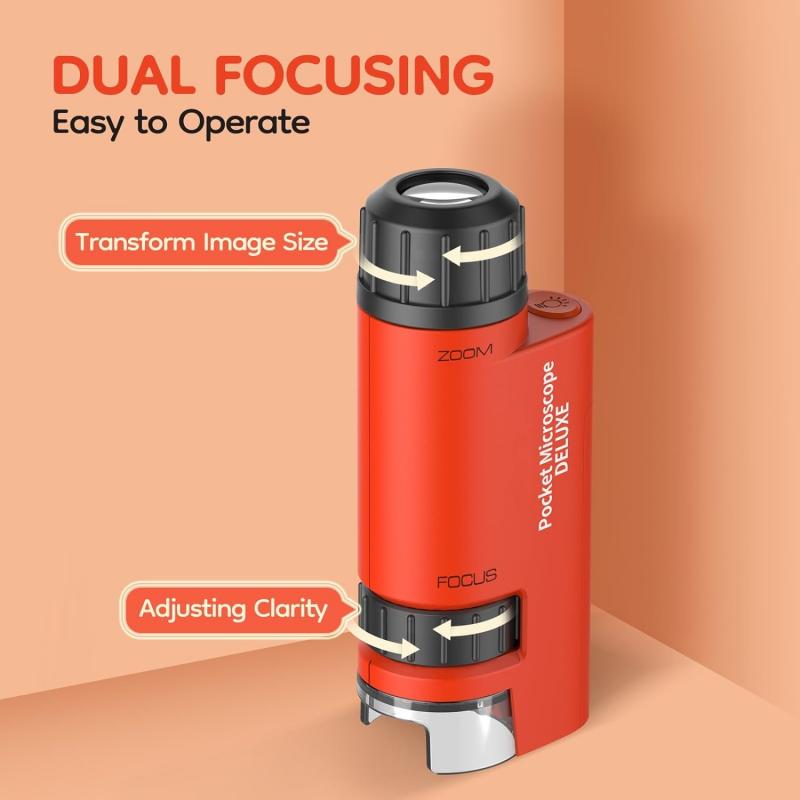
light microscopes are essential scientific instruments that allow us to see objects too small for the naked eye. these powerful tools use a series of lenses to magnify tiny specimens, revealing intricate details of cells, microorganisms, and tiny structures that would otherwise remain invisible.
in a typical light microscope, light passes through or reflects off a specimen, travels through objective lenseseyepiece lenses that further enlarge the image. this enables students and scientists to observe specimens at magnifications typically ranging from 40x to 1000x, opening up an entirely new world of observation.
by making the invisible visible, microscopes have allowed scientists to develop cell theory, understand disease-causing microorganisms, and make countless discoveries that have advanced human knowledge.
objects or specimens typically examined with a light microscope
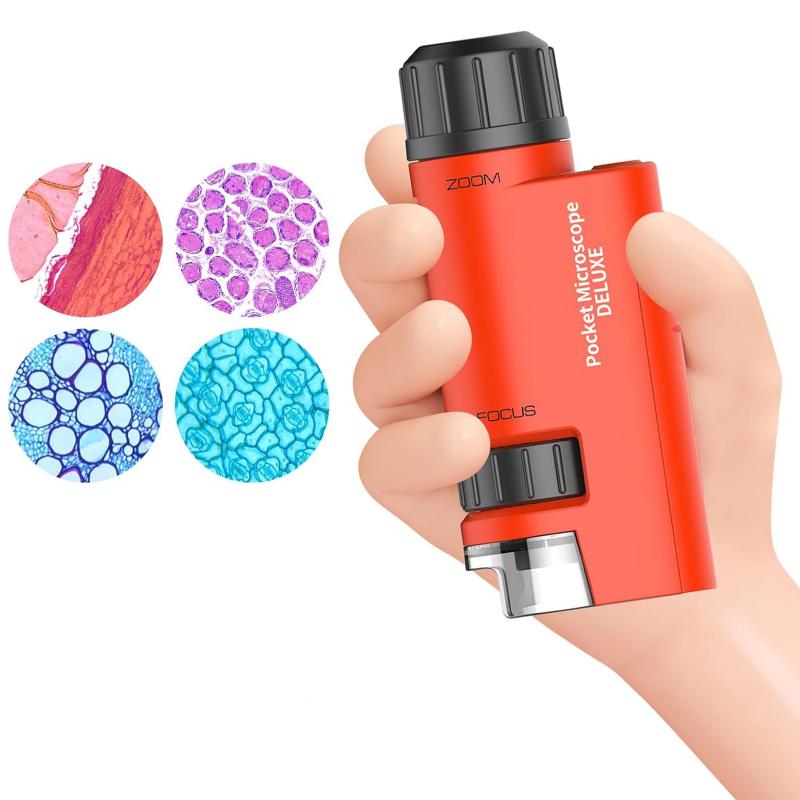
- light microscopes are versatile tools used to examine a wide variety of specimens.
- students commonly use them to view prepared slides of plant and animal tissues, revealing cellular structures like cell walls, nuclei, and chloroplasts.
- they're perfect for observing microorganisms in pond water samples, including algae, amoebas, and paramecia.
- blood smears can be examined to see different types of blood cells.
- other common specimens include insect parts, textile fibers, thin sections of rocks and minerals, and even everyday items like salt crystals or human hair.
- the light microscope is ideal for viewing any specimen that is thin enough for light to pass through or that can be illuminated from above.
stereo microscope uses
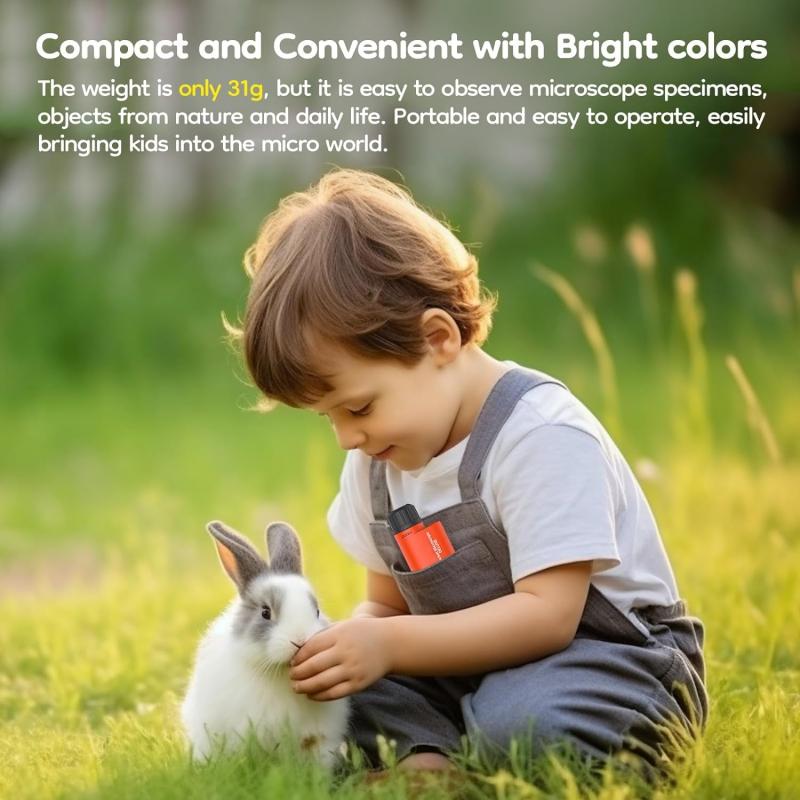
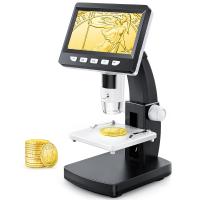
it depends on which type of microscope you get. a stereomicroscope is the easiest to use and is best for looking at things like flowers, insects, your fingerprints, coins, jewelry, rocks and crystals, etc.
- in this type, the lens is far enough above the specimen you can get your fingers or forceps under there to manipulate objects you’re viewing.
- the light comes from above, so you can view large opaque objects with this kind of microscope.
- you can’t see individual cells or microorganisms with this type of microscope—they’re too small.
the dissecting microscope provides a lower magnification than the compound microscope, but produces a three-dimensional image. this makes the dissecting microscope good for viewing objects that are larger than a few cells but too small to see in detail with the human eye.
compound microscope uses
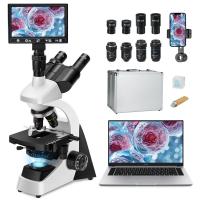
a compound microscope is the type one may be most familiar with from high-school or college biology labs. this is the type with which you put a specimen on a slide, usually put a coverslip on it, dial the nosepiece to select the magnification you want, and the lens comes close to the slide.
- this is best for viewing the little organisms in pond water, bacteria, thin-sliced tissues, etc.
- anything you view with a compound microscope has to be transparent enough for light to shine through from below.
- with a compound microscope you need to plan on buying some slides and coverslips.
- the compound microscope is typically used for observing objects at the cellular level.
compound microscopes can have up to four objective lenses of different magnifications, and the microscope can be adjusted to choose the magnification that best suits the viewer’s needs.
things to look at under a microscope
- you could grow certain crystals, macro organisms, metallography, spores, look at your own dna, even looking at a newspaper can be interesting.
- growing crystals and using polarized light to image can be gratifying.
- if you like photography, microphotography might be for you. the challenge would be to get nice looking pictures of microscopic structures, which can be as challenging as you want it to be.
- if you get into micro-photography seriously, an entire world of technology will unfold, so you should be interested in the physics and engineering of microscopes.
- i used one of mine last night to repair some teeny tiny electronics.
- go to a pond - take some water out. even at lower power 40 - 100x the different life forms are amazing
- swab your finger with alcohol, swab a small sewing needle, too - tiny stick to your finger - the different cells in your blood become clear.
- feathers, leaves, small insects at low power are incredibly detailed.
ok, fingernails have a lot going on..but, printed paper, weaving hold tight. leaves are awesome, and useful to know what the plants are doing, if you’re a gardener, pollen sacks, flower buds, and even bugs or butterflys are crazy. have unique textures, especially with a stereo reflector, just using sunlight.
there are some nice loupes that have led lites built in, that will work for rocks, if you like geology or paleontology, with a hammer and trowel you might find some ancient (little) life forms, frozen into rocks? this has always amazed me.
there are nice sample kits already mounted. water life is a bit harder as you need to mount slides with cover and illuminator, icky, though. (aka normal microscope).
experiments and research with a microscope
- you can play around with altering light from the source to get dark field, rhineberg, oblique and any combination of those to get better resolution in your images and a different perspective
- beyond that on the experiment side you can come up with hypotheses on where certain organisms wouldn’t be
- or expose certain microbes to fertilizers and other pollutants at different concentrations to see how that plays a role in the ecosystem you sample from
- there’s lots to do, don’t be discouraged by how much you know!
there may be some citizen science possibilities out there too
a microscope let’s you see on a size scale that is foreign to the everyday perspective. with that novel perspective you can engage in science, engineering, visual arts, and i have even seen some people produce music with very specialized microscopes.
the thing about it is really finding out how the microscopic world can extend what you already think of as fun and show you depths to whatever entertain you have been engaged in.
as an example, if what you are doing for fun is watching tv, i would at least start with probing the pixels of your chosen medium to uncover how your favorite directors have utilized color and dynamic range to deliver the experience you enjoy.
microscopy in microbiology lab
the microscope is absolutely essential to the microbiology lab: most microorganisms cannot be seen without the aid of a microscope, save some fungi. and, of course, there are some microbes which cannot be seen even with a microscope, unless it is an electron microscope, such as the viruses.
you will be using an assigned light microscope for a variety of lab exercises through the semester, everything from viewing pond water to identification of your unknown bacterium. therefore, it is extremely important that you understand how to use the microscope effectively and how to use different types of microscopy—-brightfield, phase-contrast, and darkfield.
phase-contrast and darkfield microscopies are used for wet mounts, whereas brightfield can be used for both wet mounts and stained specimens.
you will also get your first exposure to the preparation of a bacterial smear and subsequent staining of it. however, you are making a simple stain, using only one dye. everything on the slide will be the same color, but you can distinguish among shapes, sizes, and arrangements of bacteria.
prepare a wet mount of pond water
- go down into the algae and muck to get a really good sample of protozoa and algae if possible.
- focus on the sample using 10x, then go to 40x (not 100x).
- start with brightfield, then switch over to darkfield and phase-contrast (see directions below).
- practice with the microscope, changing condensers settings, using different lenses.
- it is not important to identify protozoa or algae.
prepare a smear and simple stain of the material between your teeth
- take a sterile toothpick, remove some solid material between your wisdom teeth, and mix it into a drop of water so that you have a suspension spread over the middle third of the microscope slide. no cover slip used!
- let the slide air-dry.
- heat-fix the dry smear by running the slide quickly through the flame a few times. if your fingers get hot, you have heat-fixed too much.
- place the slide on the wire over the stain tray. flood the smear with crystal violet: let sit for 1 minute.
- wash the slide well with distilled water. blot the smear slide with your bibulous paper pad.
- focus on the sample using the 10x lens(be sure that you are on brightfield microscopy): you should see masses of purple material, most of it too small to see.
- identify the various shapes and arrangements of bacteria in your mouth. most of them will be bacillus-shaped or coccus-shaped, but it would not be uncommon to see some spirilla.
- notice the arrangements of the bacteria—pairs, clusters, chains?
look at prepared bacterial smears
- since these are bought stained smears, cover slips are on them.
- you still use oil on them with the oil-immersion lens.
- be sure to remove any oil before replacing them on the trays.
light microscope examples
- students can observe bacteria and protists moving in drops of pond water.
- light microscopes allow students to study the intricate patterns on insect wings, or analyze the crystalline structures of minerals.
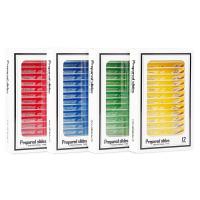
- prepared slides of plant and animal tissues
- microorganisms in pond water samples, including algae, amoebas, and paramecia
- blood smears
- insect parts, textile fibers, thin sections of rocks and minerals, and even everyday items like salt crystals or human hair