How To Set Up Lighting For Video Conferencing?
The rise of remote work and virtual communication has made video conferencing an essential part of daily life. From team meetings to client presentations, your on-screen presence matters more than ever. One of the most crucial yet often overlooked aspects of a professional and engaging video conference is lighting. Poor lighting can make you appear unprofessional, while optimal lighting enhances your appearance and creates a more engaging environment for your audience.
In this article, we’ll explore practical techniques for setting up effective lighting for video conferencing. Whether you’re a beginner or looking to refine your setup, this guide will help you create a polished and professional appearance.
---
The Importance of Proper Lighting
Lighting directly affects how you appear on camera. Poor lighting can result in shadows, harsh highlights, or a dull image. Proper lighting:
- Enhances Visibility: Ensures your face is well-lit and visible.
- Improves Camera Performance: Provides adequate light for your webcam to capture crisp, high-quality images.
- Conveys Professionalism: Creates a polished, inviting, and credible presence.
- Reduces Eye Strain: Balanced lighting minimizes strain for both you and your audience.
---
Key Considerations for Video Conferencing Lighting
Before diving into specific setups, it’s essential to understand the core principles of good lighting:
1. Positioning: The light source should be in front of you and slightly above eye level to avoid unflattering shadows.
2. Diffusion: Harsh light creates stark shadows and highlights. Use diffused lighting for a softer, more natural look.
3. Temperature: Stick to neutral or slightly warm light (around 3,500K–4,500K) to replicate natural daylight.
4. Balance: Avoid mixing light sources of different colors (e.g., natural daylight with warm incandescent light) as it can create inconsistent skin tones.
---
Step-by-Step Guide to Setting Up Lighting
1. Assess Your Environment
Start by evaluating your space. Look for:
- Natural Light: Position yourself near a window for even, soft light. Avoid sitting with your back to the window, as this creates a backlit effect.
- Existing Light Sources: Identify any overhead or side lighting that might cast shadows.
2. Choose the Right Lighting Equipment
You don’t need expensive equipment to achieve great lighting. Consider these options:
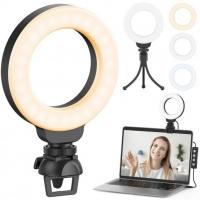
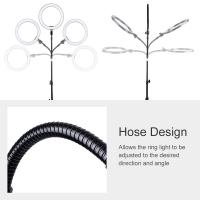
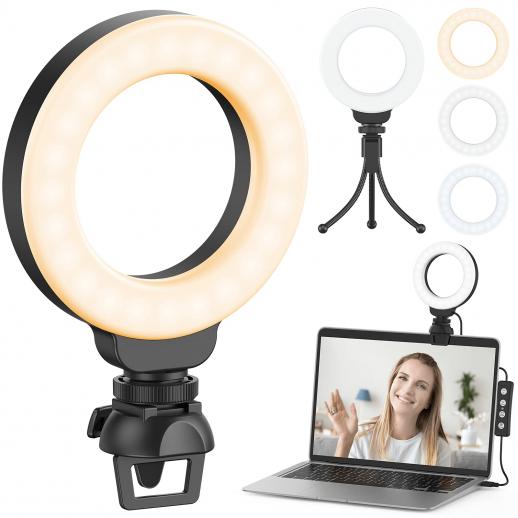
- Ring Lights: These are affordable and effective, providing even illumination that reduces shadows. Place it directly in front of you at eye level.
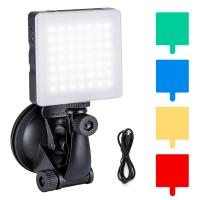
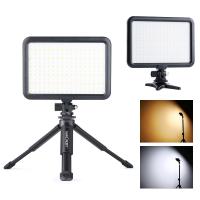
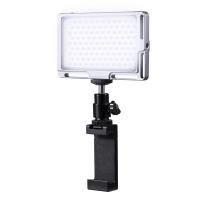
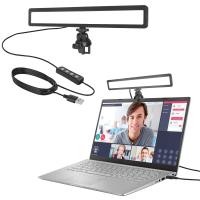
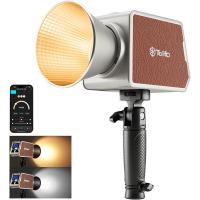
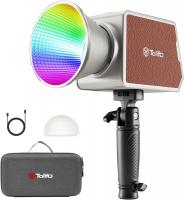
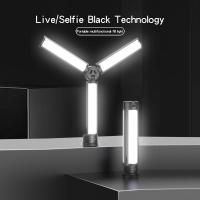
- LED Panels: Adjustable LED lights offer control over brightness and color temperature, making them versatile for various settings.
- Desk Lamps: Inexpensive desk lamps can be positioned and diffused to create professional lighting.
- Natural Light Enhancers: Use sheer curtains to soften natural light and avoid harsh direct sunlight.
3. Set Up Your Lighting
For an ideal lighting setup, use the three-point lighting technique:
- Key Light: The primary light source, placed in front and slightly to the side of your face. A ring light or LED panel works well here.
- Fill Light: Positioned on the opposite side of the key light, this light softens shadows on your face. A desk lamp or another LED panel can serve this purpose.
- Backlight: Placed behind you, a backlight adds depth and prevents you from blending into the background.
4. Fine-Tune the Lighting
Once your lights are set up, adjust them to eliminate shadows and ensure an even, natural look:
- Check for shadows under your eyes or harsh highlights on your forehead and nose.
- Adjust the brightness to complement your environment and avoid overexposure.
- Experiment with angles to find the most flattering lighting.
---
Additional Tips for Perfect Lighting
1. Use Reflectors
Reflectors are a cost-effective way to bounce light and fill in shadows. You can use a white foam board or even a sheet of paper as a DIY reflector.
2. Minimize Glare
If you wear glasses, glare can be a significant issue. Position lights slightly above and to the sides to avoid reflections.
3. Adjust for Your Skin Tone
Ensure that the lighting enhances your natural complexion without making you appear too washed out or overly shadowed. Neutral lighting works well for most skin tones.
4. Background Lighting
Don’t neglect the background. Subtle lighting, such as a lamp or LED strip, can create a sense of depth and make your environment more visually appealing.
5. Test and Tweak
Always test your lighting before the meeting. Use your webcam to preview how you appear and make adjustments as needed.
---
Common Lighting Mistakes and How to Fix Them
1. Backlighting
Problem: Sitting with your back to a window or light source makes you appear as a silhouette.
Solution: Close the blinds or reposition yourself so that the light source is in front of you.
2. Uneven Lighting
Problem: One side of your face is brighter than the other, creating an unbalanced look.
Solution: Add a fill light or use a reflector to even out the light.
3. Overexposure
Problem: Bright lights wash out your features.
Solution: Lower the brightness of your key light or move it further away.
4. Insufficient Lighting
Problem: A dark, grainy video feed.
Solution: Increase the brightness or add additional light sources.
---
Recommended Budget for Lighting
Effective lighting doesn’t have to break the bank. Here’s a breakdown based on budget:
- Low Budget ($20–$50):
- Ring light or desk lamps.
- DIY reflectors and diffusers.
- Mid-Range ($50–$150):
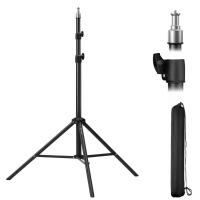
- Adjustable LED panels with stands.
- Compact three-point lighting kits.
- High-End ($150+):
- Professional-grade LED lights with advanced settings.
- Softbox lighting setups for a studio-quality look.
---
Practical Applications and Benefits
By optimizing your video conferencing lighting, you can:
- Enhance Communication: Clear visuals help convey emotions and intentions effectively.
- Boost Confidence: Knowing you look professional on screen enhances your self-assurance.
- Improve Team Engagement: A well-lit participant is more engaging and easier to connect with during virtual meetings.
---
Conclusion
Mastering video conferencing lighting is a blend of art and science. By understanding the fundamentals of light positioning, diffusion, and balance, you can transform your virtual presence. Whether you’re attending a casual team meeting or presenting to stakeholders, proper lighting ensures you look your best and communicate effectively.
Take the time to evaluate your current setup, invest in the right tools, and experiment with different configurations. With the tips and techniques outlined in this guide, you’ll be well-equipped to create a professional and visually appealing video conferencing environment.

