How To Level A Tripod For Panoramic Photos?
When shooting panoramic photos, leveling the tripod is one of the most common challenges photographers face. No matter how long you try to adjust the tripod legs on uneven ground, there's always one spot where the camera makes a "hill" movement and the horizon is uneven — it's either at the beginning, middle, or end of the panorama movement.
Why Leveling Matters for Panoramas
If all the elements in a scene are quite distant, using just your camera and ball head will probably work fine, as long as everything is level. Processing software is so good these days that panoramas can even be made handheld by just turning your body between frames, making sure to use a shutter speed fast enough to avoid blur from camera shake. These shooting methods are fine for scenes where everything is quite distant from your camera.
However, when you take panoramas with a ball head and the tripod itself wasn't perfectly level, you may find in post that the panos still aren't straight. It isn't the feet that need to be level, but the mounted camera. The tripod feet can be at any angle at all — what matters is that the camera and therefore the mounting plate is level.
Tools for Leveling Your Tripod
- Hot shoe bubble level — The cheapest, effective solution. A bubble level that fits in your camera's hot shoe costs very little (as low as $1). As long as you're not using the camera in vertical/portrait orientation, this works well. You can buy a pack of 5 flash hot shoe bubble spirit levels for a dollar and change.
- Leveling base (leveling plate) — Placed under the tripod head, this completely eliminates the need to level your tripod legs. A simple twist of the knob underneath loosens the bowl; using the spirit bubble to level it, twist the knob again to tighten. It can swing up to 15 degrees in any direction. Now, anything you put on top of it will be dead level. Products like the Sunwayfoto LP-76 leveling plate or the Mengs LP-64 (available for around US$33) are commonly used options.
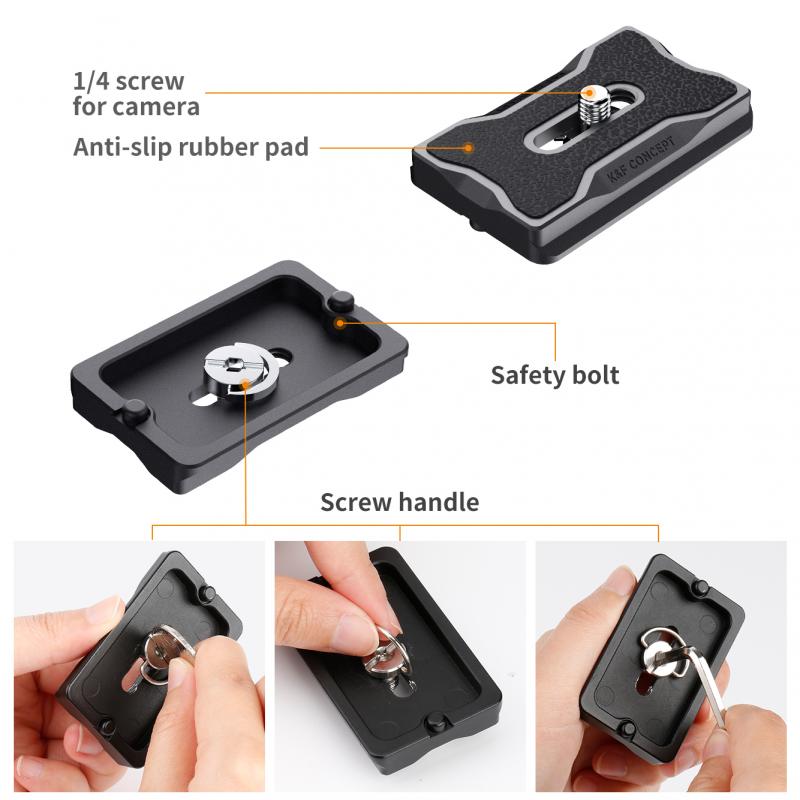
- Arca Swiss plate with built-in bubble levels — An Arca-style plate with a built-in gradienter works well and is compatible with most ball heads.
- EZ-Leveler II — A 2nd-generation panoramic leveling base featuring blue anodized knurled adjustment screws, 10kg (22lb) max weight loading, smooth rotation of adjustment screws, head alignment adjustment screws to point the tripod head in any direction, and CNC precision construction. It comes in a hard-shelled foam-lined zippered case.
- Camera's built-in virtual horizon — Many cameras (Sony, Panasonic, Olympus, and Canon) have a built-in onscreen level that can assist with leveling without any additional accessories.
Using Two Levels Together
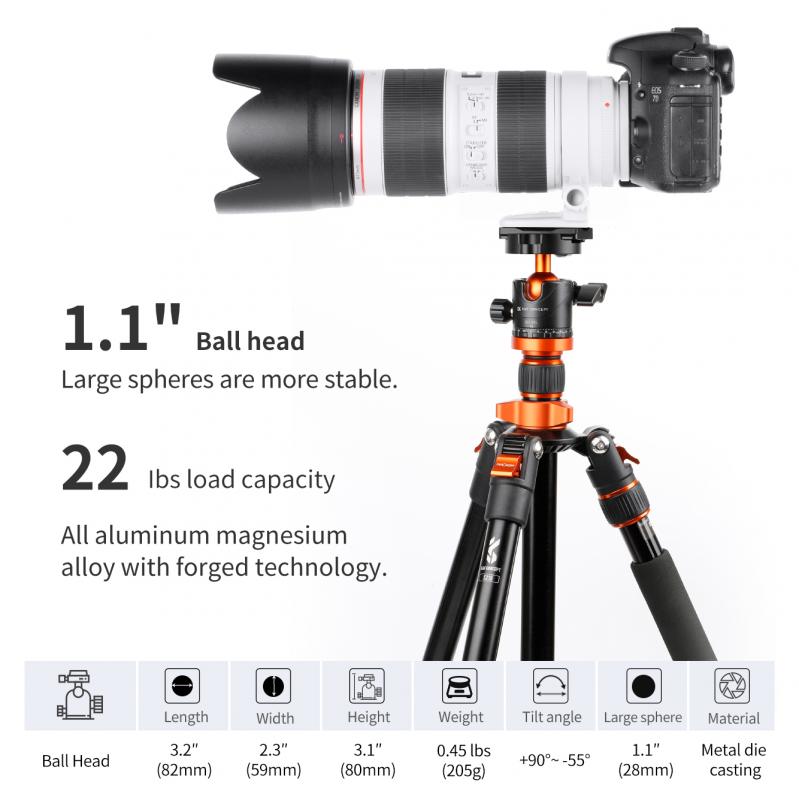
For best results, you need two levels to do the job properly:
- Use a leveling plate under the tripod head to adjust the tripod legs and get the base level.
- Then adjust the tripod head itself using a separate level on the tripod head.
This two-step approach ensures both the base and the head are independently verified as level before you begin shooting your panoramic sequence.
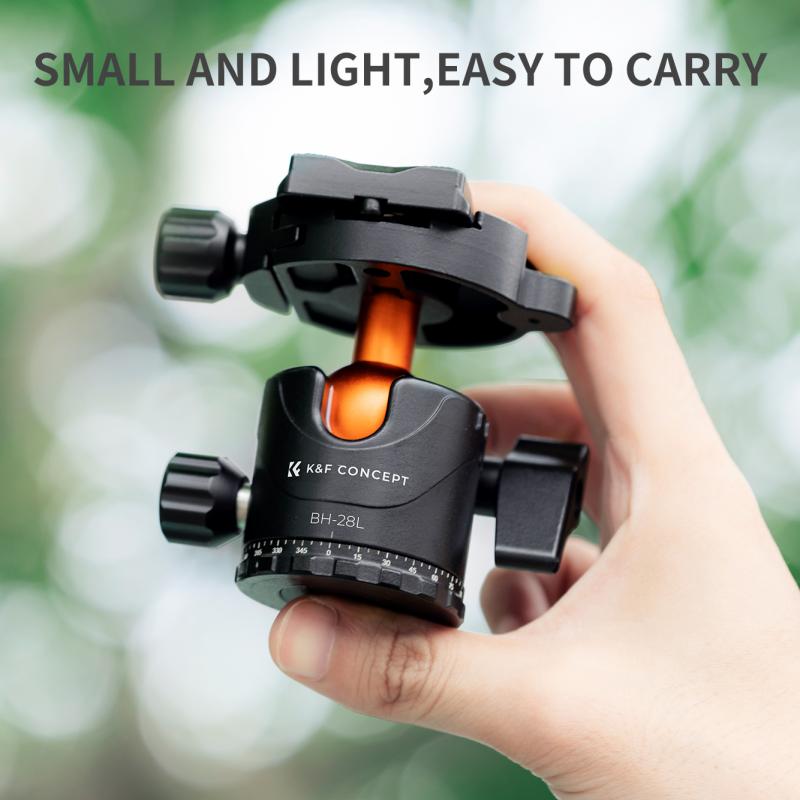
Using a Panoramic Clamp Instead of Leveling the Tripod
An alternative approach is to replace the head's clamp with a panoramic clamp. With this setup, you don't need to level the tripod at all. Level the clamp by adjusting the head, fix the ball, and then rotate the pano base. A panning base such as the Sunwayfoto panning base allows rotation with precise control without needing the tripod legs to be perfectly level.
A pan-tilt head is also worth considering instead of a ball head for panoramic shots, since you only need to set the level once and can smoothly pivot around the entire view. Ball heads are great if you want to flop about or are constantly moving, but a pan-tilt head can maintain a level view if you're taking multiple shots at one spot. Many pan-tilt heads have two-axis levels built into the camera mount rather than the tripod base, for exactly the same reason: it isn't the feet that need to be level, but the mounted camera.
Shooting in Portrait Mode for Panoramas
- Camera orientation
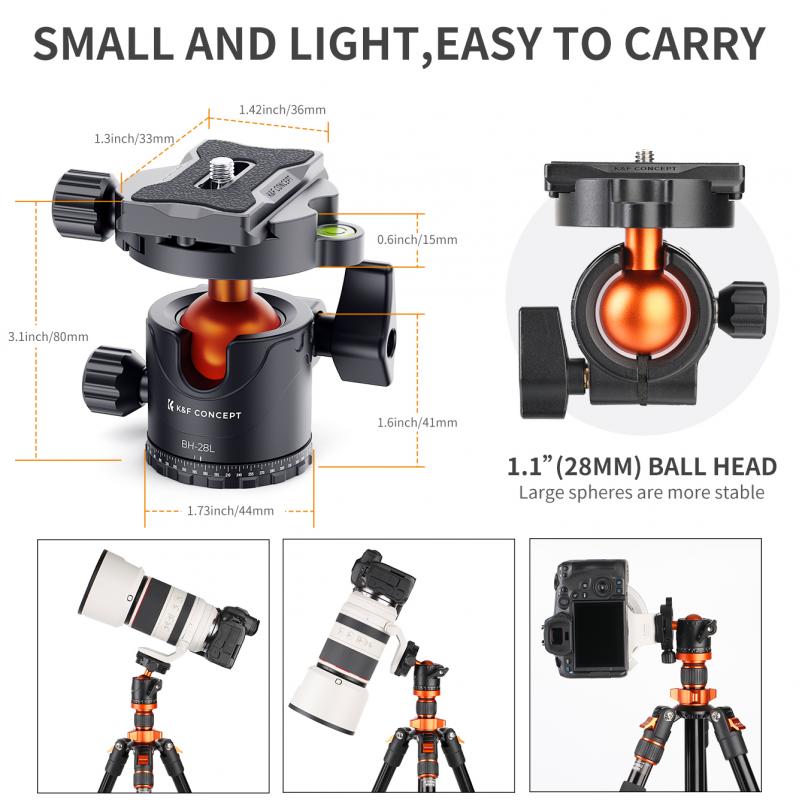
- For horizontal panoramic photos, shoot with the camera positioned vertically (portrait mode). This gives you more room for the photo merging software to work, and results in a slightly larger panoramic image with less wastage. It does mean that you'll need to take more photos than with the camera positioned horizontally, but it's totally worth the extra effort.
- L-bracket
- An L-bracket can be permanently attached to your camera body, allowing you to quickly switch from horizontal (landscape) to vertical (portrait) position quickly with precision. With a quick disconnect on the tripod head and an L-bracket on the camera, shooting panoramas in vertical position becomes much more efficient.
- Indexer / click-stop rotator
- An indexer on the head allows you to set the number of degrees of rotation for each shot. Click-stop rotators provide perfect overlap of frames at any focal length and work entirely by feel, not sight, to eliminate errors — particularly useful when shooting in low light or darkness.
Overlap and Exposure Settings During the Shoot
When you shoot panoramic photos, aim for an overlap of about one-third or about 30% between each frame. The photo merging software requires a generous overlap to make it possible to match up and align the photos.
To ensure consistent exposure across all frames, switch to manual mode and set your aperture, shutter speed, and ISO values based on a test shot taken in aperture priority mode. The reason for using the exact same settings for each shot is to ensure that the image brightness remains constant for every shot you take, creating a seamless final panorama. Similarly, once you've found the right focal distance, switch to manual focus mode so the focal distance doesn't change between shots. Set your white balance to a fixed preset (sunny or cloudy depending on conditions) rather than auto, as the camera will most likely choose a different value for each photo in auto mode, causing inconsistencies that make stitching more difficult.
Nodal Point and Parallax for Close Foreground Elements
If your scene includes foreground elements that are only a few feet (or inches) away from your lens, simply leveling the tripod is not enough — parallax errors will cause foreground elements to fall out of alignment between frames, leading to issues like ghosting artifacts, blurring, and failed stitches. The solution is to position the nodal point of your lens directly over the axis of rotation using a nodal slide rail.
When you have your camera body attached to a ball head, your lens and the nodal point hang out in front of the axis of rotation. When you pan the camera left and right, you are swinging the nodal point around, constantly changing its position, which causes parallax. By pulling back and repositioning the camera so the nodal point is directly over the axis of rotation using a nodal slide rail with an extra clamp, the nodal point remains stationary as you pan. The result is that all foreground and background elements in your scene remain perfectly aligned frame to frame, no matter the camera position, making stitching straightforward.
To find your nodal point, set up a foreground reference (such as a light stand) with a background reference behind it. Mount your camera with the nodal slide, positioning the camera so the foreground blocks the background reference. Pan left and right — if the two references fall out of alignment, you have parallax and have not yet found the nodal point. Loosen the clamp, move the camera forward or backward slightly, retighten, and repeat the panning test. When you can pan left or right and the references stay in perfect alignment, you have found your nodal point. Record the focal length and slide position markings for future reference, and repeat this procedure for every lens and focal length you use.