Steps On How To Focus A Microscope?
Setting Up
- Find a flat, well-lit area to set up your microscope.
- To have the best viewing experience with your microscope, it's important that you set it up somewhere flat where there's plenty of light so you can see what you're doing.
- A sturdy table or desk in a well-lit room will work perfectly.
- Once you have removed the dust cover from the microscope if using one, and have plugged the microscope in, arrange the excess cord in a manner that will prevent you from tripping on it and knocking the microscope over.
- A microscope is a precision instrument, so any sharp movements or impact can set the fine elements of the unit off.
- Turn on the light.
- The first step in using your microscope is turning on the light.
- You must be sure that the microscope is plugged in and turned on.
- A light will appear from below the stage of the microscope.
- The stage is the flat, plate-like surface on the microscope.
- It holds the slides that you will be observing.

Lowest Magnification
- Use the lowest magnification.
- Adjust the nosepiece so that the lowest magnification is in place.
- This might say 4x or 10x depending on the type of microscope that you are using.
- It is very important to start with the lowest magnification first in order to achieve the best focus on a microscope.
- The nosepiece is the rotating portion of the microscope above the stage.
- It will have three or four objective lenses attached to it.
- The objective lenses are the magnifiers that are attached to the nosepiece.
- They will be labeled with their magnification level, which is typically 4x, 10x, 40x, and 100x.
- They will also be color-coded for your convenience.
- As a general rule, always start and end with the lowest power objective on the microscope (usually 4x), as it is easiest to focus and center the sample in the image on a lower power.
- Also, since it is the shortest objective lens, there is the least chance of scratching the lens when situating or removing the slide from the microscope.

Place the Slide
- Put the slide in place.
- You will place the slide below the objective on the stage of the microscope.
- Be sure to center the object you want to magnify directly under the objective.
- Use the stage clips to hold the slide in place.
- Be sure that the slide is about ¼” away from the objective.
- To adjust the distance, move the stage up or down.
- Looking at your stage from the side, place the specimen over the hole in the stage.
- Place the stage as far away from the objective lenses as possible.
- Rotate the revolving nosepiece until the lowest power objective lens clicks into place.
- Still looking from the side, lower the lowest objective lens (4x) using the coarse adjustment knob until it is as close as possible to the stage.
- Turn on the microscope and place the slide on the microscope stage with the specimen directly over the circle of light.
- Doing this will give you a 90% chance of finding the specimen as soon as you look through the eyepiece.

Coarse Focus Knob
- Coarse focus knob:
- The coarse focus knob is larger and usually positioned on the outer part of the focusing mechanism.
- It is used for making large adjustments to the focus of the specimen.
- When you turn the coarse focus knob, it moves the stage (where the specimen is placed) up or down rapidly.
- This allows you to quickly bring the specimen into rough focus by moving it closer to or further away from the objective lens.
- Adjust the coarse focus knob.
- Begin to focus on the object by adjusting the coarse focus knob.
- This will be the larger of the two knobs on the side of the microscope.
- Rotate the knob clockwise and counterclockwise until you see the best possible picture through the eyepiece.
- Adjusting the coarse focus knob may not give you optimum clarity.
- The coarse focus knob is meant to bring the object mostly into focus so that the fine focus knob can be effective.
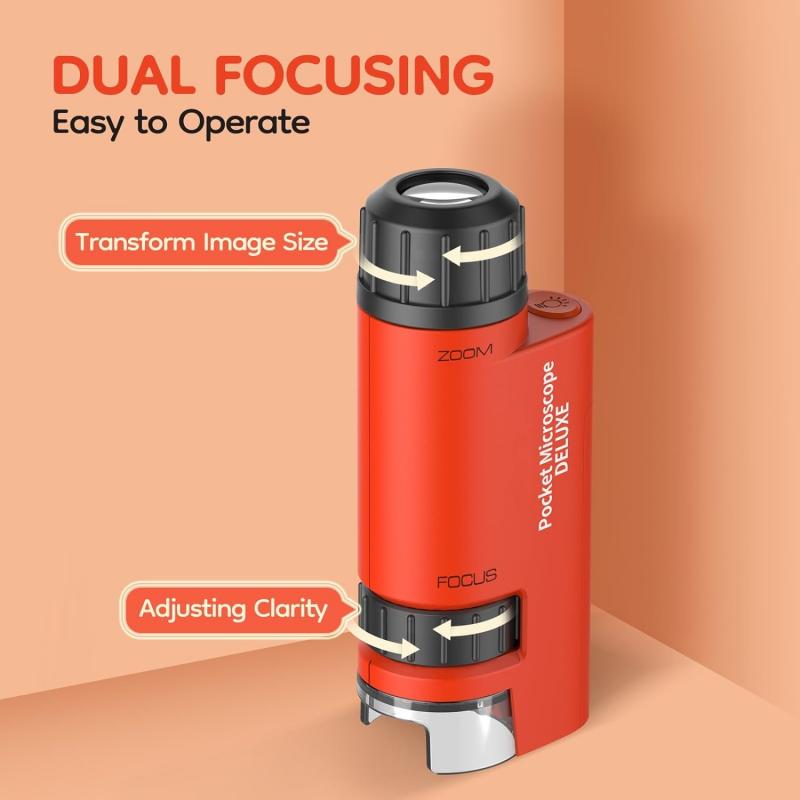
Fine Focus Knob
- Fine focus knob:
- The fine focus knob is smaller and positioned on the inner part of the focusing mechanism.
- It is used for making small, precise adjustments to the focus of the specimen.
- When you turn the fine focus knob, it moves the stage very slightly up or down.
- This allows you to fine-tune the focus of the specimen to achieve maximum clarity and detail.
- Adjust the fine focus knob.
- After you have adjusted the coarse focus knob, you can fine tune your focus by adjusting the fine focus knob.
- This will be the smaller of the two knobs on the side of the microscope.
- Just as you did with the coarse focus knob, turn this knob clockwise and counterclockwise until you see the best picture in the eyepiece.
- The coarse focus knob is used less frequently once the specimen is in focus, while the fine focus knob is used for delicate adjustments to maintain or refine the focus.
Focus the Object
- Look through the eyepiece and slowly raise the objective lens using the coarse adjustment knob until your object comes into focus.
- If you are on the lowest magnification level, focus the image by first turning the coarse focus knob.
- If you can’t get it at all into focus using the coarse knob, then switch to the fine focus knob.
- Adjust the diaphragm as you look through the eyepiece.
- You will begin to notice that more detail is visible when you allow in less light.
- Too much light tends to give the specimen a washed-out appearance.
- Adjust the stage.
- You can adjust the stage up and down as well as left and right.
- Adjusting the stage up and down will bring the object closer or further away.
- Adjust it left to right if the object that you are viewing is not centered under the objective.
- When adjusting the stage, be sure not to allow the objective lens to touch the slide.
Increasing Magnification
- Focus each objective lens before moving to the next magnification.
- If you skip objective lenses, you will not achieve the best focus possible.
- Once you have focused the specimen on low power (usually a 4x objective), center the specimen in your field of view, then, without changing the focus knobs, switch it to a higher magnification objective (10x objective, then 40x objective).
- If you don’t center the specimen you will lose it when you switch to higher powers.
- To focus your object at the next highest power look from the side of the stage and slowly rotate the objective lens (10x) into place and use the fine adjustment knob to bring your object into focus.
- To focus at the highest power, rotate the nosepiece to the objective lens (40x) while looking at it from the side.
- If you do not look at it from the side you may crack your slide or the objective lens.
- Repeat the magnification process.
- If you need more magnification, you can repeat the process again with the next one or two magnifications.
- Remember to focus each objective lens before moving on to the next objective lens.
High Power Lens
When the 10x objective lens is in place, the distance between the lens and slide is much smaller than when the lower objective (usually 4x) is in place.
This means the coarse focus knob must be used very carefully and slowly, not to push it into the slide, break the coverslip or squash your specimen.
If you have focused correctly using the lower power lens, when you move the 10x lens into place, the focus will be very close to where you want to be, so only a very small adjustment should be made using the coarse focus knob.
Complete the focusing with the fine focus knob.
The coarse focus knob should not be used with any higher powered lenses (40x, 100x) - use fine focus only with these.
Do not skip objective lenses when increasing your magnification.
Do not touch the lens glass with your finger.
You will leave the lens smudged and hard to see through.