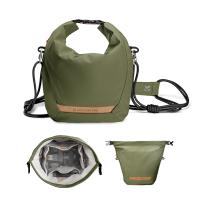
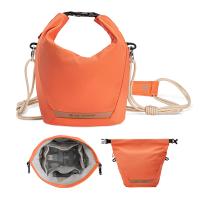
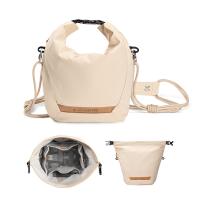
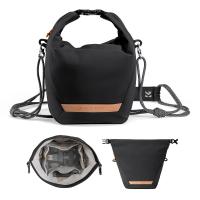
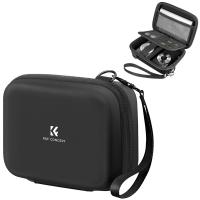
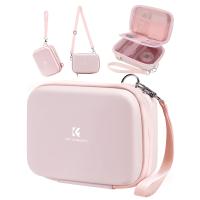
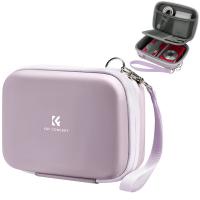
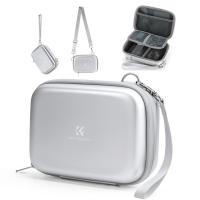
How To Make A Small Camera Bag?
How to Make a Small Camera Bag: A Step-by-Step Guide
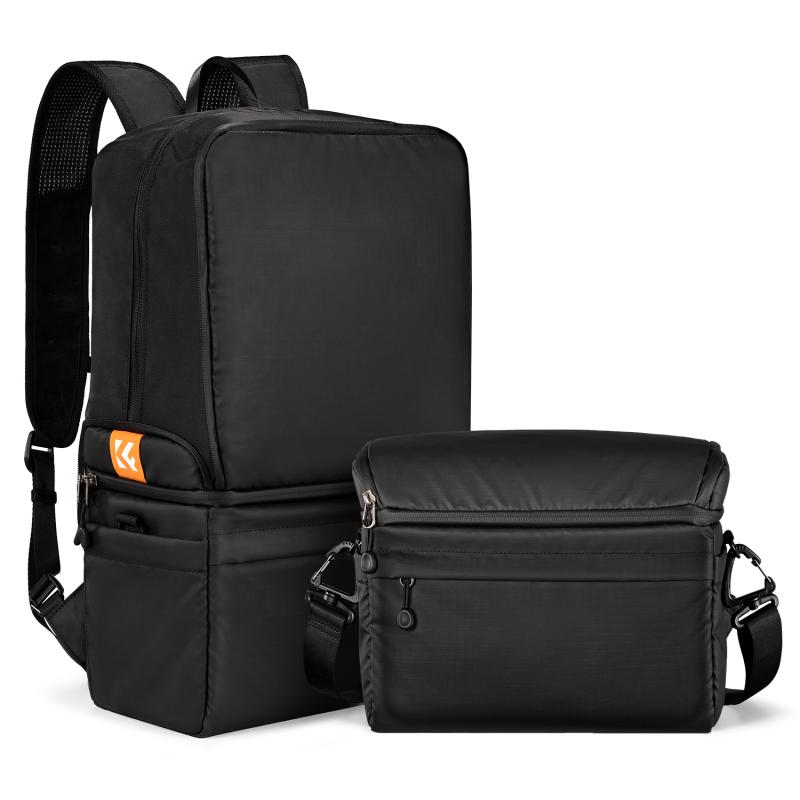
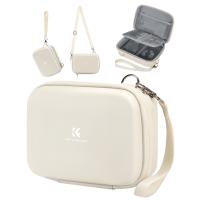
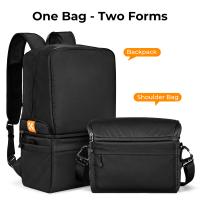
When it comes to carrying around a camera, comfort and protection are two essential factors. A well-designed camera bag not only safeguards your gear but also makes it easier to transport. While there are plenty of options available in stores, nothing beats the satisfaction of crafting your own custom-made camera bag tailored to your specific needs. Whether you’re a beginner or an experienced DIY enthusiast, creating your own small camera bag can be a rewarding project. In this article, we’ll walk through the process of making a simple yet functional small camera bag.
Materials You’ll Need
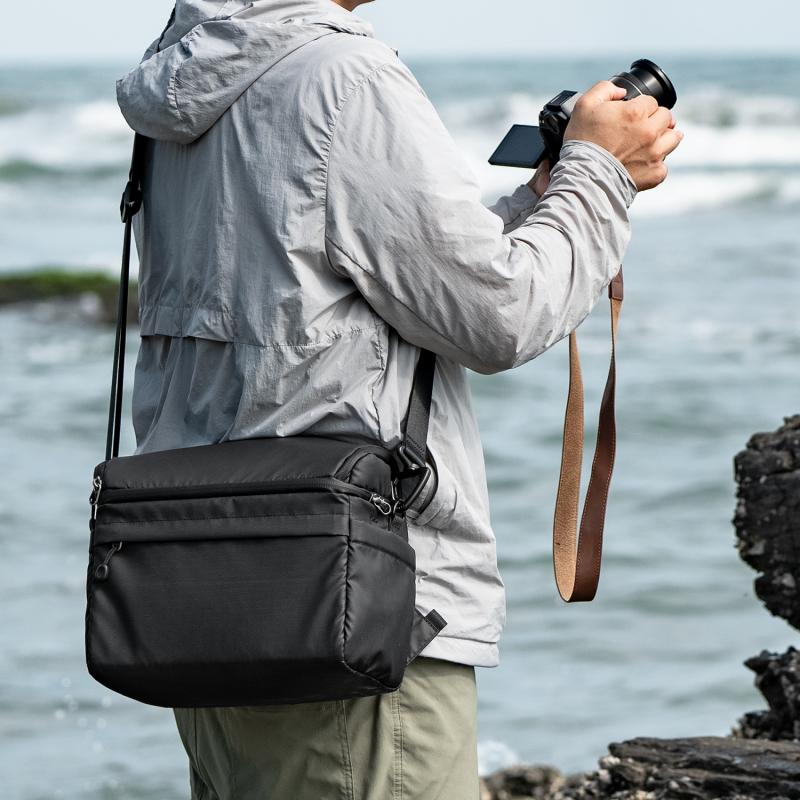
Before you begin, it's essential to gather all the necessary materials. Below is a list of what you’ll need to make your camera bag:
- Fabric: Strong and durable fabric is a must to protect your camera. Cordura, canvas, or nylon are good choices. For a softer, more comfortable feel, you can opt for cotton or fleece-lined fabric. You’ll need about 1 yard of fabric for the outer layer, and another 1 yard for the inner lining.
- Padding: You’ll want to add a layer of padding to protect your gear. High-density foam, quilt batting, or even old memory foam can be used. You’ll need enough to line the inside of the bag and create dividers.
- Zipper: A heavy-duty zipper, ideally around 20 inches, will allow for easy access to the bag’s contents while securing the camera.
- Velcro or Snap Fasteners: These are optional, but they’ll help secure internal dividers and keep the bag organized.
- Thread: Use strong, durable thread that will hold up to the stress of carrying heavy items. Nylon or polyester thread is best.
- Sewing Machine: While it’s possible to sew the bag by hand, using a sewing machine will save time and produce stronger, cleaner seams.
- Scissors, pins, and chalk or fabric markers: These will help with cutting and marking fabric.
Step 1: Plan Your Bag’s Dimensions
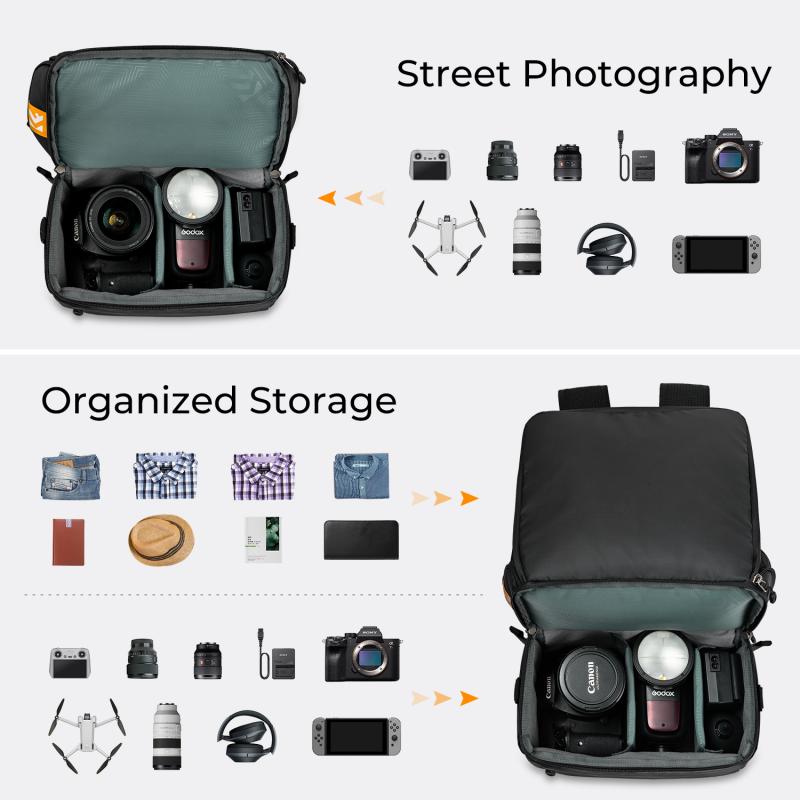
Start by measuring your camera to determine the size of the bag. A small camera bag typically measures around 8 inches wide, 6 inches tall, and 4 inches deep. However, you may need to adjust these measurements depending on the specific size of your camera and any additional gear, like lenses or memory cards, that you plan to carry.
Once you have the dimensions, add an extra inch to the width, height, and depth for seam allowances. For example, if your camera measures 6 inches wide, make your fabric cut 7 inches wide to accommodate the seams.
Step 2: Cut the Fabric
After deciding on the dimensions, it’s time to cut the fabric. You'll need to cut the following pieces:
- Outer fabric: Cut two pieces for the front and back of the bag. Each piece should be the size of your desired finished width and height (plus seam allowances). If you're creating a bag with a flap, cut an additional piece for the flap.
- Inner fabric: Cut two pieces for the lining of the bag. These should be the same size as the outer fabric pieces.
- Padding: Cut two pieces of foam or quilt batting for the front and back. These should be slightly smaller than the outer fabric to ensure they fit snugly inside the bag.
- Divider panels: If you plan on dividing the inside of the bag into sections (e.g., to store your camera and lens separately), cut additional pieces of padding and fabric. The size of these will depend on how many compartments you want to create.
Step 3: Add Padding to the Bag
Next, you’ll need to add padding to protect your camera. Take the padding and sew it to the back side of the inner lining pieces. This will ensure that the padding is soft and doesn’t shift around inside the bag.
If you’re using foam padding, consider using a fusible interface to adhere it to the fabric, which will help stabilize the padding. Be sure to trim the padding to match the exact size of the bag pieces, leaving a small seam allowance around the edges.
Step 4: Assemble the Bag
Now it’s time to start putting the pieces together. Begin with the front and back pieces of your outer fabric:
1. Sew the side seams: Place the front and back pieces of the outer fabric right sides together and sew along the side seams. Be sure to leave an opening at the top for the zipper.
2. Attach the zipper: Open the zipper and sew it along the top edge of the outer fabric. If you're unsure about installing a zipper, you can follow a tutorial for guidance. Make sure the zipper is centered and aligned properly with both pieces of fabric.
3. Attach the lining: Sew the two pieces of lining fabric together in the same manner, but leave about an inch open at the bottom so you can turn the bag inside out later.
4. Join the lining with the outer fabric: With both the outer fabric and lining sewn together, place the lining inside the outer fabric, ensuring that the zipper is positioned on the outside. Pin the pieces in place and sew them together along the top edge, making sure the zipper is secured.
Step 5: Add Dividers
To keep your camera and accessories organized, you can create dividers inside the bag. Cut small strips of foam or padding and fabric for the dividers. Sew them onto the inside of the bag, ensuring they are securely attached.
If you want adjustable dividers, you can sew Velcro to the edges of the padding pieces, allowing you to move them around to customize the interior layout.
Step 6: Finish the Bag
Once the main construction of the bag is complete, turn it inside out through the small opening in the lining. This will hide all the raw seams and create a neat, professional finish.
- Close the opening: Hand-sew or machine stitch the opening in the lining to finish the bag. Make sure the stitching is secure to prevent any seams from coming undone.
- Add additional features: You may want to add an external pocket for accessories like memory cards or a lens cloth. You can do this by cutting a small rectangle of fabric and attaching it to the outside of the bag.
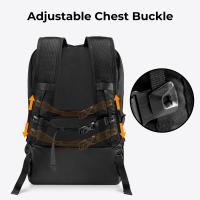
- Straps: To make your bag easy to carry, add a strap. You can use a pre-made strap or create your own by sewing a piece of fabric or webbing. Attach the strap to the sides of the bag, either by sewing or using sturdy hardware like D-rings.
Step 7: Final Touches
Once your camera bag is assembled, test it out with your camera inside. Make sure everything fits snugly and that the bag offers adequate protection. You may want to reinforce any areas that feel weak or adjust the dividers to better fit your camera and accessories.
Additionally, if you plan on using the bag outdoors or in rough conditions, consider adding a water-resistant coating to the outer fabric. You can purchase fabric waterproofing spray or use a durable water-repellent (DWR) finish to keep your bag protected in wet weather.
Creating a small camera bag is an achievable project for anyone with basic sewing skills. By following these steps, you can craft a personalized, functional bag that protects your valuable camera gear while offering convenient storage. Whether you’re a photographer looking for something tailored to your specific needs, or simply enjoy a hands-on project, making your own camera bag is a great way to combine creativity with practicality. So, grab your fabric, sewing machine, and materials, and start crafting your custom camera bag today!

