Can An Iphone Be Used As A Microphone?
The iPhone can be used as a microphone in several different ways depending on your use case, whether for karaoke, voice amplification, professional recording, or as an external mic for another device.
Using iPhone as a Live Microphone with Apps
Microphone Live transforms your iOS device into a real-time microphone with advanced features and crystal-clear sound. Whether you're enhancing your hearing, speaking through bluetooth speakers, or just having fun with audio effects, Microphone Live makes it simple. The app requires iOS 17.6 or later.
- Live microphone access — listen through your device's built-in or external microphones with low-latency audio
- Wireless audio output — stream your live mic audio to Bluetooth headphones, earbuds, or wireless speakers, great for live announcements or personal amplification
- Live broadcast tool — turn your iOS device into a personal PA system, perfect for events, classrooms, or performances
- Decibel meter — monitor live input levels with a real-time dB meter, great for volume awareness and sound checks
- Microphone polar pattern selection — choose from available mic patterns (e.g. cardioid, omnidirectional) for the best sound pickup depending on your environment
Pro audio controls include: apply real-time compression for smoother sound, shift pitch for creative or accessibility use, add reverb for natural room ambiance or effects, and boost or cut targeted frequencies with parametric EQ.
Using iPhone as a Remote Microphone via Live Listen
Through Live Listen, you can use iPhone as a remote microphone with MFi hearing devices, AirPods, or supported Beats headphones. This helps you hear more clearly in certain situations, for example when having a conversation in a noisy environment.
- Ensure your hearing device or AirPods is already paired and connected to your iPhone
- To turn on Live Listen, go to Settings > Accessibility > Hearing > Live Listen, then tap Start Live Listen; or open Control Center and tap the hearing device or AirPods, then tap Live Listen
- Place iPhone close to the sound source, and the surrounding audio will become louder
- From the Live Listen screen you can: view real-time captions, go back to content you may have missed, go back to the immediate audio, or stop the Live Listen session
To use Live Listen with AirPods, AirPods Pro, AirPods Max, Powerbeats Pro, Beats Fit Pro, or Powerbeats Fit, you need an iPhone running iOS 14.3 or later. To use Live Listen with real-time captions, you need an iPhone running iOS 26 or later.
While using Live Listen on iPhone, you can remotely start, stop, or return to a session from a paired Apple Watch or a nearby Apple device signed into the same Apple account (such as another iPhone or iPad). When iPhone picks up audio, text also appears in real time on the other device, so either device can be used to understand.
Using iPhone as an External Microphone for Mac
iPhone can be used as a FaceTime camera on a Mac and also lets you tap into the microphone if you'd like to. The iPhone has a good quality microphone and is obviously much more mobile than the internal microphone on a Mac, so this can offer a great solution for improving the audio quality of VoIP and audio calls, podcast recordings, and much more.
- Mobility advantage
- You can walk away from your Mac and still have your audio sound good, making it possible to ditch a wireless mic and use your phone instead.
- Use case
- Suitable for improving audio quality of VoIP and audio calls, podcast recordings, and more.
Using iPhone as a Karaoke Microphone with Apple TV
With an Apple TV 4K, you can use the Apple Music Sing feature with an iPhone as the mic. However, it won't play over a HomePod mini speaker. You need to use the connected TV speakers or speakers wired into the Apple TV. This limitation exists because of latency — the sound would be delayed — so Apple restricts HomePods to only stream content, not "live" sound.
You can do this on Apple TV 4K 3rd gen running tvOS 26. It has a Sing app you can use for karaoke and your iPhone can be used as a mic. There is no direct way to route live microphone audio through a HomePod mini speaker.
Connecting an External Microphone to iPhone
iPhone connector types vary by model, and the correct adapter is required to connect an external microphone:
- iPhone 6 and earlier — 3.5mm headphone jack
- iPhone 7 to iPhone 14 series — Lightning connector
- iPhone 15 series and later — USB-C connector
Microphone interface types and required adapters:
- 3.5mm TRRS with Lightning iPhone
- Use a Lightning to 3.5mm TRRS adapter
- 3.5mm TRS with Lightning iPhone
- Use a TRS to TRRS adapter cable plus a Lightning to 3.5mm TRRS adapter
- 3.5mm TRRS with USB-C iPhone
- Use a USB-C to 3.5mm TRRS adapter
- 3.5mm TRS with USB-C iPhone
- Use a TRS to TRRS adapter cable plus a USB-C to 3.5mm TRRS adapter
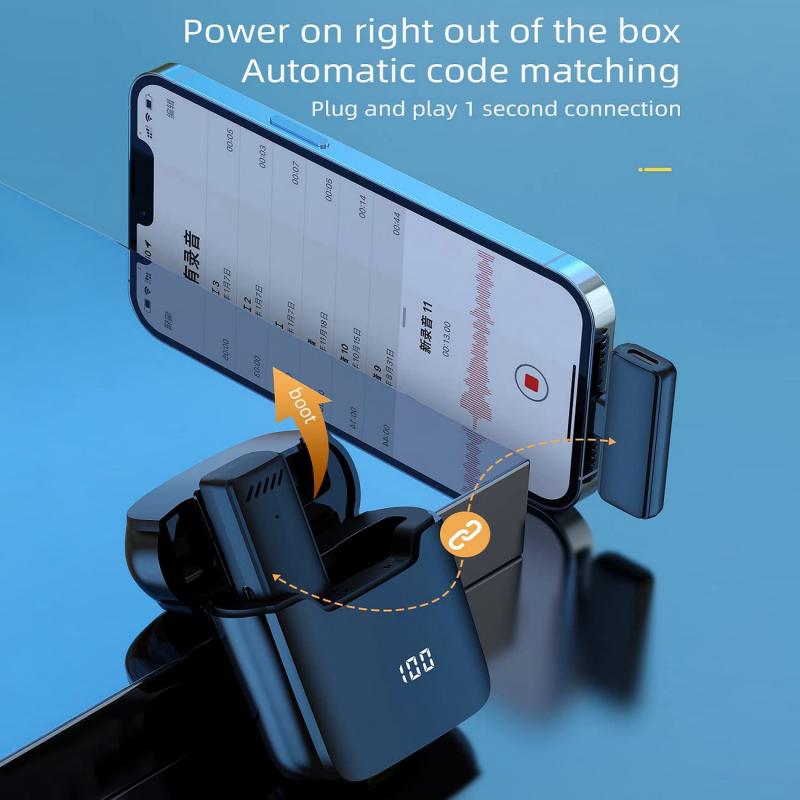
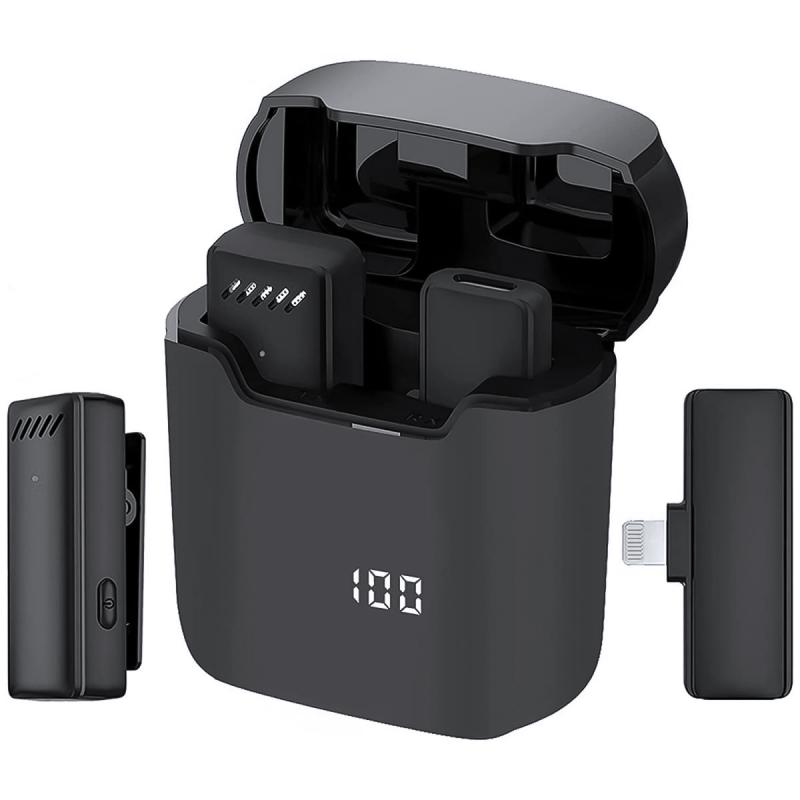
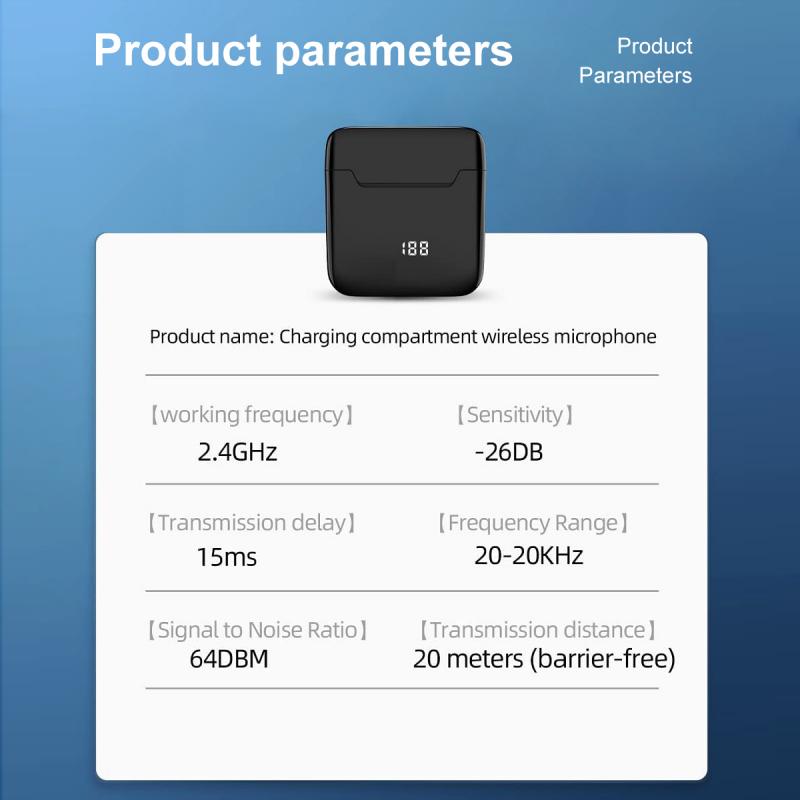
- Wireless microphone
- Connects via Bluetooth or RF signal — no plug required
iPhone Built-in Microphone for Recording
The iPhone's built-in microphone is designed to highlight the speech frequencies to optimise clarity for phone calls, using an omni pattern to make sure the sound source is captured even if not ideally placed in relation to the mic. The signal/noise ratio and preamp noise specs have not been designed for professional use.
If you are just capturing a conversation, or recording a rough idea for a song, your iPhone will do a decent job. For any serious recording, you'll need software and gear. There are plug-in mics that improve sound, but USB mics work better, and using an XLR mic with an audio interface is the best way of all. You'll always get audibly better results using pro mics with the correct pickup pattern for the job — usually cardioid or hypercardioid — placed optimally with dedicated recorders.