How Does A Neutral Density Filter Work?
How do neutral density (ND) filters work?
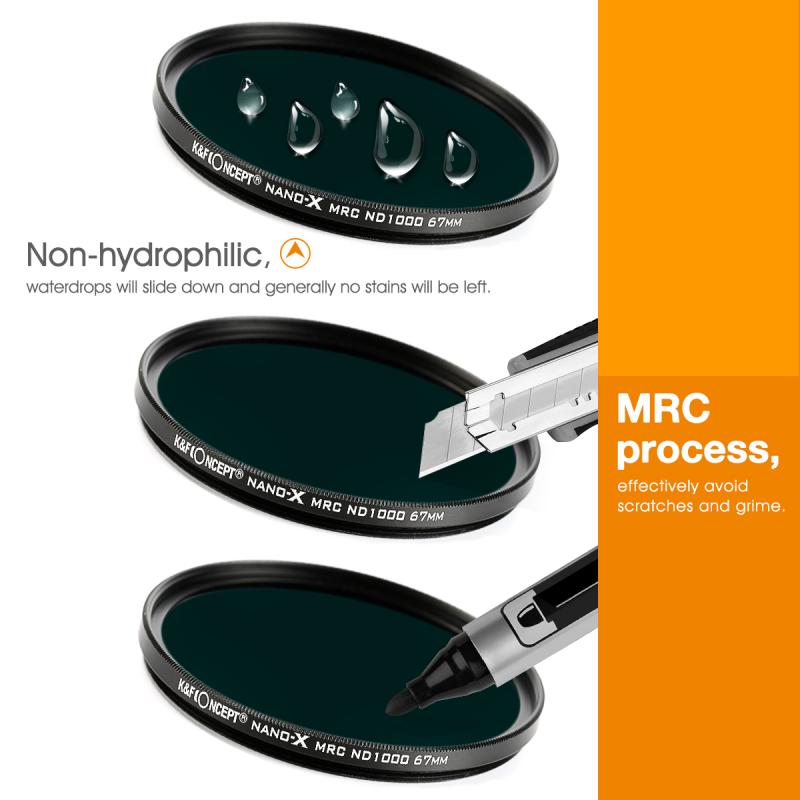
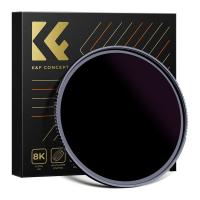
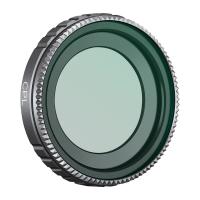
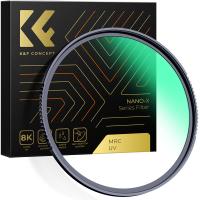
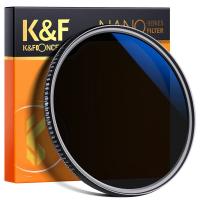
neutral density filters, commonly known as nd filters, are pieces of glass or resin that reduce the amount of light entering your camera lens. these filters are painted in grey fully or partially, which allows them to block the incoming light by a specific number of stops while maintaining the original colours of the image. nd filters act like sunglasses for your camera, allowing you to use slower shutter speeds or wider apertures in bright light conditions without overexposing your photos.
neutral density (nd) filters reduce the intensity of all wavelengths, or colors, of light equally from entering the camera, in measured amounts. this allows the photographer more control in selecting shutter speed and aperture combinations in a variety of conditions.
nd filters, or neutral density filters, are essential tools in photography that reduce the amount of light entering your lens without affecting colour. this allows you to use slower shutter speeds or wider apertures in bright conditions—something that would otherwise lead to overexposed images.
an nd filter acts like sunglasses would to your eyes, it blocks light coming into the lens like sunglasses blocks light coming into your eyes. nd stands for neutral density which means it blocks the light in a neutral way without changing the colour of the light. you may occasionally see the term natural density filter, but the correct name is neutral density filter, as it refers to reducing light without affecting colour.
Why would you want to block light coming into your lens?
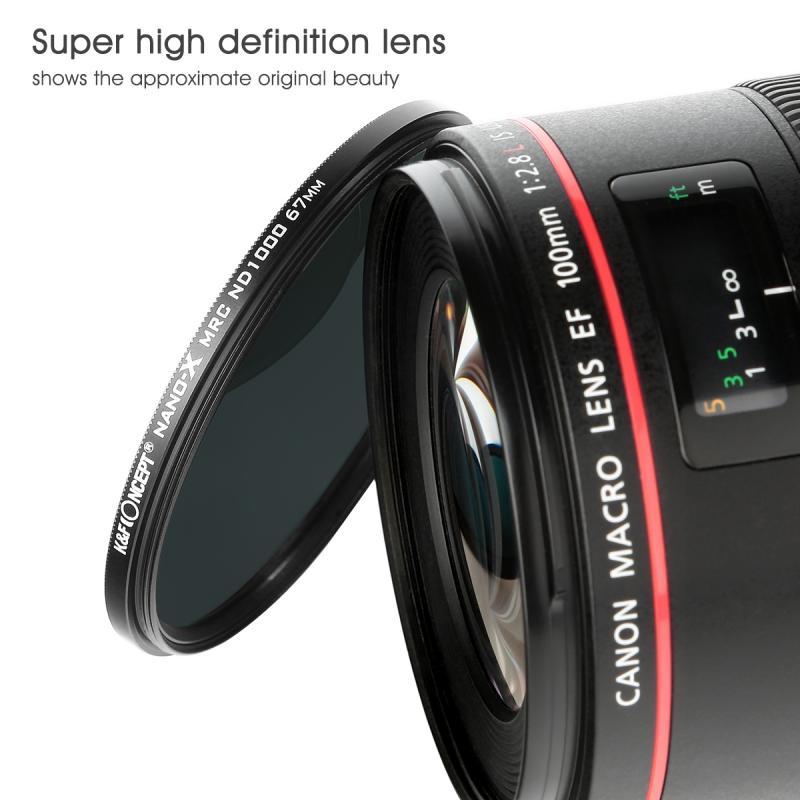
light is good, right? it’s what makes the image. it makes sense to think that if you block light coming into your lens you’re just going to make a dark, underexposed image.
well, when you block light coming into your lens you’re are forced to expose the camera to light for a longer period of time. you have to open the shutter for longer to allow for the correct amount of light to enter the camera.
that’s the basic principle of nd filters, they stop light coming into your camera which forces you to compensate by letting in light over a longer period of time.
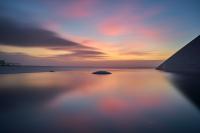
- By reducing the light, nd filters help create effects like motion blur in waterfalls, silky smooth seas or dramatic skies.
- Simply saying, they give you greater control over your exposure settings and creative possibilities that wouldn't be achievable otherwise.
- in practical terms, nd filters let you create effects like smooth, flowing water, motion blur in clouds, or a cinematic look in video.
- whether you’re shooting landscapes, long exposures, or video, understanding how nd filters work is key to gaining full creative control over your camera settings.
Slower shutter speeds and longer exposure
long-exposure photography requires using slow shutter speeds to capture motion. using nd filters is essential for this technique, especially in bright daylight. by reducing the amount of light entering the lens, nd filters allow you to use longer shutter speeds without overexposing your image. without an nd filter, these long exposures would be impossible in daylight as too much light would enter the lens, resulting in a completely white, overexposed photo.
let’s look at the effect an nd filter can have on an image. below is a normal picture with no filter, taken using a tripod at 1/30th of a second. you can see the ripples in the water and the clouds look clear, everything has been frozen for that fraction of a second. exposure details - 1/30th sec, f22, iso 400
and here is a shot taken just after that one using a 10 stop nd filter. the filter has allowed me to increase the exposure time to 30 seconds. i’ve still exposed the camera to same amount of light, but this one has been exposed over a longer period of time. when you do that everything that’s still, stays still, i.e. the tree and mountains and everything that moves blurs or blends together.
- the one on the left, shot at 1/30th of a second, the one on the right, shot at 30 seconds with a 10 stop nd filter on.
- again, they have both been exposed to exactly the same amount of light, but with the nd filter on you able to let that light in slowly which allows moving things to blur, such as the clouds, and it also allows things to blend in, such as the ripples in the water.
- also note that it is only the shutter speed that has changed.
- the aperture and iso stay the same when you are doing these shots and you must shoot in fully manual mode.
ND filter strength

nd filters are available in different strengths, measured in stops. common strengths include nd2 (1 stop), nd4 (2 stops), nd8 (3 stops), and higher. the strength you need depends on the lighting conditions and the effect you're aiming for.
nd filters usually include the nd factor in their name, e.g. nd16, but some providers use the optical density instead, e.g. nd 1.2, for the same filter. to be sure you pick the right strength of the nd filter, double-check the number of stops in the specifications.
nd filters are created in stops. a stop in photography is either halving or doubling the amount of light e.g. making the picture 1 stop darker or 1 stop lighter. in the case of nd filters, you are always halving or reducing the amount of light. so a 1 stop nd filter will be stopping the light by 50% or half. a 10 stop filter is stopping the light by 10 halves in a row. you have to do it sequentially, that’s important.
- nd filter in stops: 1; nd factor: nd2; optical density: nd 0.3
- nd filter in stops: 2; nd factor: nd4; optical density: nd 0.6
- nd filter in stops: 3; nd factor: nd8; optical density: nd 0.9
- nd filter in stops: 4; nd factor: nd16; optical density: nd 1.2
- nd filter in stops: 5; nd factor: nd32; optical density: nd 1.5
- nd filter in stops: 6; nd factor: nd64; optical density: nd 1.8
- nd filter in stops: 7; nd factor: nd128; optical density: nd 2.1
- nd filter in stops: 8; nd factor: nd256; optical density: nd 2.4
- nd filter in stops: 9; nd factor: nd512; optical density: nd 2.7
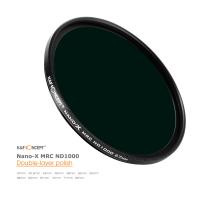
- nd filter in stops: 10; nd factor: nd1000; optical density: nd 3.0
- nd filter in stops: 12; nd factor: nd4000; optical density: nd 3.6
- nd filter in stops: 15; nd factor: nd32000; optical density: nd 4.5
- nd filter in stops: 16; nd factor: nd64000; optical density: nd 4.8
ND filter exposure calculation
remember when you’re doing long exposure shots it’s only the shutter speed you want to be changing. if you have a 2 second exposure without a filter, then you put a 1 stop nd filter on, you have effectively halved the amount of light coming into that camera. so to counter balance this you have to increase the amount of time you let light into the camera, in this case by doubling it.
nd filter exposure table or calculate it manually the following formula to adjust your shutter speed:
- adjusted shutter speed = original shutter speed × nd filter factor
- for instance, if your original shutter speed is 1/30s and you're using a 6-stop nd64 filter, the new shutter speed will be approximately 2 seconds (1/30s × 64 = 2s).
fixed nd filters, also referred to as solid nd filters, have coating(s) evenly distributed across the frame of the filter. the density of the filter is predetermined.
fixed nd filters come in a range of densities to meet the needs of the photographer and the conditions they might be shooting in. a lighter density filter, like a 3-stop, will allow the photographer to select a shutter speed 3 stops slower:
What to use ND filters for
- it depends on what you're shooting. as you're no doubt already aware, nd filters reduce the light coming into the lens, so you can use a slower shutter speed than you would normally have to use, especially on a bright day.
- when you need to slow the composition down for artistic reasons. the obvious examples is waterfalls: using a slow shutter speed creates the impression of motion as water cascades down.
- at the beach, for example, with lapping waves and a slow shutter, you can create the impression of a dreamy 'mist' on the water.
- it's also useful for some sports photography, especially motorsport, where you might want to blur the background to create the impression of speed, but keep the subject in crisp focus.
- with the long exposure, you can achieve a motion blur effect, make the water silky in the photo or capture dramatic skies with moving clouds.
- using nd filters is essential for this technique, especially in bright daylight.
video. the normal rule of thumb is that your shutter speed should be double your framerate, so if you're shooting 25fps, then you're aiming for a shutter speed of 1/50. on a bright day, that's going to be almost impossible without dropping to f/22 or lower (which comes with its own problems), so an nd filter will restrict light intake and allow you to use 1/50 at a sane aperture.
- also shooting with flash they come in very handy. as the sync time is rather slow, one has to use small aperture. with an nd filter you can use larger apertures again.
- i use them so i can shoot wide open on fast primes in bright daylight. necessary on my 6d when fastest shutter is 1/4000.
- outdoor flash photography. unless you're shooting something with high speed sync, they're invaluable when you can only use 1/200 ss and don't want to shoot everything at f/11 or smaller.
- with a long enough exposure you can make a crowded street look empty or with just "ghosts" of people passing by, make running water look smooth like milk and make the clouds in the sky scatter.
Different types of ND filters
- screw on type
- ones that screw onto the front of your lens, ones that need to use a filter holder system and graduated nd filters, with the graduated nd filters it’s best to use a filter holder system.
- the screw in types are very good value for money (around £10 or $15 each), you can get lots of different brands of these and they all do pretty much the same thing.
- if you’re just starting out i recommend getting one of these types that will fit your widest-angle lens or your standard zoom lens, this will be great for getting those long exposure landscape shots.
- the filter holder type
- cons - a lot more expensive. this system is for a commitment to this type of photography, or for those who have the money to spare – the other is for a practice or play around.
- pros - better quality. you can use them with other lenses but you will need an adapter ring for different lens.
- you can use nd filters in conjunction with other filters like the nd grad filters.
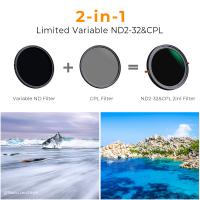
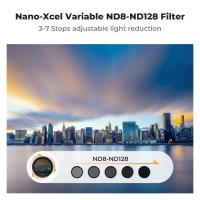
variable nd is perfect, but you do need to spend a bit more on them to get a decent one; the cheap ones tend to have all sorts of weird light effects, to the extent you can end up with a big dark x on the image if you aren't careful.
i also recommend you avoid variable nd filters. it’s harder to judge your exposure times with these types and on its strongest setting you can sometimes get lines going through the image.
How to use a neutral density (ND) filter
- using an nd filter is not as difficult as it may seem.
- take a photo using a remote shutter release or timer.
- trigger the shutter remotely or use your camera's timer function to avoid touching the camera and provoking a shake.
- important note: if you are shooting during sunrise or sunset, take into account that the lighting conditions change fast.
- calculate 1 stop less for a sunrise and 1 stop more for a sunset when adjusting the shutter speed.
- alternatively, you can adjust the aperture or iso instead of prolonging the shutter speed even more, for example.
- a good sturdy tripod is a must. you’ll need a bit of weight so it holds your camera firmly and still for long periods of time.
- you will also need a cable release or remote trigger. this is so you can use your camera on a setting called bulb.
- i use one for long exposures if water etc like people mention but if you're thinking of doing this, just make sure you have a good tripod as well and use a delay or a remote to avoid camera shake.